Section 2. Installing the PX-712A Internal ATAPI Drive
26
PX-712 Installation and Users Manual
Mount the PX-712A Drive
Before proceeding to install the PX-712A drive in your personal
computer, double-check your jumper setting.
Record the Serial Number
Record the serial number and TLA number of your drive on the inside
front cover of this manual.
Mount the Drive in the Computer
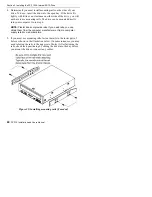
You can mount your internal drive in any available bay. You must
remove the small panel that covers the bay that you want to use.
NOTE: The drive can be mounted horizontally or vertically
If you don’t have an empty bay, remove the existing IDE DVD-ROM or
CD-ROM drive and install the PX-712A.
You must make a minimum of two cable connections to your PX-712A.
The two cable connections that you must make are:
•
IDE cable
•
Power cable
There are also two optional cable connections:
•
An analog audio cable connection if you are using a sound board in
your computer and plan to connect the PX-712A’s audio output to
the audio connector on the sound board.
•
A digital audio cable connection if the sound board is equipped with
SPDIF or Digital-In and you wish to use the digital audio output
from your PX-712A.
Do You Need Another IDE Ribbon Cable?
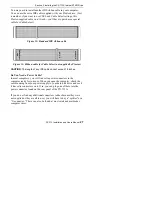
An IDE cable is a standard 40-pin flat-ribbon cable, usually with three
connectors. One end connects to the IDE port on your computer’s
motherboard, and the other two connectors are free for attaching
peripherals such as a hard disk, DVD or CD-ROM drive, or a PX-712A
drive.
Summary of Contents for PX-712
Page 5: ...Detail of PX 712SA Laser Caution Labels...
Page 6: ...This page intentionally left blank...
Page 10: ...Table of Contents x PX 712 Installation and Users Manual This page intentionally left blank...
Page 134: ...Index 124 PX 712 Installation and Users Manual This page intentionally left blank...
Page 135: ...PX 712 Installation and Users Manual 125 Notes...


