Advanced setup
11
90
En
Assigning the video inputs
• Default settings:
MULTI IN
–
OFF
USB
–
OFF
You can choose to watch a video source at the same time
as you listen to the audio source from the multichannel
analog inputs or USB connector. To do this, you must let
the receiver know which video component you want to
watch. After making the settings below, the
corresponding video input is selected at the same time
that you choose either
MULTI IN
or
USB
as the input
source.
1
Select ‘Video Assign’ from the Input Assign menu
and press ENTER.
2
Select which input to which you want to assign a
video source.
Choose either
MULTI IN
or
USB
.
3
Use the
/
(cursor left/right) hard keys to
select the video source you want to assign.
Any video source available on the receiver can be
assigned, and you can also assign the same video source
to both inputs.
4
When you're finished, select RETURN and press
ENTER.
You will return to the Input Assign menu.
The Expert Setup menu
The settings in the Expert Setup menu are more
advanced features of this receiver that you can use to
make detailed adjustments when you’re more familiar
with the system.
You only need to make these settings once (unless you
change the placement of your current speaker system or
add new speakers.).
1
Make sure your receiver and TV are both
switched on.
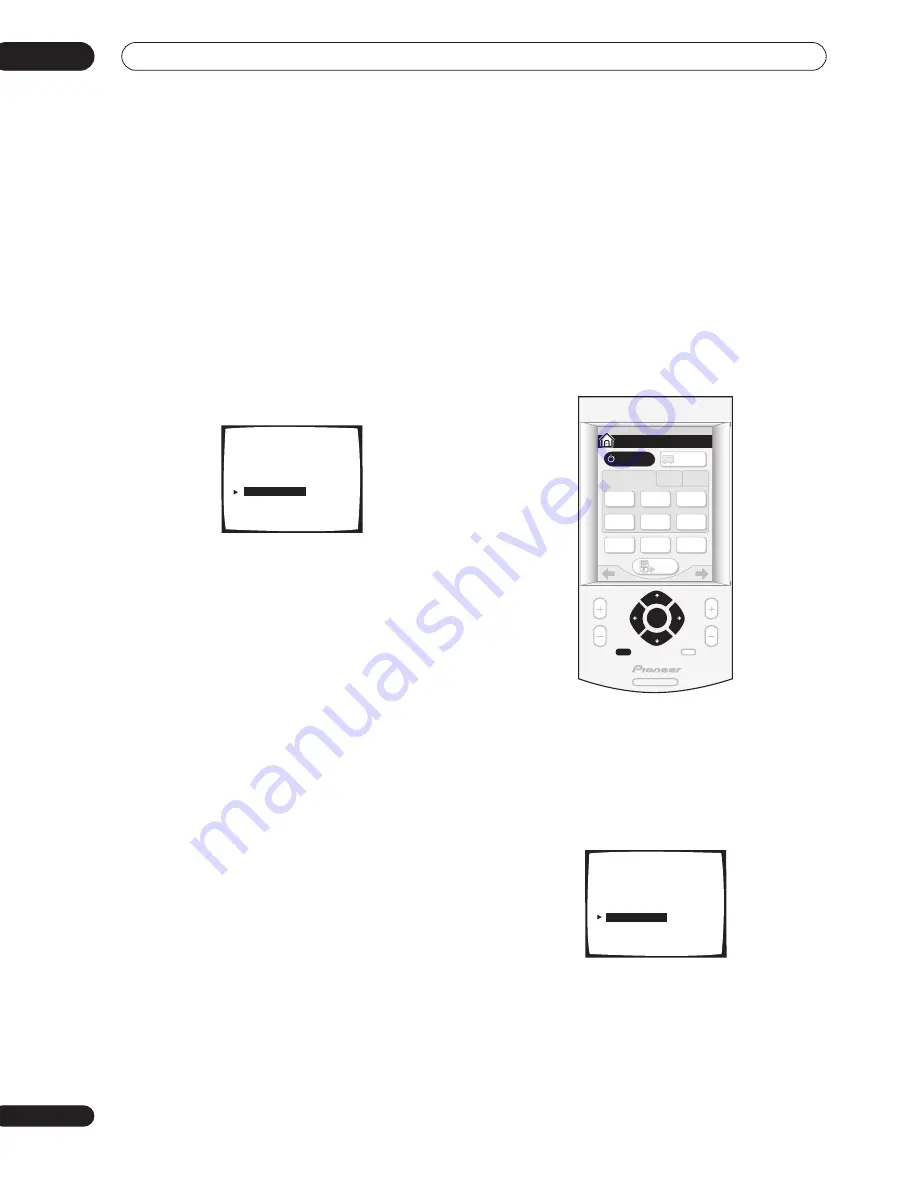
2
Using the remote control, press RECEIVER on the
touch screen, then press the SYSTEM SETUP button.
An on-screen display (OSD) appears on your TV. Use the
///
hard keys and
ENTER
on the remote control
to navigate through the screens and select menu items.
• The
/
(cursor up/down) hard keys select menu
items and the
/
(cursor left/right) hard keys
change the setting of the item selected.
3
Select ‘Expert Setup’ then press ENTER.
1.Input Assign
[ 1.Digital In ]
[ 2.Component Video In ]
[ 3.i.LINK Input
]
[
4.Video Assign
]
[Return]
RECEIVER
MENU
MUTE
CHANNEL
VOLUME
SYSTEM
SETUP
ENTER
HOME
SYSTEM
OFF
TV
CONT
MULTI
OPERATION
TV
/ DVD
DVD
/ LD
DVR
/ VCR1
SAT
INPUT 1
2
3
CD
TUNER
SETUP
RECEIVER
RECEIVER
1/3
System Setup
[Auto Surround Setup]
[1. Input Assign
]
[2. Surround Setup ]
[
3. Expert Setup
]
[4. THX Audio Setup ]
[Exit]


