204
≫
≫
≫
≫
≫
≫
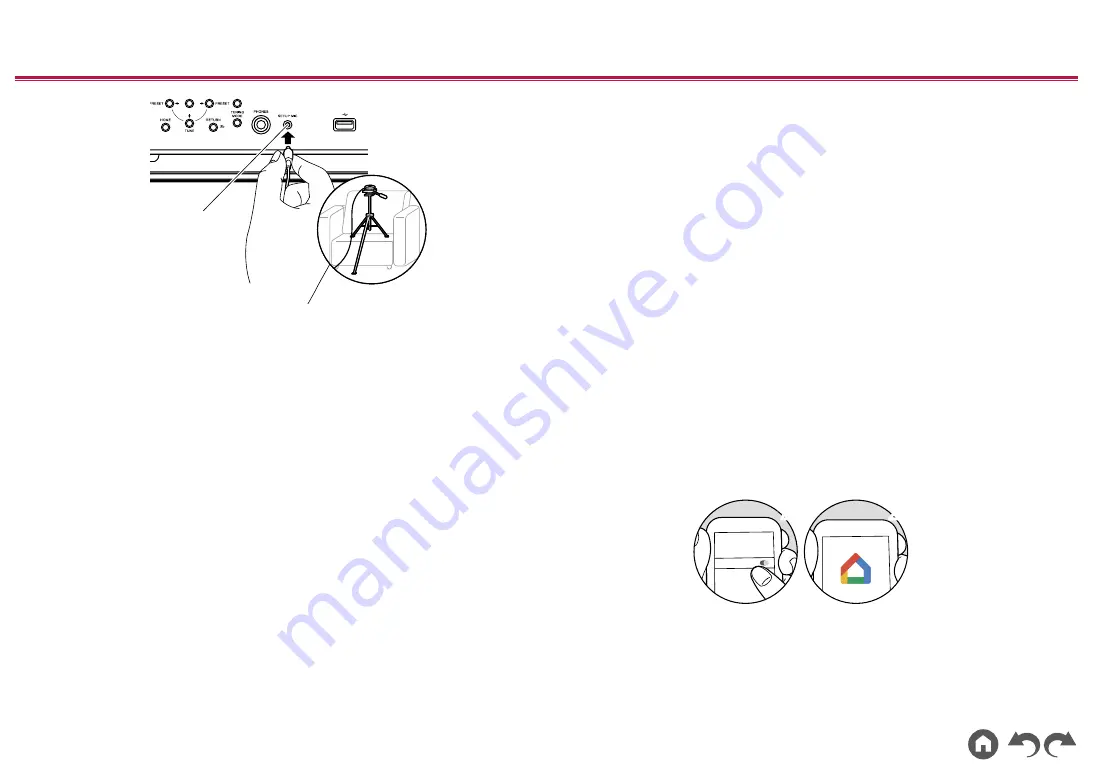
SETUP MIC
When placing the speaker setup microphone on a tripod, refer to the
illustration.
2.
Confirm a test tone is output from the subwoofer and press ENTER.
3. Press ENTER. Then, test tones are output from each speaker, and the
connected speakers and the noise in the surrounding environment are
automatically measured.
4. The measurement results in step 3 are displayed. If there is no problem in
the detection result of the speaker, select "Next" and press ENTER to output
the test tone again to automatically set the settings such as volume level,
crossover frequency, etc., to their optimum. (The test tone is automatically
output when 10 seconds has elapsed without any operation.)
• When an error message is displayed or when the connected speakers
cannot be detected, perform re-measurement by selecting "Retry" and
pressing ENTER.
• When it cannot be resolved by performing the re-measurement, confirm
if the speakers are connected correctly. If there is any problem with the
speaker connection, perform the connection after disconnecting the power
cord.
5. Once the measurement is completed, it is possible to perform the
measurement in 8 additional listening positions. To perform the measurement,
select "Next" and press ENTER, then follow the instructions. To not perform
the measurement, select "Finish (Calculate)" and press ENTER.
•
After each listening position is detected, select "Finish (Calculate)" and
press ENTER to complete the detection process.
6.
Disconnect the speaker setup microphone.
3. Multi Zone Sound Check
Output test tones to ZONE 2 to enjoy audio in a separate room (ZONE 2) in
addition to the main room.
4. ARC Setup
To connect with an ARC-compatible TV, select "Yes". The ARC setting on this unit
turns on, and you can listen to the TV's audio through this unit.
• If you select "Yes", the HDMI CEC function is enabled and power consumption
increases during standby.
5. Network Connection
1.
To make the network connection settings, select "Yes" and press ENTER. A
confirmation screen asking you to agree to the privacy statement is displayed
during network setting, so select "Accept" if you agree and then press ENTER.
2.
Select the type of connection to the network. To use the Chromecast built-in
function to connect, select "Yes" and press ENTER. The Google Home app is
required to use the Chromecast built-in function. Download the Google Home
app from Google Play or the App Store to your smart phone or tablet.
• Google Home app can be used on the following operating systems. (As of
August 2019)
Android
™
: Android 4.4 or later.
iOS: iOS 10.0 or later. Compatible with iPhone
®
, iPad
®
, and iPod touch
®
.
Wi-Fi
1
1
2
2
If you select "No", you can connect using either wired LAN or Wi-Fi.
"Wired":
Use a wired LAN to connect to a network.
"Wireless":
Wi-Fi connection using an access point such as a wireless LAN
router.
• There are two methods for Wi-Fi connection.
"Scan Networks":
Search for an access point from this unit. Find out the


