98
The System Setup and Other Setup menus
12
Remote Control Mode Setup
!
Default setting:
1
This sets this receiver’s remote control mode to prevent erroneous operation when multiple units of the receiver
are being used.
1 Select ‘Remote Control Mode Setup’ from the Other Setup menu.
2 Select the Remote Control Mode setting you want.
3 Select ‘OK’ to change the remote control mode.
4 Follow the instructions on the screen to change the remote control’s setting.
See
Operating multiple receivers
on
page 81
.
5 When you’re finished, press RETURN.
You will return to the
Other Setup
menu.
ZONE Setup
Switches the sub-zone setting.
1 Select ‘ZONE Setup’ from the Other Setup menu.
2 Select ‘MAIN/HDZONE’, then press ENTER.
3 Set the usage of the HDMI OUT 2 terminal.
!
MAIN
: Select this to output the same input source as in the main zone.
After setting this to
MAIN
, exit the home menu, then press
OUT P.
and select the terminal for HDMI output
(
page 76
).
!
HDZONE
(default): Use the HDMI output’s multizone function (
HDZONE
) to output an input source different
from the one in the main zone (
page 77
).
4 Select ‘OK’, then press ENTER.
5 When you’re finished, press RETURN.
You will return to the
Other Setup
menu.
ZONE 2 setup
When making multi-zone connections using the
AUDIO ZONE 2 OUT
terminals and performing playback in Zone
2, you can set whether to adjust the Zone 2 volume on the receiver or to fix it to a specific volume (
–40 dB Fixed
or
0 dB Fixed
). This is set to
Variable
upon shipment from the factory, allowing the volume to be adjusted on the
receiver. If you would like to adjust the volume from the connected amplifier, make the setting below.
!
This setting is not possible if multi-zone settings have been made using the speaker terminals and
Speaker System
is set to anything other than
ZONE 2
. In this case, adjust the volume for the sub zones on the
receiver.
CAUTION
!
Note that when
Volume Level
is set to
0 dB Fixed
, the audio output from the
AUDIO ZONE 2 OUT
terminals
is set to the maximum. Also, depending on the volume setting on the connected amplifier, large volumes may
be produced even when
Volume Level
is set to
–40 dB Fixed
.
1 Select ‘ZONE Setup’ from the Other Setup menu.
2 Select ‘ZONE 2’, then press ENTER.
3 Select the Volume Level setting you want.
!
Variable
(default) – The Zone 2 volume is adjusted from the receiver.
!
–40 dB Fixed
/
0 dB Fixed
– The Zone 2 volume level output from the receiver is fixed to the value set here.
4 When you’re finished, press RETURN.
You will return to the
Other Setup
menu.
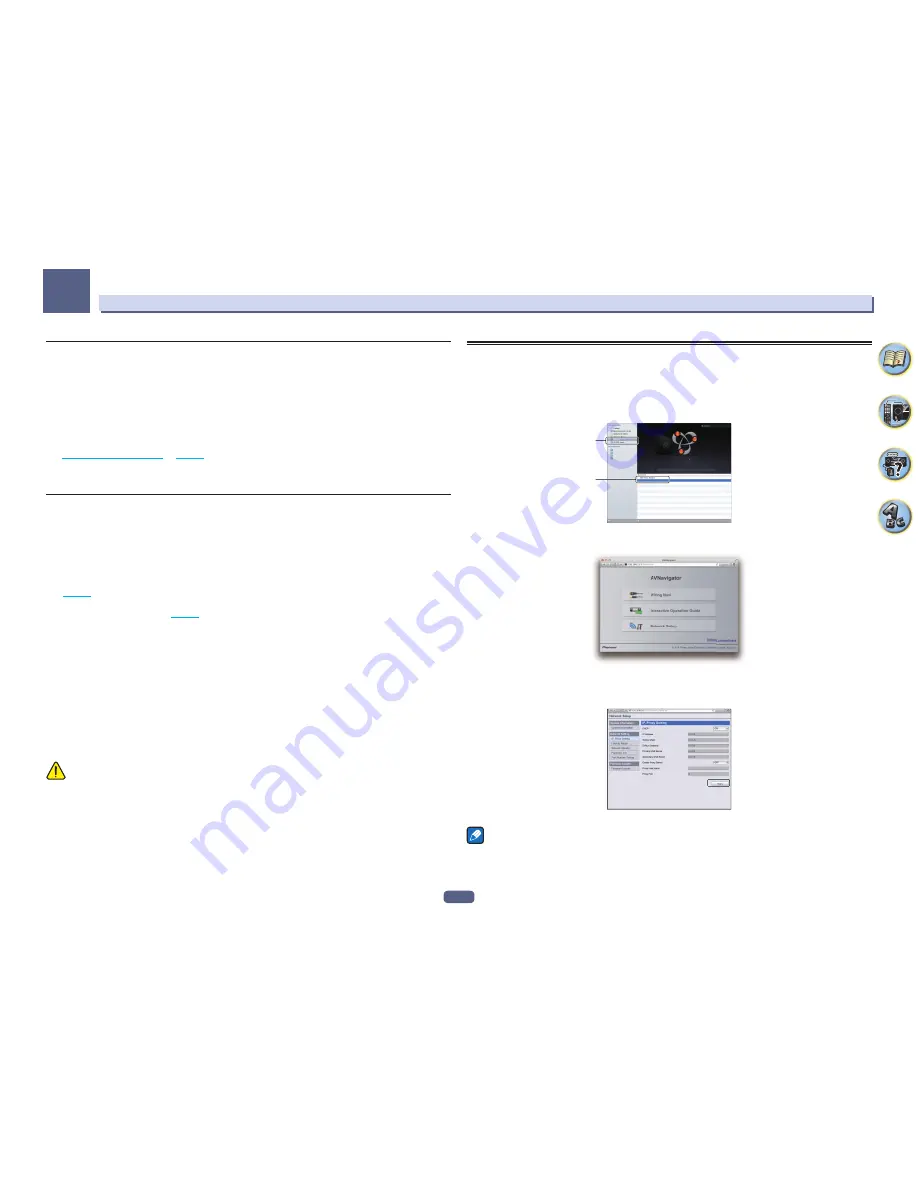
Making network settings using Safari
1 Launch Safari on your computer.
2 Press Bookmark icon. Click Bonjour list (a), and then select this receiver’s name
(Friendly Name) (b) in Bookmark.
If
Bonjour
list is not displayed, access the IP address“http://(the receiver’s IP address)” from Safari.
(Model No.)
(Model No.)
a
b
3 On the AVNavigator menu screen, select Network Setup.
4 Click IP, Proxy Setting.
5 Setup the network settings manually and then press Apply.
Note
This setting for the network has been confirmed for OS X v 10.7 and Safari 5.1.


