EN 54
12.
MCP9350i
Hardware Repair
12.13. VFD Board
12.13.1. VFD Board Removal
1.
Remove the top cover. See paragraph 12.1.1.
2.
Remove the main bezel. See paragraph 12.2.1.
3.
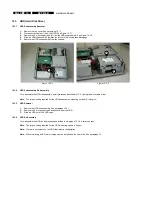
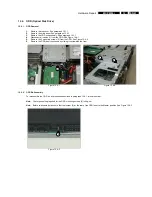
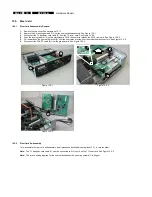
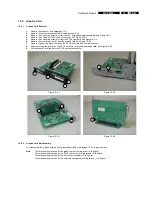
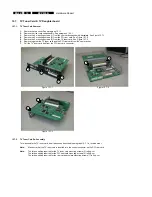
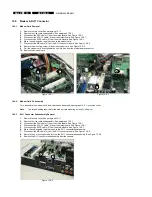
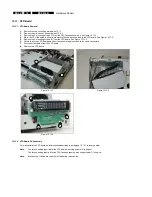
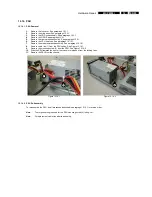
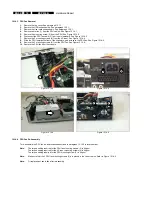
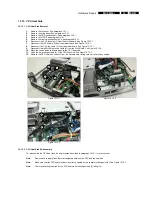
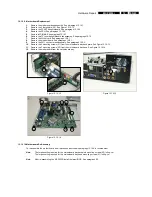
Remove the 2 mounting screws (1) from the CPU fan subassembly. See Figure 12.13-1.
4.
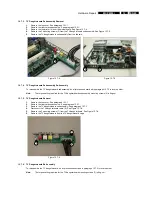
Move the CPU fan aside to allow some slack in the cables connected to the VFD board. See Figure 12.13-2.
5.
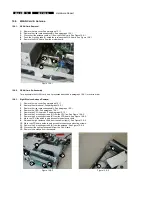
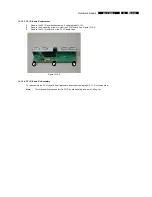
Remove the 4 mounting screws (2) from the VFD board. See Figure 12.13-3.
6.
Carefully pull the VFD Board away from the chassis to gain access to the cable connectors.
7.
Disconnect all cables from the VFD board.
8.
Remove the VFD board.
Figure 12.13-1
Figure 12.13-2
Figure 12.13-3
12.13.2. VFD Board Re-Assembly
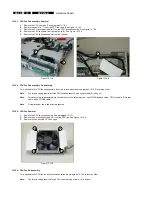
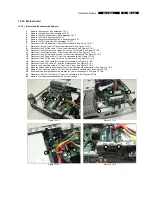
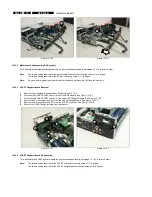
To re-assemble the VFD board, do all processes described in paragraph 12.13.1 in reverse order.
Note:
The torque setting required for the VFD board mounting screws (2) is 6kg-cm
The torque setting required for the CPU fan subassembly mounting screws (1) is 8kg-cm
Note:
Make sure all cables are correctly routed during re-assembly.
1
1
2
2
2
2

