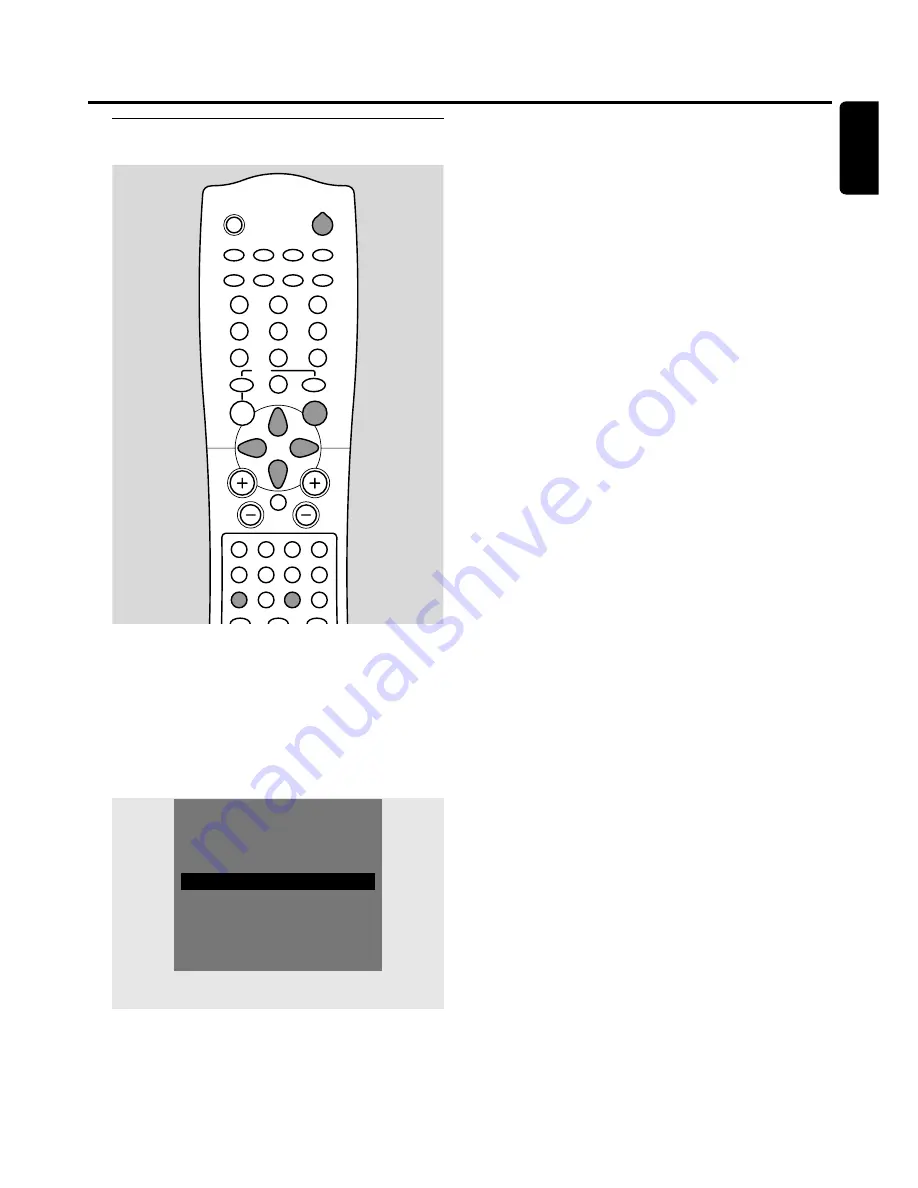
Checking, changing or deleting a
timer recording
1
Switch your TV set on. If necessary set the TV to the
correct audio/video channel. Such channels may be called
AUX or AUXILIARY IN, AUDIO/VIDEO or A/V IN, EXT1,
EXT2 or EXTERNAL IN, etc.These channels are often near
channel 00.
2
Press TIMER on the remote control.
3
Press
4
or
3
on the remote control as often as necessary
until the line
Timer List
is selected.
4
Press
2
on the remote control to confirm the selection.
5
Press
4
or
3
on the remote control as often as necessary
to select the timer recording to be checked, changed or
deleted.
6
If you want to check or change the timer recording:
Press
2
again on the remote control.
Use
1
or
2
on the remote control to select the input field
to be checked or changed.
Use
4
,
3
or the numerical keys on the remote control to
change the desired data.
Press OK on the remote control to store the changed data.
If you want to delete the timer recording:
Press CLEAR on the remote control.
➜
Clear timer
is displayed.
Press OK on the remote control to start deleting.
➜
Timer Cleared
is displayed briefly, the programmed
recording data disappear and are replaced by -----.
7
Press TIMER on the remote control to end.
8
Press
2
on the remote control to switch off the
DVD recorder system.
Timer recording
47
English
TV
CDR/TAPE
CAM 1/2
CD
TUNER
SAT
MENU
REC MODE
DISC
DISPLAY
CLEAR
RETURN
EDIT
PLAY MODE
TREBLE
TIMER
LOUDNESS
VCR/GAME
DVD/MON
SUBWOOFER
TV VOL
REC/OTR
CH
VOL
MUTE
SELECT
SURR.
+
-
AUDIO
DISC
É
É
É
É
0
OK
H
§
T/C
SURR.
2
;
∞
9
1
3
2
4
6
5
7
9
8
SYSTEM
2
4
Timer
ShowView system
3
Timer programming
# 2
Timer List
2
To exit
Press TIMER
#
Summary of Contents for LX9000R/22
Page 1: ...DVD Recorder Home Entertainment System LX9000R LX9000R ...
Page 66: ...66 ...
Page 67: ...67 ...


