Using your HD recorder
22
4.9.6 Watching recorded programmes
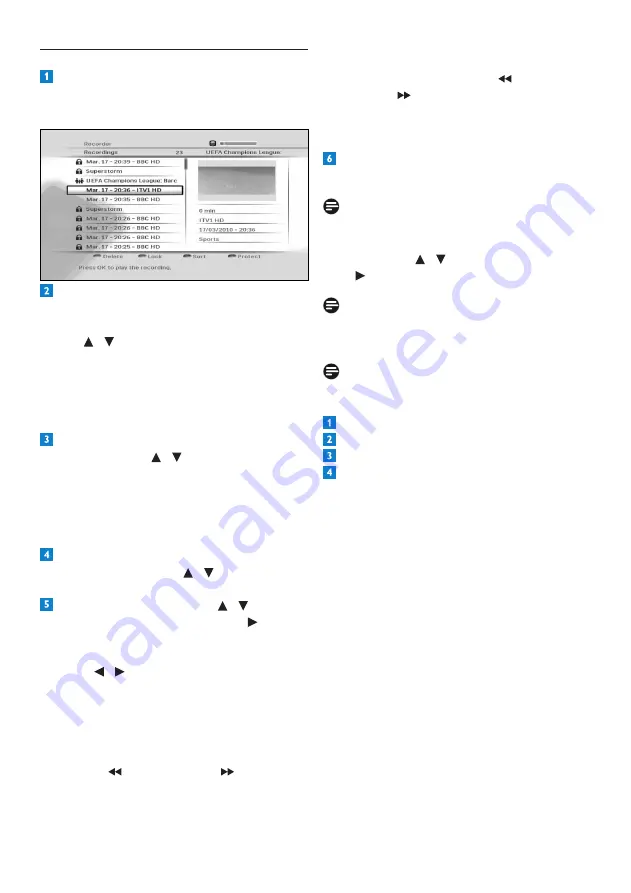
To view all the recorded programmes, press
HDD (LIB)
.
The
Recordings
menu appears.
All recorded programmes are protected by
default to prevent you from deleting them
accidentally. To delete a protected recording,
use /
to highlight it,
press the
blue
button to unprotect it, and then press the
red
button to delete it. A message appears
asking you to confirm. If you are sure, press
the
green
button; if not, press the
red
button.
To lock a recording and set viewing
restrictions,
use / to highlight the
recording and
press the
green
button.
Note
that if the
Parental control limits
is set
to
off
(see page 30), your HD recorder will
let you watch a locked recording without
entering your PIN code.
To sort the list, press the
yellow
button. In
the pop-up menu, use
/ to highlight how
you would like to sort the list and press
OK
.
To playback a recording, use
/ to
highlight it and press
OK
or
play
.
To pause playback at any moment, press
pause
K
.
Press /
to move to back 15 seconds or
forward 30 seconds (by default). To change
this time, see the
Instant Replay duration
and
Commerical Skip duration
settings
on page 29.
To rewind or forward at high speed, press
rewind
or
fast forward
, during
playback, up to 4 times to choose the speed
(x2, x4, x32 or x128).
To rewind or forward in slow motion, press
pause
K
and then
rewind
or
fast
forward
to choose the speed you want
(x1/2 or x1/4).
To stop playback and return to the
Recordings
menu, press
stop
L
twice.
Press
EXIT
to remove the
Recordings
menu and return to live TV.
Note
You can also access the
Recordings
menu from
the
Main
menu – press
MENU
to access the
Main
menu; use
/ to highlight
Library
and
press or
OK
.
Note
Press
HDD (LIB)
to check the free disk space
available for recording.
Note
You can also check the available recording time
on your hard disk:
Press
Menu
.
Highlight
Settings
and press
OK
.
Highlight
Set-up
and press
OK
.
Highlight
Hard disk drive information
.
The available recording time is shown on the
right side of the screen.
Summary of Contents for HDT8520
Page 2: ... 2 ...


