38
Motherboard User’s Guide
Follow these steps to install the SATA hard disks for RAID configuration.
i
Before setting up your new RAID array, verify the status of your hard
disks. Make sure the Master/Slave jumpers are configured properly.
ii Both the data and power SATA cables are new cables. You cannot use
older 40-pin 80-conductor IDE or regular IDE power cables with Serial
ATA drives. Installing Serial ATA (SATA) hard disks require the use of
new Serial ATA cable (4-conductor) which supports the Serial ATA
protocol and a Serial ATA power cable.
iii Either end of the Serial ATA data cable can be connected to the SATA
hard disk or the SATA connector on the motherboard.
1 Install the Serial ATA hard disks into the drive bays.
2 Connect one end of the Serial ATA cable to the motherboard’s primary
Serial ATA connector (SATA1).
3 Connect the other end of Serial ATA cable to the master Serial ATA hard
disk.
4 Connect one end of the second Serial ATA cable to the motherboard’s
secondary Serial ATA connector (SATA2).
5 Connect the other end of Serial ATA cable to the secondary Serial ATA
hard disk.
6 Connect the Serial ATA power cable to the power connector on each
drive.
7 Proceed to section “Entering VIA Tech RAID BIOS Utility” for the next
procedure.
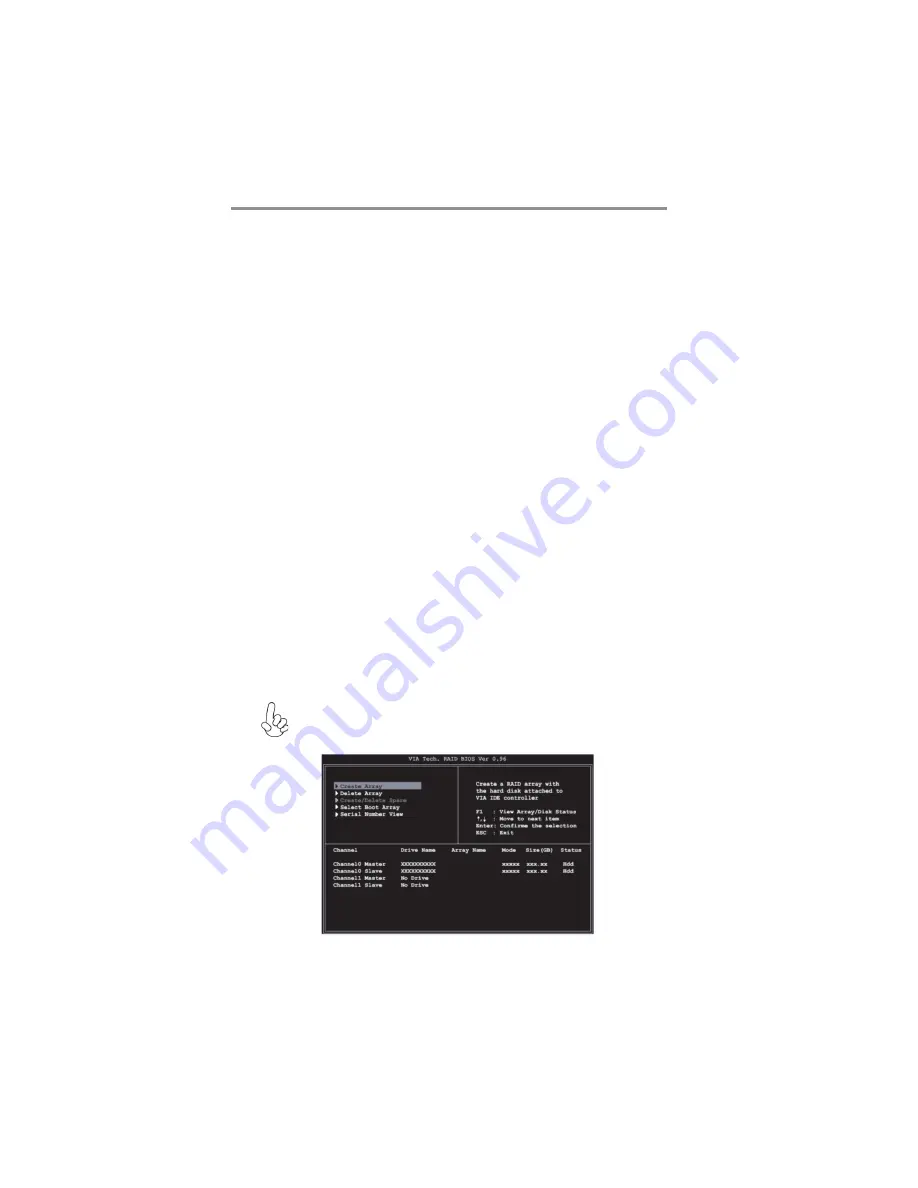
Entering VIA Tech RAID BIOS Utility
1 Boot-up your computer.
2 During POST, press <TAB> to enter VIA RAID configuration utility.
The following menu options will appear.
The RAID BIOS information on the setup screen shown is for
reference only. What you see on your screen may not by exactly
the same as shown.


