


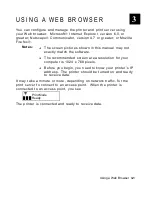


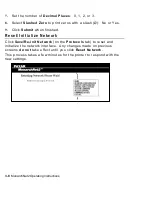


Using a Web Browser
3-5
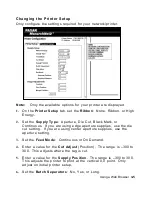
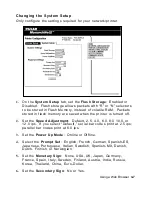
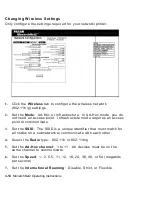
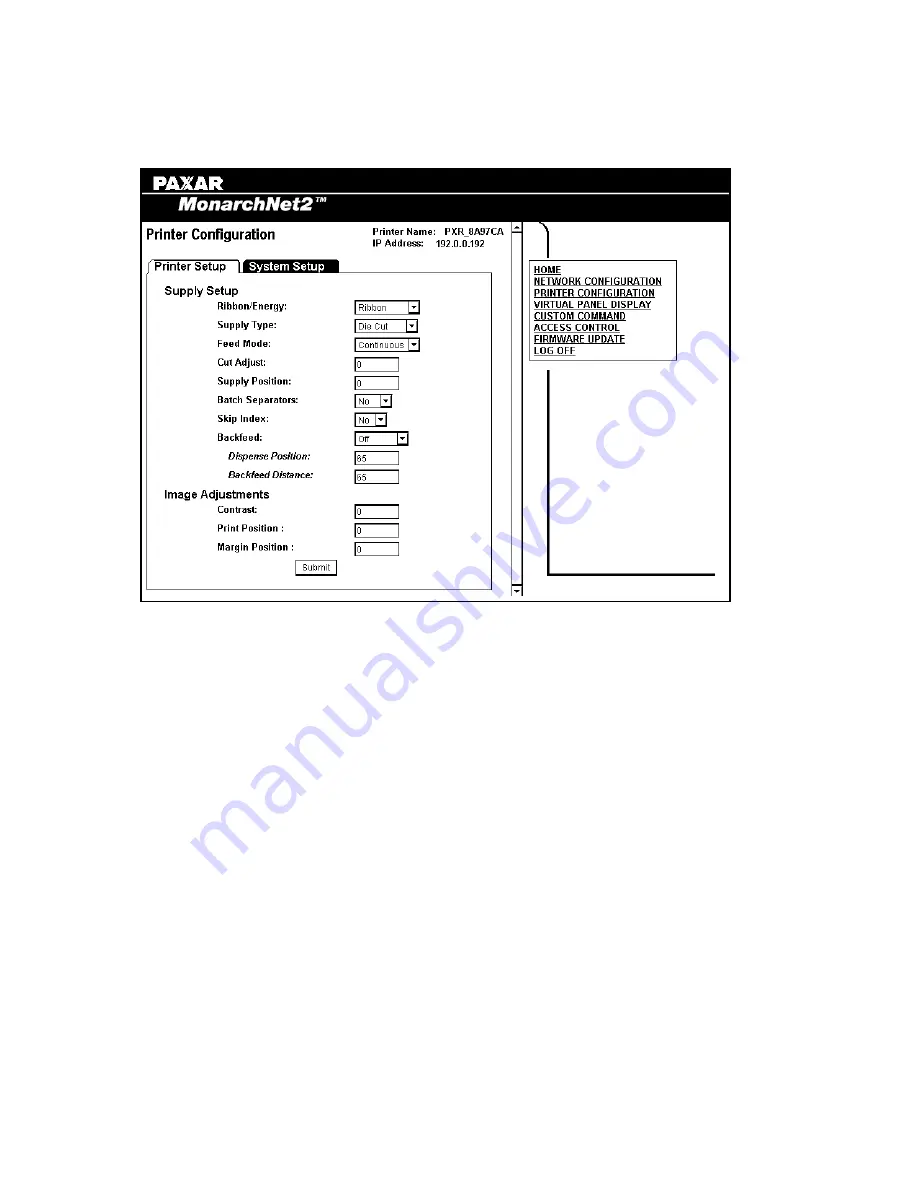
Changing the Printer Setup
Only configure the settings required for your network/printer.
Note:
Only the available options for your printer are displayed.
1.
On the
Printer Setup
tab, set the
Ribbon
: None, Ribbon, or High
Energy.
2.
Set the
Supply Type
: Aperture, Die Cut, Black Mark, or
Continuous. If you are using edge aperture supplies, use the die
cut setting. If you are using center aperture supplies, use the
aperture setting.
3.
Set the
Feed Mode
: Continuous or On Demand.
4.
Enter a value for the
Cut Adjust
(Position). The range is –300 to
300. This adjusts where the tag is cut.
5.
Enter a value for the
Supply Position
. The range is –300 to 300.
This adjusts the printer to print at the vertical 0,0 point. Only
adjust on initial printer setup.
6.
Set the
Batch Separators
: No, Yes, or Long.
Summary of Contents for Monarch 9860
Page 6: ...iv ...
Page 16: ...1 10 MonarchNet2 Operating Instructions ...
Page 34: ...2 18 MonarchNet2 Operating Instructions ...
Page 84: ...4 24 MonarchNet2 Operating Instructions ...
Page 100: ...6 8 MonarchNet2 Operating Instructions ...
Page 112: ...iv MonarchNet2 Operating Instructions ...
Page 113: ......
Page 114: ......