background image

4.6  Troubleshooting within Novell

This section describes the options available for diagnosing possible
problems that may occur with the PeNet

TM

Print Server unit.

The Novell set up utility, UCONNECT can be used to force print a

Status Page to the connected printer.  Select Force Status Page from
the main menus within UCONNECT.

General

No Power LED

1) Check that external power supply adapter is correct type and is 

functioning correctly.

2) Ensure DC connector to the Print Server is seated correctly.

3) If you are relying only upon interface power on pin 18 of the 

Centronics interface, be sure the output is 5 V DC (TTL Spec.).

Status Page Not Printed

1) The status page prints only within 30 seconds of power-up or when 

forced by software (see Test Section 4.3)

2) The power-on status page option may be disabled (see 

General Configuration Section 4.2.1)

3) The Postscript printer option may be set incorrectly for your printer 

(see  General Configuration Section 4.2.1)

4) Your printer may have a large internal buffer, in which case the 

status page may have spooled to your printer but is waiting for a 
timeout or command in order to print.  (Check your Printer manual.)

(continued)

20

4.4  Printing within Novell

It will be of great benefit to users who are not familiar with the Novell

printing environment to obtain the Novell flip-guide entitled “Novell
Quick Access Guide” before continuing with this section.  Read the
chapter entitled “PRINTING” to gain a clearer understanding of the
Novell printing system.  More information is available from Novell’s
Concepts and Print Server manuals.

The PeNet

TM

Print Server interface fully supports all common Novell

print commands including  CAPTURE, NPRINT and PCONSOLE. 

e.g. NPRINT 

testfile.doc PS=PESERV Queue=TEST

This command prints a document called ‘testfile.doc’ to the print

queue called TEST which is serviced by a Print Server called PESERV.

4.5  Upgrading within Novell

The PeNet

TM

Print Server is equipped with 128k Bytes of FLASH

EPROM which is used to store the operating code and also the units
configuration data.  If it is necessary to upgrade the units operating
system (for example if support for new protocols is added) this may be
easily achieved by transmitting the new operating system to the unit
over the network.  Once transmission is complete, this new code will be
permanently stored in the units FLASH memory.

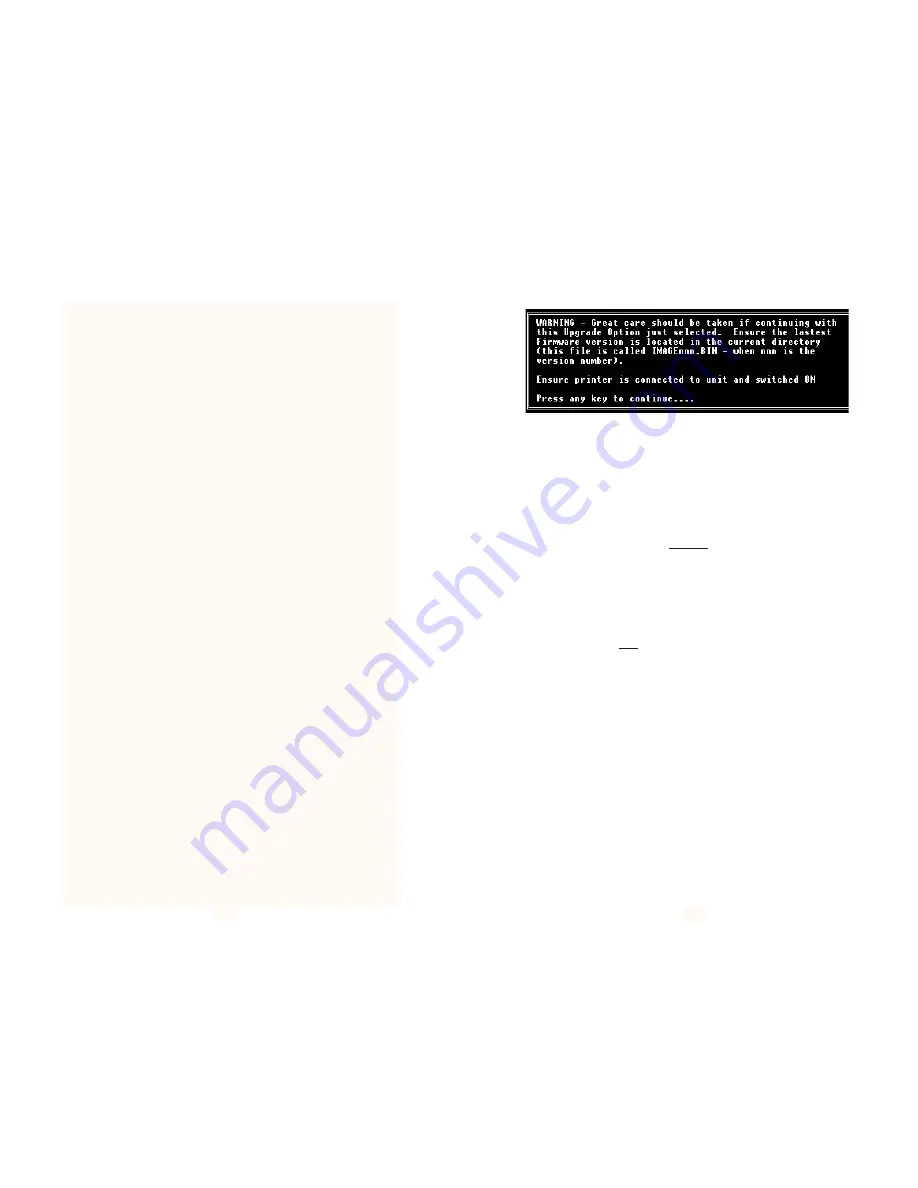
Upgrading under Novell is achieved by selecting the UPGRADE

option from the UCONNECT main menu.  Ensure that the units new
operating system (supplied on a single 3.5 inch diskette containing a
single file called IMAGEnnn.BIN ) has been copied to the same
directory that contains UCONNECT.EXE.

Enter the NIC and Network address of the unit to be upgraded and

then enter the UPGRADE PASSWORD when prompted (rather than the
CONFIGURATION PASSWORD with does not permit FLASH
upgrades).  Once communication to the unit in question has been
achieved, a window will appear on the screen displaying the progress of
the file transfer from UCONNECT to the Print Server (see following
page).  Once this window disappears, the FLASH upgrade is complete.

(continued)

19

Summary of Contents for MODEL 2126

Page 1: ...USER MANUAL MODEL 2126 PeNetTM Miniature 10Base2 to Parallel Print Server SALES OFFICE 301 975 1000 TECHNICAL SUPPORT 301 975 1007 07M2126 A Doc 081021UA Revised 3 07 96...

Page 2: ...warranties expressed or implied and the installation or use of this product shall be deemed an acceptance of these terms by the user 1 1 Radio and TV Interference The Model 2126 generates and uses ra...

Page 3: ...e of power loss the Model 2126 can restore connection to servers that are downed It also supports all the Novell printing and print server features The PeNetTM supports print speeds greater than 60 00...

Page 4: ...er status page b Is your printer set up for Postscript If so this will interfere with the default set up of the Print Server The status page may be garbled or may not print at all See Section 4 8 on G...

Page 5: ...assword are as allocated in PCONSOLE 3 Check that there is a connection available for the Print Server use Monitor on the Server Console 4 If Selective Login is enabled ensure correct File Server name...

Page 6: ...the menus use the arrow keys to scroll up and down between menu items The esc key is a toggle switch used to select and deselect menu items to be edited The ENTER key is used to update the file and m...

Page 7: ...the arrow keys to scroll between lines Use the esc key to select and deselect search methods Press ENTER to update the file with your selections and go to the next screen 11 6 The Start Scan for Prin...

Page 8: ...of Novell compatible network operating systems This section will guide you through the various configuration options 4 2 1 General Configuration The first option on the Available Configuration Options...

Page 9: ...nfigure Use the arrow and esc keys to scroll and select the print server you wish to configure Then press ENTER 15 2 Once you have selected a print server to configure you will receive the Advanced No...

Page 10: ...il the Print Server is rebooted 17 Warning If you select Yes you will lose all changes you have made in the configuration process 2 After you have sent your configuration changes to the print server a...

Page 11: ...understanding of the Novell printing system More information is available from Novell s Concepts and Print Server manuals The PeNetTM Print Server interface fully supports all common Novell print com...

Page 12: ...N This section tells how to use the Print Server with a TCP IP network Functions described include locating the Print Server on the network configuration initialization testing printing and FLASH EPRO...

Page 13: ...nd PESETUP Enter Setup Password PATTON Menu Displays Once connection to the Print Server has been achieved using the Telnet Protocol it is then simply necessary to enter the command PESETUP to enter t...

Page 14: ...use SMIT to add a host with the PeNetTM Print Server s Host Name Add a remote queue and specify Destination Host as above and Queue on Remote Printer Pport1 or other PeNetTM Print Server port Set the...

Page 15: ...based method of FLASH upgrade it is firstly necessary to establish an FTP connection to the Print Server in the same way as that used when printing to the unit via FTP Typically this will be achieved...

Page 16: ...l wall mount 120V AC domestic 220V AC international Temperature Range 2 60 C 37 140 F Altitude 0 10 100 feet Humidity Up to 95 non condensing Dimensions 4 0 x 2 1 x 0 8 Weight 3 oz max 29 APPENDIX B I...

Reviews: