


Advanced BIOS Features
13
Security Option
If you have installed password protection, this item defines if the password is required at system start up, or if it is only
required when a user tries to enter the Setup Utility. The default setting is Setup.
MPS Version Control for OS
This specifies the version of the Multiprocessor Specification (MPS) to be used. Version 1.4 has extended configura-
tion tables to improve support for multiple PCI bus configurations and provide future expandability - use this for NT,
and possibly Linux. It is also required for a secondary PCI bus to work without the need for a bridge. Leave it as 1.1 for
older server Operating Systems. The default setting is 1.4MPS Version Control For O.S 1.4.
OS Select For DRAM > 64 MB
This item is only required if you have installed more than 64 MB of memory and you are running the OS/2 operating
system. Otherwise, leave this item at the default. The default setting is Non-OS2.
Video BIOS Shadow
This function, when enabled allows VGA BIOS to be copied to the system DRAM for enhanced performance. The
default setting is Enabled.
Small Logo (EPA) Show
Determines whether the EPA logo appears during boot up. The default setting is Enabled.
Press <Esc> to return to the main menumenu.
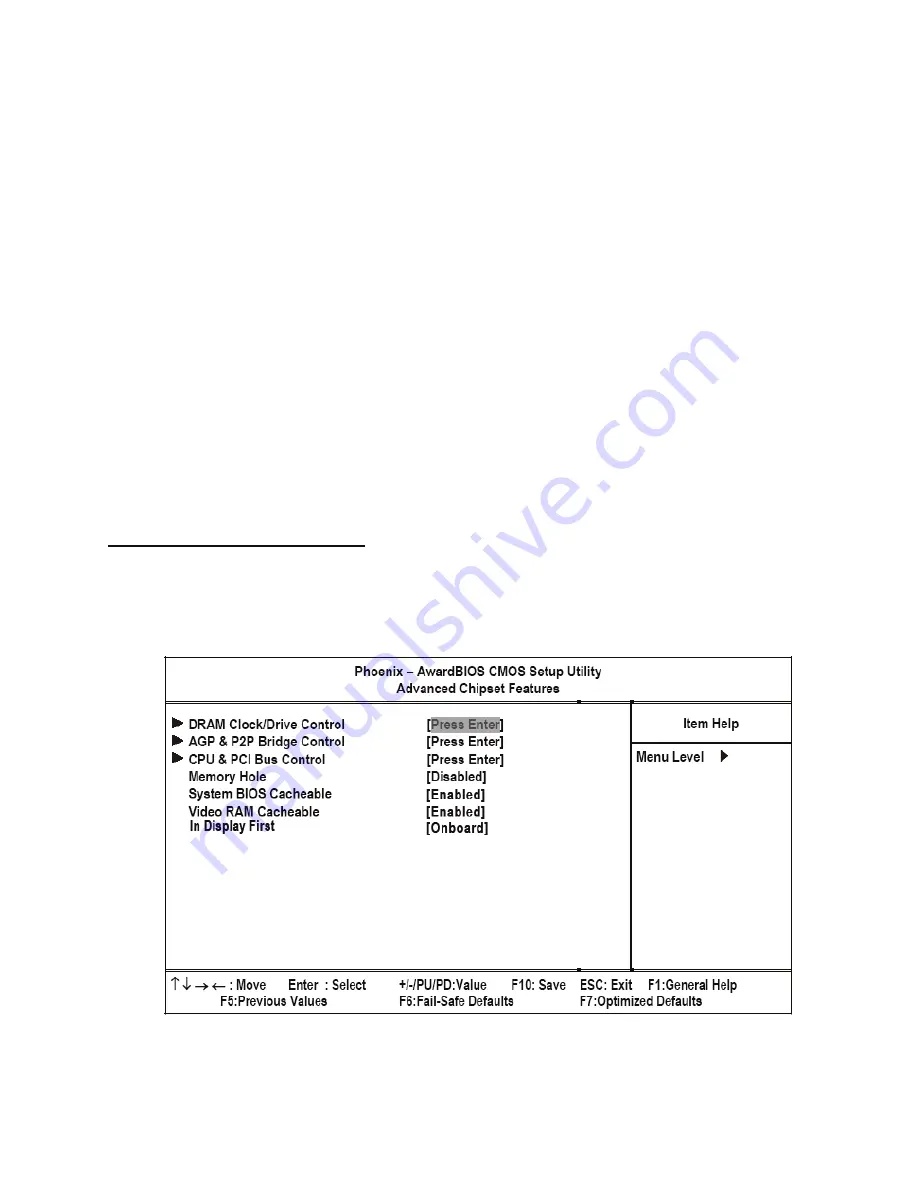
Advanced Chipset Features
This option displays critical timing parameters of the mainboard. Leave the items on this menu at their default settings
unless you are very familiar with the technical specifications of the system hardware. If you change the values incor-
rectly, you may introduce fatal errors or recurring instability into the system.
Figure 2.4
Advanced Chipset Features menu
Summary of Contents for PT-5700
Page 1: ...PT 5700 Service Manual...
Page 2: ......
Page 8: ...vi...
Page 14: ...6 Getting Started...
Page 42: ...34 BIOS Setup Utility...
Page 48: ...40 Installing Drivers and Software 5 Click Next to continue 6 Click Next to continue...
Page 50: ...42 Installing Drivers and Software 4 Click Install to continue 5 Click Finish...
Page 53: ...Touch screen driver 45 8 Click Next to continue 9 Click Next to continue...
Page 62: ...54 Locating the Problem...
Page 80: ...72 Replacing Field Replaceable Units FRUs 4 Remove the waterproof seal...