5. Security
3160-A2-GB24-10
March 2001
5-5
Acquiring/Releasing the User Interface
You can access the user interface from either the front panel, the COM port, the
MODEM port (for standalone DSU/CSUs), or the SDCP (for carrier-mounted
DSU/CSUs). The DSU/CSU allows only one user interface to be active at a time.
The front panel is the default user interface at power-on or after a reset. It is also
the default during a software download or when a failure occurs at either the local
or remote PC interface.
You can switch an inactive user interface to active if:
The current active user interface has had no activity (no key was pressed) for
at least five minutes.
The active user interface has been released with the Release command.
The active interface connection is broken. This includes the call disconnect for
a modem interface or the termination of the front panel emulation program on
a locally attached PC (if the PC supports DTR) or the termination of the async
terminal interface on a remote or locally attached terminal.
Acquiring the Active User Interface
To acquire the active user interface, press any key. If you are using the PC
interface, use the mouse to click on the desired Function key.
The top-level menu screen appears on the active user interface, regardless of
what screen was displayed at the previous active user interface.
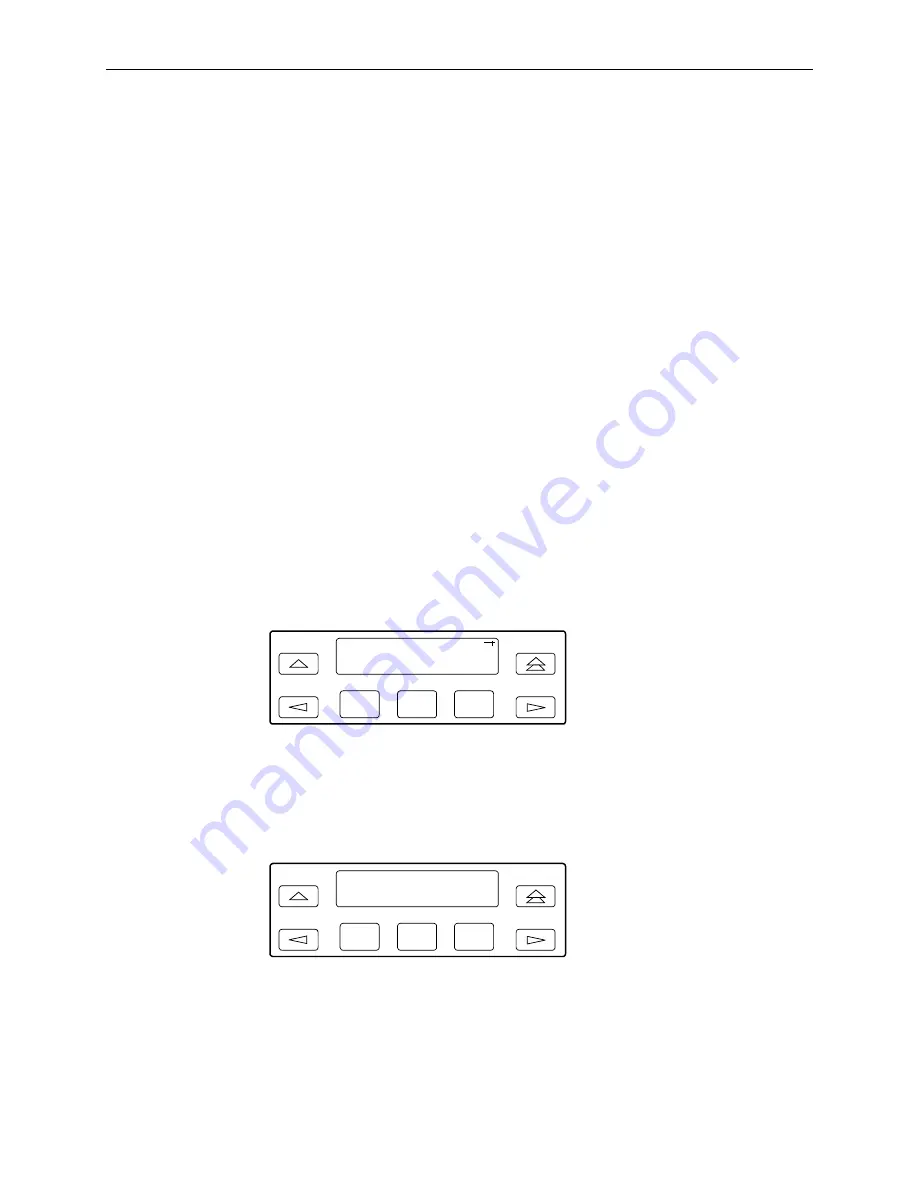
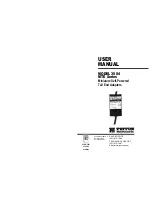
The inactive interface displays the following message when a Function key is
pressed or a connection is made on the inactive user interface and control cannot
be switched because the currently active interface is in use. On the screen, either
Ft. Panel (front panel), Com Port, Modem, or SDCP is displayed in the user
interface (
User I/F
) field.
F1
F2
F3
DSU ESF
Stat Test Cnfig
F1
F2
F3
DSU ESF
User I/F active
Summary of Contents for 3165
Page 14: ...Contents viii March 2001 3160 A2 GB24 10 ...
Page 18: ...About This Guide xii March 2001 3160 A2 GB24 10 ...
Page 26: ...1 Introduction 1 8 March 2001 3160 A2 GB24 10 ...
Page 38: ...2 Installation 2 12 March 2001 3160 A2 GB24 10 ...
Page 54: ...3 Using the Front Panel 3 16 March 2001 3160 A2 GB24 10 ...
Page 102: ...4 Configuration 4 48 March 2001 3160 A2 GB24 10 ...
Page 110: ...5 Security 5 8 March 2001 3160 A2 GB24 10 ...
Page 162: ...8 Testing 8 24 March 2001 3160 A2 GB24 10 ...
Page 164: ...A Front Panel Menu A 2 March 2001 3160 A2 GB24 10 ...
Page 222: ...D Configuration Worksheets D 14 March 2001 3160 A2 GB24 10 ...
Page 240: ...E Pin Assignments E 18 March 2001 3160 A2 GB24 10 ...
Page 272: ...F SNMP MIB Objects F 32 March 2001 3160 A2 GB24 10 ...
Page 280: ...G IP Network Addressing Scenarios G 8 March 2001 3160 A2 GB24 10 ...
Page 300: ...J Equipment List J 2 March 2001 3160 A2 GB24 10 ...


