


-
-
64
5.2 Consumables replacement
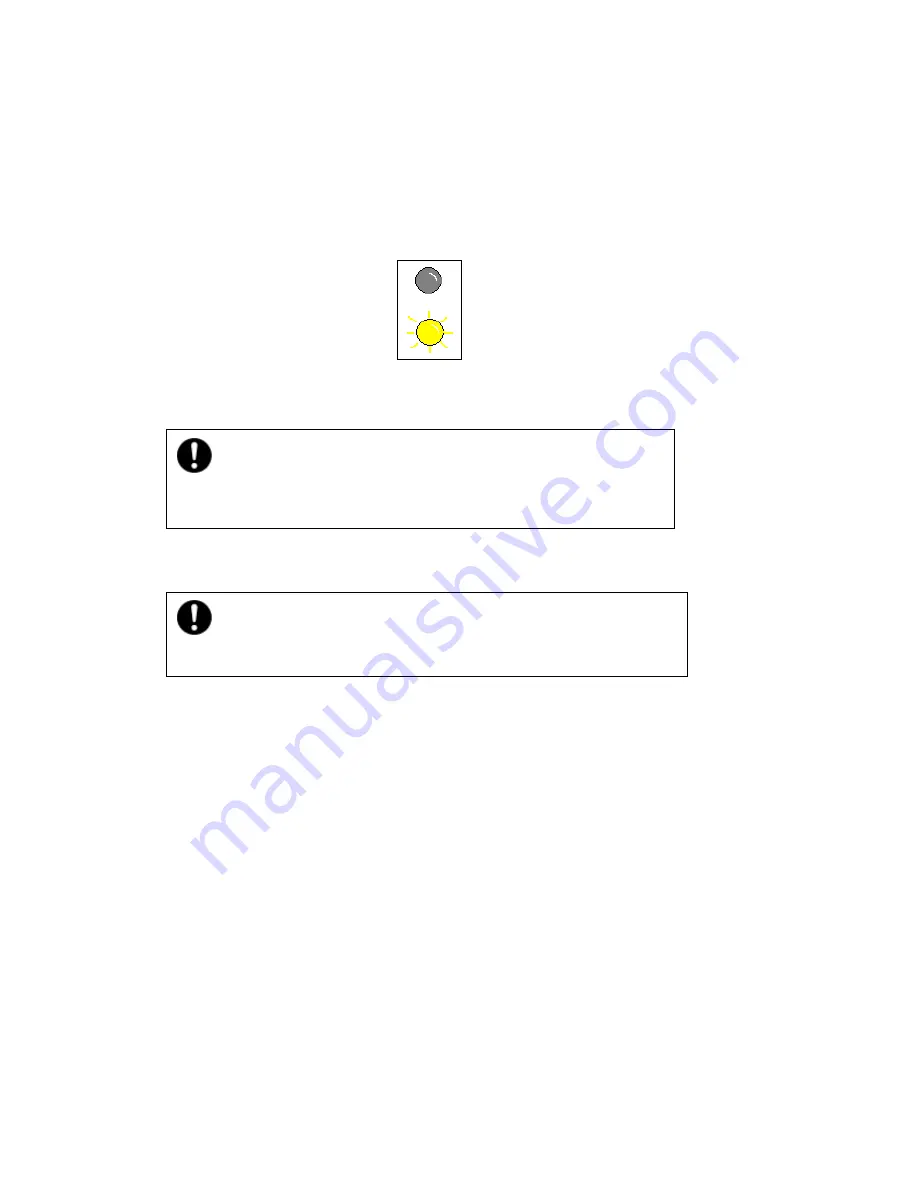
When the LED indicator shows the following status it means the print cartridge has come to the
end of its life. Please replace with a new cartridge before running out of toner.
The steps to replace print cartridge are as follows:
1) Make sure the printer is powered off.
2) Open the discharge tray, grasp toner cartridge handle and pull cartridge out.
3) Unpack a new cartridge, and shake the print cartridge gently a few times to distribute toner
evenly inside.
4) R
emove
the
drum shutter from the new cartridge and place the cartridge in the printer.
Insert the cartridge into the guides, then push gently but firmly until the cartridge snaps into
place.
Note: Remember to install the cartridge in the printer immediately after taking off the drum
shutter to minimize exposure to light, since the light will damage the OPC drum.
5) Cover discharge plate, switch on the printer and the “Toner Error” indicator should be off.
Please check that print cartridge installation is correct if the indicator is still on; if the
installation is incorrect, please reinstall it correctly. Please contact the service centre if the
problem is still not resolved,
6) Print a test page.
The Indicator
Warning: Be careful when removing the cartridge, because the toner in it
may stain your cloths.
Place the cartridge on a piece of paper, to avoid dropping the cartridge
accidently.
Summary of Contents for P1000 Series
Page 1: ...Pantum Monochrome Laser Printer Service Manual P1000 P2000 Series...
Page 8: ...vii 6 3 4 Paper jam 79 6 3 5 Image defects 83...
Page 9: ...1 Chapter 1 Product description 1 1 Features 1 2 Overview 1 3 Specification...
Page 39: ...31 Chapter 3 Operation Theory 3 1 Electronic Configuration 3 2 Structure...
Page 43: ...35 3 2 Construction 3 2 1 Print engine imaging system...
Page 52: ...44 4 2 Disassembly flow chart...
Page 56: ...48 then release them to remove the top cover...
Page 58: ...50 2 Release bottom screws 3 Loosen hooking tabs gently and then remove the right side cover...
Page 69: ...61 Chapter 5 Regular maintenance 5 1 Cleaning Inside Printer 5 2 Consumables Replacement...


