Before attempting to connect or operate this product,
please read these instructions carefully and save this manual for future use.
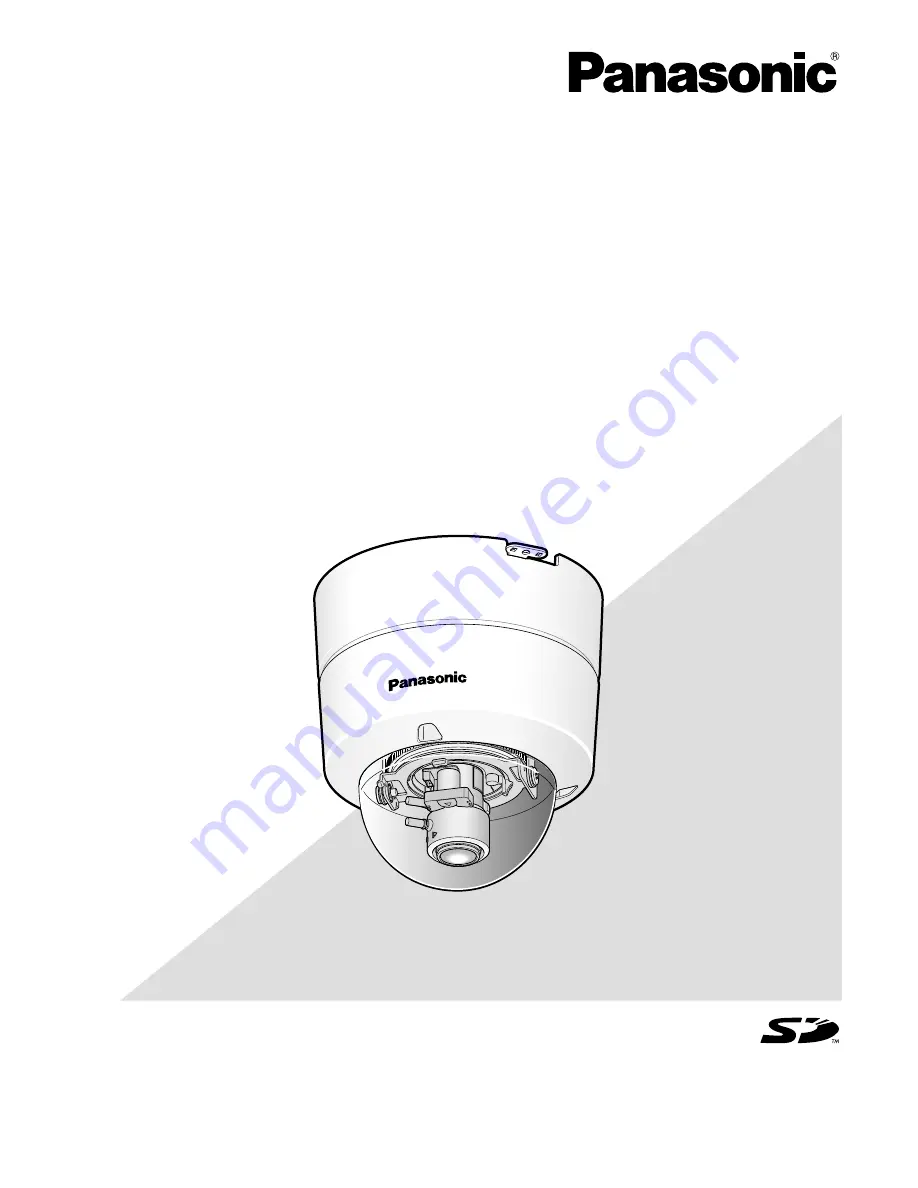
Network Camera
Setup Instructions
Model No.
WV-NF302
Page 1: ...Before attempting to connect or operate this product please read these instructions carefully and save this manual for future use Network Camera Setup Instructions Model No WV NF302 WV NF302...
Page 2: ...een settings Multi screen 30 Configure the alarm settings Alarm 31 Set the VMD areas VMD area 35 Configure the settings relating to the authentication User mng 39 Configure the settings relating to th...
Page 3: ...s and product contained in these operating instructions may be trademarks or regis tered trademarks of their respective owners Viewer software Images will not be displayed when the viewer software Net...
Page 4: ...1 Administrator How to display the setup menu Step 1 Display the Live page Operating instructions Step 2 Click the Setup button on the Live page The window with the user name and password entry field...
Page 5: ...dow Step 3 After completing each setting item click the Set button to apply them Important When there are two or more Set and Execute but tons on the page click the respective button to the edited set...
Page 6: ...display the Alarm page The settings relating to alarm occurrences such as set tings for the alarm action at an alarm occurrence the alarm occurrence notification and the VMD area settings can be conf...
Page 7: ...the video motion detection VMD func tion Refer to page 52 for further information 0 Maintenance button Click this button to display the Maintenance page System log check firmware upgrade and reset of...
Page 8: ...he current hour reflecting this setting when entering the current time and date for Date time To hide time and date select Off Default 24h Date time display format Select a date time display format Wh...
Page 9: ...s Select Off to turn off the LEDs at all times Default On Notes Link LED This LED will light when communication with the connected device is available Orange Access LED This LED will light when access...
Page 10: ...select a level to be notified at from the following 50 20 10 5 2 Default 50 Note Notification will be provided each time the remaining capacity of the SD memory card reached the values above For examp...
Page 11: ...or manual saving is per formed select an image saving interval from the follow ing 0 1 fps 0 2 fps 0 33 fps 0 5 fps 1 fps Default 1 fps Number of images to be saved Select a number of alarm images to...
Page 12: ...system logs Save obtain images recorded using the SD memory recording function of Panasonic s net work disk recorder Play download images on the SD memory card It is impossible to access the SD memory...
Page 13: ...ics Approx 875 pics Approx 437 pics Approx 219 pics Approx 8 000 pics Approx 4 000 pics Approx 2 000 pics Approx 1 000 pics Approx 500 pics Approx 250 pics 0 Super fine 1 Fine 2 3 4 Image quality Imag...
Page 14: ...000 pics Approx 10 500 pics Approx 5 250 pics Approx 2 625 pics Approx 1 312 pics 5 Normal 6 7 8 9 Low Image quality Capacity of SD memory card 2 GB 1 GB 512 MB 256 MB 128 MB 64 MB Approx 24 000 pics...
Page 15: ...ss images via a network In this case refer to the network administrator Step 1 Click the Execute button of Access images The user authentication window will be displayed Step 2 Click the OK button aft...
Page 16: ...images associated with the logs are to be downloaded For example enter C alarm to designate the folder alarm under drive C Enter 3 to 128 characters Enter alphanumeric characters except the following...
Page 17: ...images are to be deleted when the logs are deleted Logs Up to 1 000 logs will be kept When more than 1 000 logs are filed the older logs will be overwritten by the newer logs In this case the oldest...
Page 18: ...aved Images Images will not be saved Logs Logs will not be saved Images Images will be saved When available capacity of the SD memory card ran out the older images will be overwritten by the newer ima...
Page 19: ...ow the logs and images are saved depending on the settings for FTP error Log tab On FTP error Save logs SD memory card tab SD memory card Use Save trigger FTP error Logs Up to 3 000 logs will be kept...
Page 20: ...e capture size and Image quality on this section Refer to page 21 for further information about the settings relating to MPEG 4 images Refresh interval JPEG Select an interval to refresh the displayed...
Page 21: ...G 4 bit rate is synchronized with Bandwidth control bit rate on the Network tab of Network page page 46 For this reason the bit rate may be lower than the value when any value with an asterisk on the...
Page 22: ...vailable port number 1024 50000 Only even num bers are available Default 33004 Multicast address 2 Enter the multicast IP address Images and audio will be transmitted to the designated IP address Avai...
Page 23: ...red while monitoring images displayed on the Image Privacy tab The following are descriptions of how to configure the settings relating to image adjust privacy zone etc Image adjust Click the Setup bu...
Page 24: ...scene Depending on the brightness level illuminance the iris will automatically be controlled together with the shutter speed adjustment to control light Indoor scene The shutter speed will automatic...
Page 25: ...ose button Click this button to close the Image adjust setup menu Off Max 2 30s Max 4 30s Max 6 30s Max 10 30s Max 16 30s Default Off Important When On is selected for Auto slow shutter frame rate may...
Page 26: ...ll appear and the image displayed on the Image Privacy tab will be divided into 48 6x8 Step 3 Click the divided areas to be masked The clicked areas will be masked and will become white To cancel mask...
Page 27: ...n the other priva cy zone When selecting a zone to create the first privacy zone on images the selected zone will be set as privacy zone 1 The subsequently created privacy zones will be set in numeric...
Page 28: ...n are simultaneously available Note Howling may be generated depending on usage conditions If howling is generated prevent sound generated by the PC from entering the PC micro phone Default Off Note W...
Page 29: ...longer inter val for Audio output interval PC to Camera Audio may sometimes not be heard depending on the network environment Audio output port PC to Camera Enter the transmission port number the por...
Page 30: ...4 groups 16 cameras can be registered When the HTTP port number for the camera had been changed enter as follows Enter IP address of the camera port number for example Example when entering an IPv4 ad...
Page 31: ...ings relating to the alarm image and the alarm output terminal Alarm The settings relating to the alarm can be configured in this section Terminal alarm Determine whether or not to use the terminal al...
Page 32: ...n images are transmitted by multiple users page 33 If this happened set the image refresh interval lower Timing of notification or saving of image file may sometimes take some time when the transmissi...
Page 33: ...smission interval will be displayed Image capture size Select QVGA VGA or 1 280 x 960 for the image capture size of images to be transmitted to the FTP server or of an image to be attached to the alar...
Page 34: ...e to determine whether to open or close the alarm output terminal when outputting the alarm signals Open The alarm output terminal will open when out putting the alarm signals Normally close Close The...
Page 35: ...n Click the Delete button respective to the VMD area to be deleted The outline of the VMD area will disappear Even after the outline of the VMD area disappeared the respective VMD area will not be del...
Page 36: ...ion sensitivity will be applied to all of the VMD areas Status of motion detection will be displayed in the detection area according to the currently being dis played area and the detection sensitivit...
Page 37: ...the destination address Up to 4 destination addresses can be registered To provide notification by e mail when an alarm has occurred check the Alarm checkbox respective to the desired address To provi...
Page 38: ...cation Alarm Diag Destination IP address Enter the destination IP address of the Panasonic alarm protocol from the following Host name is unavailable for the destination IP address Up to 8 destination...
Page 39: ...har acters Default None blank Password Retype password Enter the password Number of characters for the password 4 32 char acters Default None blank Note When the user name already in use is entered an...
Page 40: ...the IP address Notes When IP address subnet mask is entered it is pos sible to restrict PCs in each subnet For example when 192 168 0 1 24 is entered and 2 Camera control is selected for the access l...
Page 41: ...can access the cam era will be limited Destination IP address IPv4 Enter the destination IPv4 address Destination IP address IPv6 Enter the destination IPv6 address Stream type Select MPEG 4 or JPEG M...
Page 42: ...rver address 1 128 characters Important When entering the host name for SMTP server address POP server address it is necessary to configure the DNS settings on the Network tab of the Network page page...
Page 43: ...ost name for FTP server address it is necessary to configure the DNS set tings on the Network tab of the Network page page 46 User name Enter the user name login name to access the FTP server Number o...
Page 44: ...ronizing with the NTP server will be used as the standard time of the camera Default Manual NTP server address Enter the IP address or the host name of the NTP serv er Number of characters for the NTP...
Page 45: ...d for the other network cameras and PCs whose IP address is unique Refer to the network administrator for further information about the settings of the server Important When failed to assign IP addres...
Page 46: ...already in use Available port number 1 65 535 Default 80 Port numbers already in use 20 21 23 25 42 53 67 68 69 110 123 161 162 995 10 669 10 670 Line speed Select the line speed for data transmission...
Page 47: ...tion by using the port forwarding function of the router For further information refer to the operating instructions of the router in use Enter Global IP address colon port number in the Address box o...
Page 48: ...our Configure the settings relating to DDNS DDNS Click the DDNS tab on the Network page pages 4 and 5 How to display operate the setup menu The settings relating to DDNS can be configured on this page...
Page 49: ...ity 0 32 char acters Default None blank Important When using the SNMP function it is necessary to enter the community name When no community name is entered the SNMP function will not work System name...
Page 50: ...interval or period if alarms occur frequently Note When FTP error is selected for Save trigger on the SD memory card tab images that have failed to transmit using the FTP periodic image transmission...
Page 51: ...figure the schedule settings of the FTP periodic image transmission Click the FTP img trans tab on the Network page pages 4 and 5 How to display operate the setup menu The settings of schedules to tra...
Page 52: ...o be assigned to the schedule from Schedule mode Off No action will be taken for the respective schedule Alarm permission Alarm input terminal alarm will be received during the period of the schedule...
Page 53: ...ct 24h Step 4 Click the Set button after completing the settings The result will be displayed at the bottom of the win dow Notes When Access permission is selected for Mode select On for User auth pag...
Page 54: ...ime and date at the error occurrence will be displayed Note When Off is selected for Time display format on the Basic tab page 8 time date of logs will be displayed in 24 hour format Error description...
Page 55: ...the set tings to the default after the firmware upgrade Step 4 Click the Upgrade button The confirmation window will be displayed When Do not reset the settings to the default after the upgrade is sel...
Page 56: ...the default and load the default HTML files Click the Execute button to reset the settings of the camera and the HTML files to the default Note that the network settings will not be reset Reboot Clic...
Page 57: ...Access restrictions by changing the HTTP port It is possible to prevent illegal access such as port scanning etc by changing the HTTP port number page 46 Important Design and enhance security counterm...
Page 58: ...een Step 1 Click the Setup button The setup screen is displayed Clicking an underlined item will display the Help pop window If is possible to configure the settings while displaying the Help pop up w...
Page 59: ...orrectly The DNS server may be down Ask the network administrator The IP address of the server may be incorrect Check if the IP address of the server is configured correctly The SMTP server may be dow...
Page 60: ...or The login user name will be displayed when On is selected for User authenti cation The IP address of the PC currently accessing to the camera will be displayed when On is selected for Host authenti...
Page 61: ...ously configured on the setup menus will be initialized Is the LAN cable category 5 firmly connected to the network connector of the camera Installation Guide Installation Guide Are the set IP address...
Page 62: ...rowser Images are displayed blurry 46 3 9 Installation Guide Is the entered password correct Restart the web browser and enter the password again Access to the SD memory card may be failed Restart the...
Page 63: ...LOCK avail able capacity original capacity indication of the SD memory card will be KB KB Installation Guide 11 Images cannot be saved on the SD memory card Is the brightness setting set at an approp...
Page 64: ...ve page do not display the current status in real time 3 9 Installation Guide Reference pages Cause solution Symptom Is the viewer software installed on the PC Confirm that the viewer software Network...
Page 65: ...ofessional SP2 is installed on the PC in use 1 Right click on the desktop and select Properties from the displayed pop up menu 2 Select Settings from Display Properties and then click the Advanced but...
Page 66: ...layed Security Warning window Depending on the OS installed on the PC the following may occur Follow the instructions below when the following has occurred By performing the following solutions other...
Page 67: ...stination where images are to be saved by the SD memory recording function of Panasonic network disk recorder Destination where log files are to be saved Image failed to transmit to the FTP server by...
Page 68: ...ecaucus New Jersey 07094 Panasonic Canada Inc 5770 Ambler Drive Mississauga Ontario L4W 2T3 Canada 905 624 5010 http www panasonic ca 2007 Matsushita Electric Industrial Co Ltd All Rights Reserved N12...