72
Step3
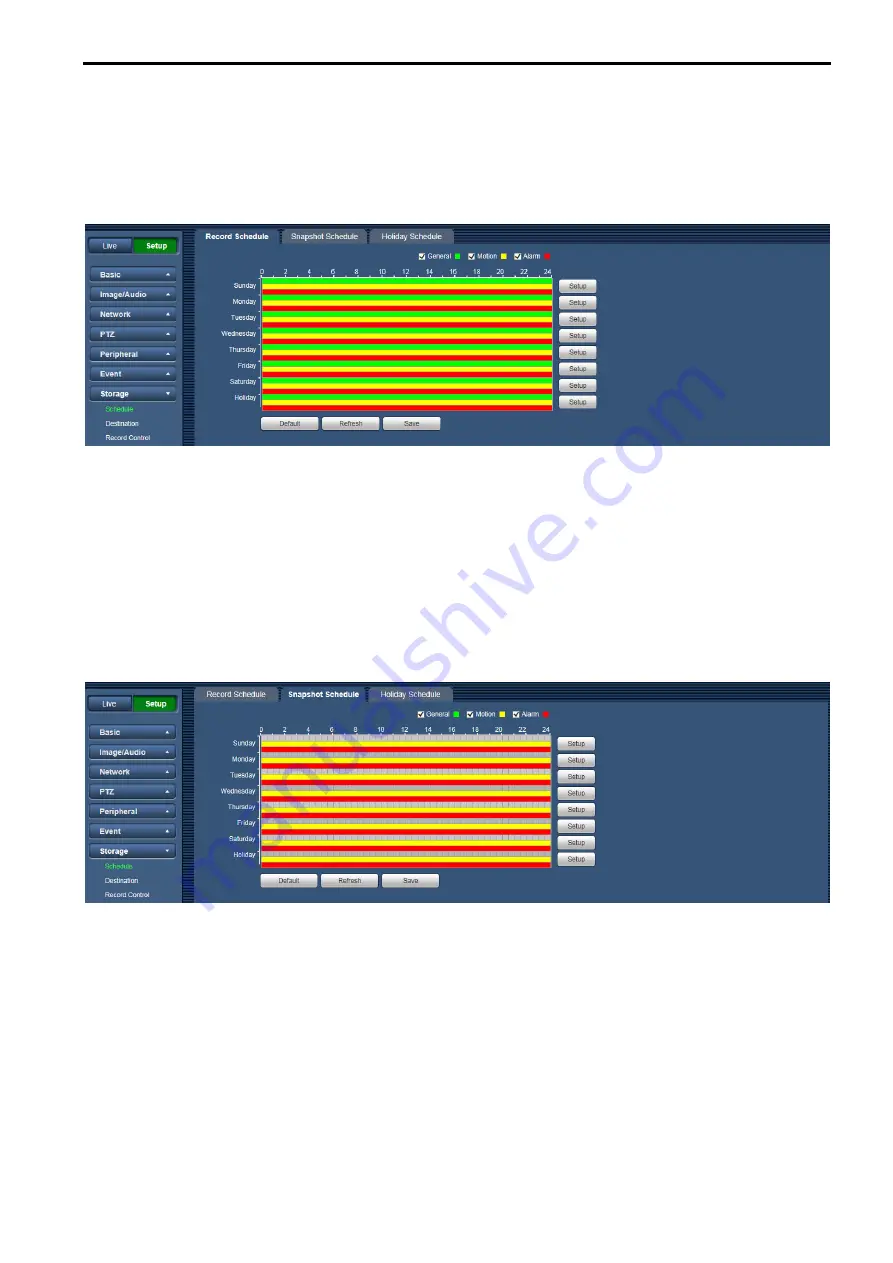
Click on the [Save] button, and return to the [Record Schedule] interface. See Figure 7-61.
•
Green color stands for the general record/snapshot.
•
Yellow color stands for the motion detect record/snapshot.
•
Red color stands for the alarm record/snapshot.
Figure 7-61
Step4
In the [Record Schedule] interface, click the [Save] button. System prompts it is successfully saved.
7.7.1.2 Snapshot
Schedule
Snapshot setup as:
Step 1
Click on the [Snapshot Schedule] tab. See Figure 7-62.
Figure 7-62
Step2
Select each snapshot time for Monday through Sunday, and click on the [Setup] button on the right. See
Figure 7-63.
•
Set snapshot period according to actual need. There are six periods available each day.
•
By checking or unchecking, user can add or delete three types of snapshot schedule: “General”,
“Motion” and “Alarm”.
Note:
•
Period setup can be done by dragging in the [Snapshot Schedule] interface while not releasing left
mouse.


