19
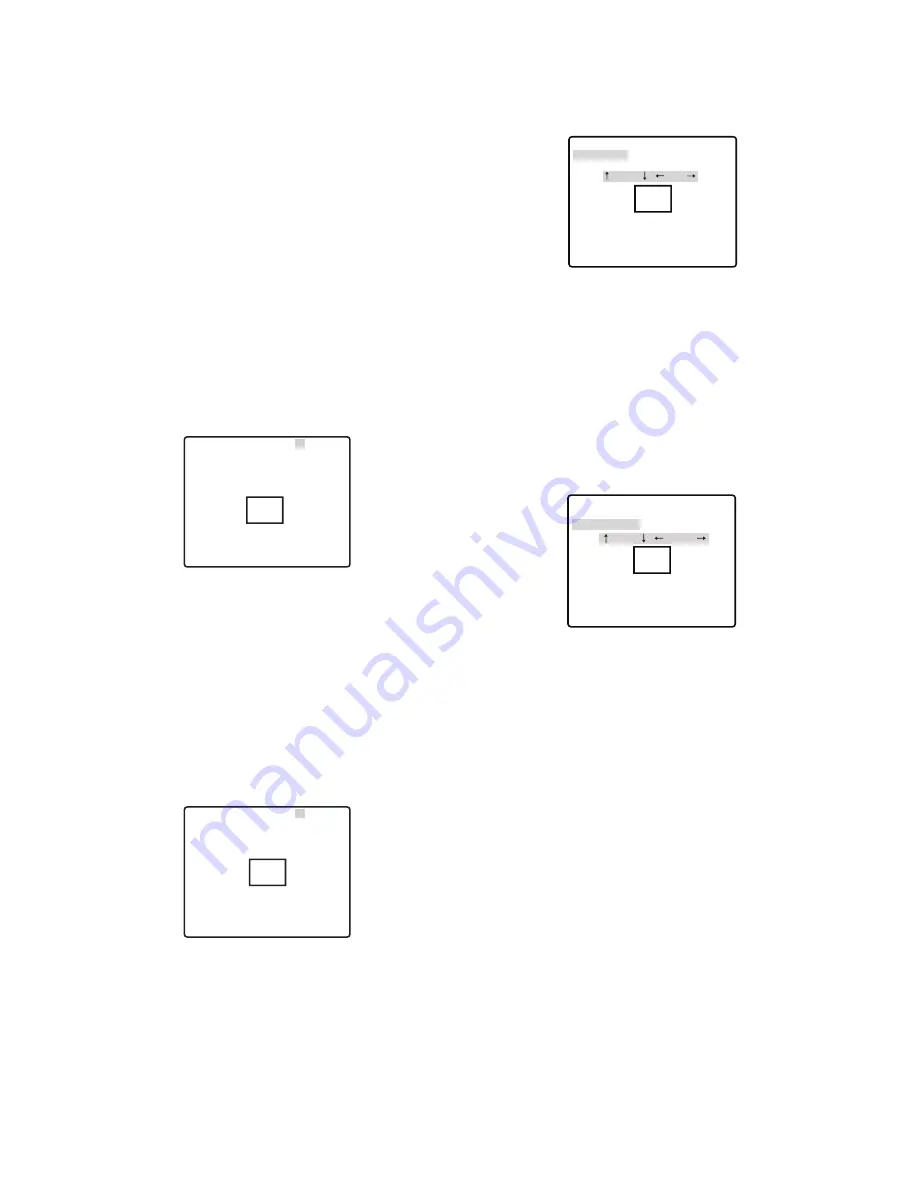
7. Use the joystick to point the camera at the location to
be masked, and then press the CAM (SET) button.
This registers the camera position and returns to
the zone setting menu.
8. Move the cursor to
→
PUSH SET to the right of ZOOM/
FOCUS, and then press the CAM (SET) button.
This will display the ZOOM/FOCUS setting menu.
9. Move the joystick left, right, up and down to adjust
the position of the lens focus, and then press the
CAM (SET) button.
This completes the adjustment procedure and
returns to the zone setting menu.
Privacy zone should be set under low magnification. If
the privacy zone is set under high magnification, it
may shift.
10. Move the cursor to ZONE SCALE, and then tilt the
joystick left or right to change the size of the zone
frame.
Shifting the setting towards the - side makes zone
frame smaller, while shifting towards the + side
makes it larger. Note, that the aspect ratio of the
zone frame is always 3:4. Also, the size of the zone
frame that can be set changes according to the
zoom ratio.
11. Move the cursor to SET, and then press the CAM
(SET) button.
This completes the privacy zone setting procedure
and returns to the zone number selection menu.
Selecting DEL instead of SET deletes the zone settings
and returns to the zone number selection menu.
9
Image Hold Setting (IMAGE HOLD)
Image hold causes the current picture to be frozen until
the camera finishes moving to a preset position. This
function comes in handy when using a network interface
unit for monitoring of camera images over a network.
1. Move the cursor to IMAGE HOLD, and then tilt the
joystick left or right to toggle it ON and OFF.
ON
:
Maintains the last image until the camera
finishes moving to a preset position.
1. Move the cursor to PRIVACY ZONE, and then tilt the
joystick left or right to select a privacy zone setting.
ON (1) :
Turns on the privacy zone function. (Grey)
ON (2) :
Turns on the privacy zone function. (Mosaic)
OFF
:
Turns off the privacy zone function.
The factory default setting is OFF.
Use the following steps to configure privacy zones.
2. When the camera is set to "ON (2)", after accessing
the zone setting menu by following the instructions
in step 3 to 5, move the cursor to ZONE LEVEL, and
then tilt the joystick left or right to change the
concentration of the private zone .
To set private zone by operating steps after step 3.
3. When PRIVACY ZONE is set to "ON (1)" or "ON (2)",
move the cursor to PRIVACY ZONE, and then press
the CAM (SET) button.
This will display the ZONE NUMBER selection menu.
The picture will be wide angle (WIDE) if there is no
privacy zone defined for the current zone number.
4. Move the cursor to ZONE NUMBER, and then tilt
the joystick left or right to select the zone number (1
to 8) you want to configure.
An asterisk (*) to the right of the a number indicates
that it already has a privacy zone configured for it.
Selecting such a zone number zooms the picture to
the zoom setting that was in effect when its privacy
zone settings were configured.
5. Press the CAM (SET) button.
This will display the zone setting menu. The
appearance of the menu depends on zone settings.
The currently configured zone frame will appear in
the centre of the picture.
Performing the remaining steps of this procedure
will delete the current zone frame and replace it
with the new zone frame that you configure.
6. Move the cursor to
→
PUSH SET to the right of PAN/
TILT, and then press the CAM (SET) button.
This will display the PAN/TILT setting menu.
**ZONE NUMBER 1 /8**
RET TOP
→
PUSH SET
→
PUSH SET
•••
I
•
•••
128
- +
PAN/TILT
ZOOM/FOCUS
ZONE SCALE
••
I
•••
2
ZONE LEVEL
SET DEL
RET TOP
**ZONE NUMBER 1 /8**
ZOOM
/ FOCUS
→
PUSH SET
→
PUSH SET
•••
I
•••
128
- +
PAN/TILT
ZOOM/FOCUS
ZONE SCALE
••
I
••••
2
ZONE LEVEL
SET DEL
RET TOP
**ZONE NUMBER 1 /8**
TILT
/ PAN
→
PUSH SET
→
PUSH SET
••
I
••••
2
•••
I
•••
128
- +
PAN/TILT
ZOOM/FOCUS
ZONE LEVEL
ZONE SCALE
SET DEL
RET TOP
**ZONE NUMBER 1 /8**


