7. Self-Diagnostic Functions
7.1. Setting of the Self-Diagnostic Mode
1. Switch the SELECTOR to CD and set to TAPE STOP state. (CD PLAY STOP)
2. Press the /CLEAR for the first two seconds and followed by the FAST
FORWARD keys for another two seconds without releasing the /CLEAR key, it
shall enter into the Self-Diagnostic mode.
3. At the state of [ T ] display, operate as follows:
- Open the CD lid and close it right away.
- Start recording TAPE, and STOP it at once.
4. Press /CLEAR key.
- Self diagnostic results, i.e. the memorized errors during actual operations
and the result of above-mentioned operation shall be displayed alternately.
- If there is no error, the aforementioned display [ T ], shall be kept.
- If the operation in the above mentioned in 4 is made without executing the
procedure in 3, [ H16 ] and [ F69 ] shall be displayed.
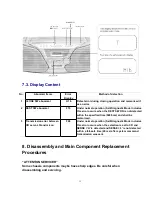
7.2. Display Location
10
Summary of Contents for RXD10 - RADIO CASSETTE W/CD
Page 6: ...6 ...
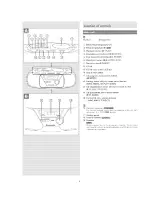
Page 8: ...6 Controls 8 ...
Page 9: ...9 ...
Page 13: ...13 ...
Page 14: ...14 ...
Page 15: ...15 ...
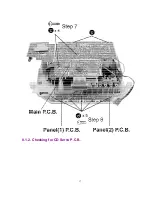
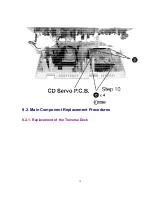
Page 17: ...8 1 2 Checking for CD Servo P C B 17 ...
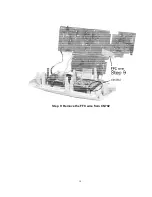
Page 18: ...Step 9 Remove the FFC wire from CN702 18 ...
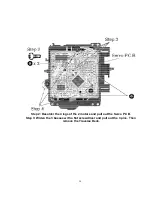
Page 19: ...8 2 Main Component Replacement Procedures 8 2 1 Replacement of the Traverse Deck 19 ...
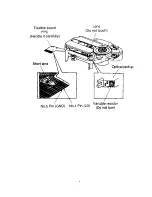
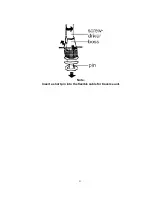
Page 21: ...Note Insert a short pin into the flexible cable for traverse unit 21 ...
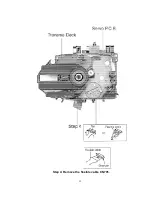
Page 22: ...Step 4 Remove the flexible cable CN701 22 ...
Page 26: ...26 ...
Page 27: ...10 Printed Circuit Board 11 Wiring Connection Diagram 27 ...
Page 28: ...28 ...
Page 29: ...12 Troubleshooting Guide 29 ...
Page 30: ...30 ...


