59
• Make settings according to amplifier
connected to optical audio output as shown in
above table.
• When a dts decoder is not connected, to enjoy
dts DVD, please select audio output other than
dts on the dts DVD menu screen. Otherwise,
there will be no sound from the unit speakers.
*1 Audio output from unit is converted to 48
kHz/16 bit in addition to audio from digital
audio output.
To enjoy high quality sound at 48 kHz/20 bit /
24 bit or 96 kHz, connect the amplifier or
decoder directly to the audio output
connectors, not to the digital audio output
connector. [Select “OFF” at the “LPCM
(DVD)”.]
*2 When connecting an amplifier (with an
optical digital input connector) which does
not contain the Dolby Digital or dts decoder,
be sure to select “OFF”.
If “Bitstream” is selected, starting DVD play
may cause such a high level of noise as to be
harmful to your ears and damage the
speakers.
*3 When a dts decoder is connected, please
select “Bitstream” in “dts”. If “OFF” is
selected, there will be no sound.
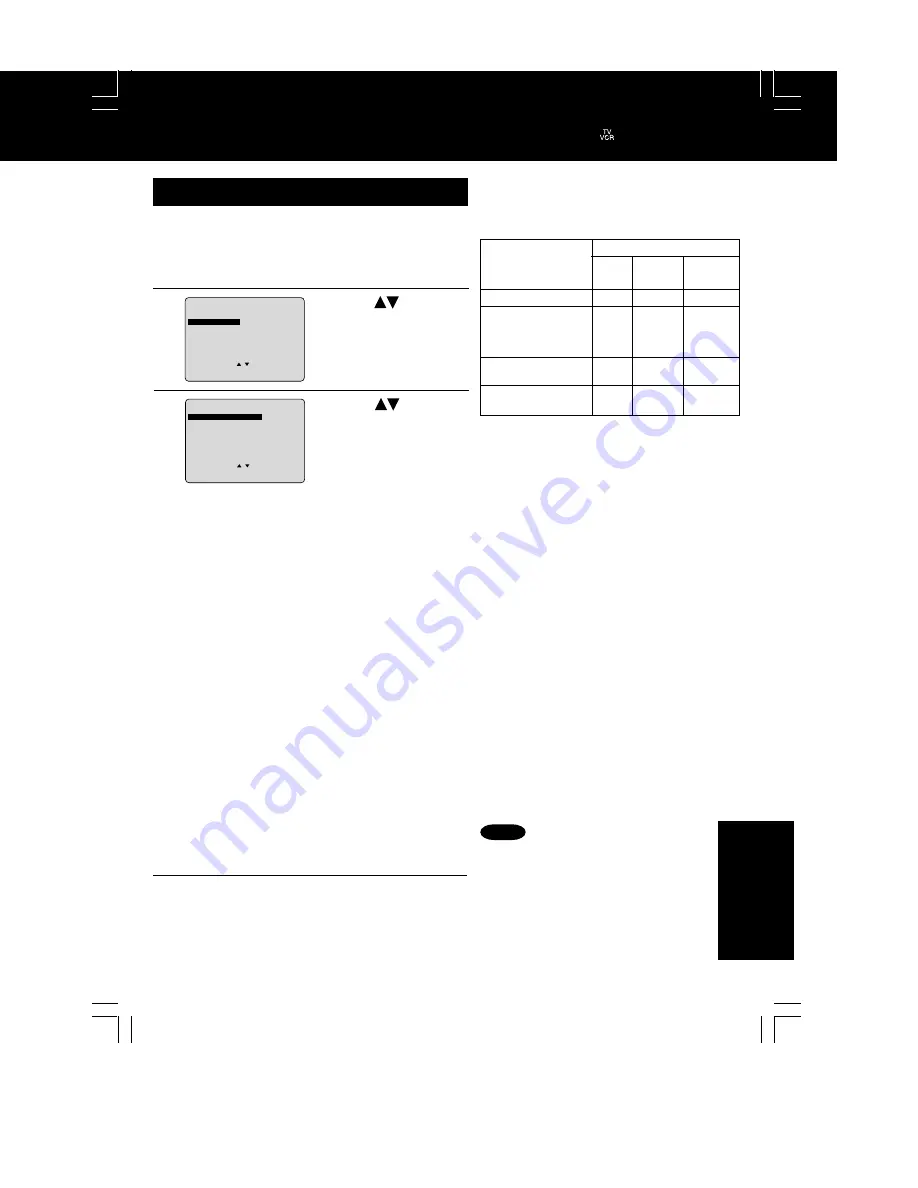
AUDIO OUTPUT
Select the digital output to be output from the
optical digital audio output connector of the unit.
Do steps 1 and 2 on page 58.
■
■
■
■
■
“LPCM (DVD)” selections
OFF: Linear PCM of less than 48 kHz/16 bit is output.
When playing DVDs recorded in linear PCM of
over 48 kHz/20 bit or 96 kHz, no digital audio is
output. (Factory preset)
PCM: When playing DVDs recorded in linear PCM of
48 kHz/20 bit/24 bit or 96 kHz, digital audio
converted to 48 kHz/16 bit is output.
(Digital output of PCM audio is restricted to
48 kHz/16 bit or below for copyright protection.)
■
■
■
■
■
“Dolby Digital” selections
Bitstream:
Dolby Digital bitstream (1ch-5.1ch) is
output. (Factory preset)
OFF:
No output.
■
■
■
■
■
“dts” selections
Bitstream:
dts bitstream is output. (Factory preset)
OFF:
No output.
■
■
■
■
■
“DRC (Dynamic Range Compression)” selections
OFF: Normal audio range is selected. (Factory preset)
ON:
For dynamic sound even at low volume, this is
useful for late-night listening. [Dolby Digital DVDs
only].
■
■
■
■
■
“SURROUND” selections
Surround Sound creates the effect of sound coming from
non-existent rear speakers even when only connected to
a 2-channel stereo system.
OFF: No Surround Sound effect. (Factory preset)
ON:
Surround Sound effect.
1) Press
to select
an item.
2) Press SET
repeatedly for output.
(See below.)
1) Press
to select
“AUDIO OUTPUT.”
2) Press SET to
display screen.
AUD I O OUTPUT
SELECT
:
SET
: SET
END
: ACT I ON
LPCM(DVD)
: OFF
D o l b y D i g i t a l
: B i t s t r e a m
d t s
: OFF
DRC
: OFF
SURROUND
: OFF
DVD MAIN MENU
SELECT
:
SET
: SET
END
: ACT I ON
D I SC LANGUAGES
AUDIO OUTPUT
ST I L L MODE
: F I ELD
TV MODE
: L e t t e r b o x
1
3
2
4
• Turn off other surround effects when
using this surround effect.
• For optimum effect, the distance between
the unit and the listener should be about
3 or 4 times the distance between the
right and left front speakers.
Notes
Recommended setting
LPCM
(DVD)
OFF
PCM*
1
PCM*
1
PCM*
1
Dolby
Digital
OFF
OFF*
2
Bitstream
Bitstream
dts
OFF
OFF*
2
OFF
Bitstream
No amplifier is connected
AV amplifier (with digital
audio input connector)
without Dolby Digital/dts
decoder
AV amplifier including
Dolby Digital decoder
AV amplifier including
Dolby Digital/dts decoder
*
3
Type of amplifier
to be connected
Press ACTION to redisplay DVD menu
and go to step 2 to setup another item.
Or, press ACTION three times to exit.
For Your Information
*Important:
If a remote control button does not work when pressed, press the
, DVD button on the
remote and try the button again.
DM2092 (P56-60 DVD).p65
2002/06/19, 14:52
59
Summary of Contents for PVDM2092 - MONITOR/DVD COMBO
Page 1: ...ORDER NO MKE0207607C1 B22 TV DVD VCR Combination PV DM2092 PV DM2092 K SPECIFICATIONS 1...
Page 10: ...Fig 1 4 Fig 1 5 10...
Page 27: ...CAUTION Disconnect AC plug before disassembly Fig D1 Fig D2 27...
Page 28: ...Fig D3 28...
Page 29: ...6 1 1 1 Notes in chart 1 Removal of VCR DVD Ass y Fig D4 29...
Page 33: ...6 2 3 EJECT Position Confirmation Fig J1 2 33...
Page 34: ...6 2 4 Full Erase Head and Cylinder Unit Fig J2 34...
Page 76: ...76...
Page 79: ...11 2 MECHANISM BOTTOM SECTION 79...
Page 80: ...11 3 CASSETTE UP COMPARTMENT SECTION 80...
Page 81: ...11 4 CHASSIS FRAME SECTION 1 81...
Page 82: ...11 5 CHASSIS FRAME SECTION 2 82...
Page 83: ...11 6 CHASSIS FRAME SECTION 3 83...
Page 84: ...11 7 PACKING PARTS AND ACCESSORIES SECTION 84...


