Settings
30
ENGLISH
Menu operation (continued)
▌
RGB/YP
B
P
R
(For
RGB/YP
B
P
R
input signal only)
Select the signals to be input to the
COMPUTER 1 IN
and
COMPUTER 2 IN
terminals.
Change setting
Change
setting
Change
setting
Change setting
AUTO
Automatic adjustment
RGB
For RGB signals
YP
B
P
R
For YP
B
P
R
signals
NOTE:
AUTO
•
mode is selected by default.
Select
•
RGB
or
YP
B
P
R
according to the input signal if the
image is not normally projected during
AUTO
mode.
The function only becomes effective when certain signals
are input:
(VGA60, 480i, 576i, 480p, 576p, 1 080/60i, 1 080/50i,
1 080/60p,1 080/50p, 720/60p, 720/50p)
POSITION MENU
Remote control
Control panel
MENU
RETURN
ENTER
FREEZE
AV
MUTE
COMPUTER
VIDEO
DEFAULT FUNCTION
WIN.
INDEX-
MENU
ENTER
DEFAULT
MENU
FUNCTION
ENTER
INPUT
SELECT
LAMP
STANDBY
(
R
)
ON
(
G
)
TEMP
MENU
ENTER
MENU
RETURN
ENTER
FREEZE
AV
MUTE
COMPUTER
VIDEO
DEFAULT FUNCTION
WIN.
INDEX-
MENU
ENTER
DEFAULT
MENU
FUNCTION
ENTER
INPUT
SELECT
LAMP
STANDBY
(
R
)
ON
(
G
)
TEMP
MENU
ENTER
Set the selected item with [
].
▌
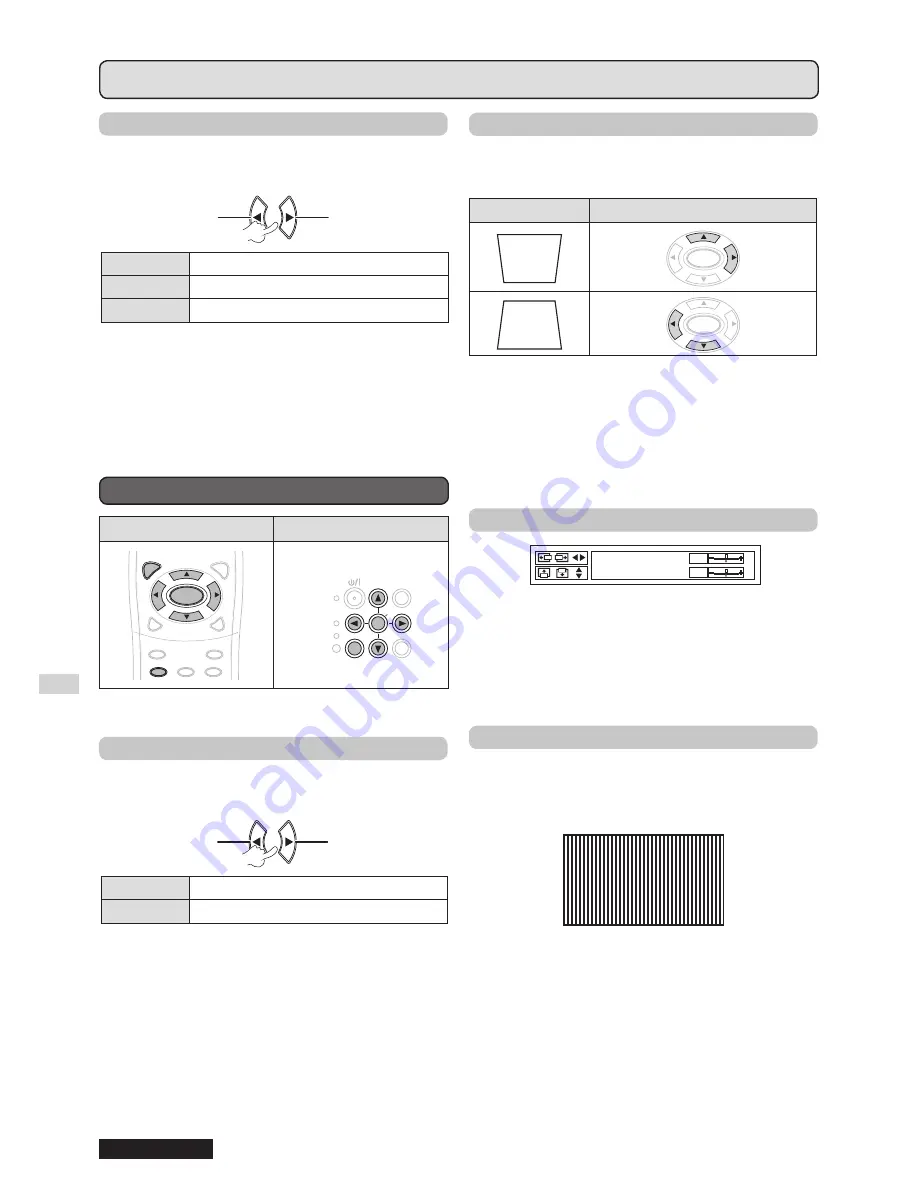
REALTIME KEYSTONE
If the projector is aligned non-perpendicularly to the
screen, or if the projection screen has an angled
surface; the keystone will be automatically corrected.
Change setting
Change
setting
Change
setting
Change setting
OFF
Deactive
ON
Active
NOTE:
If the detected inclination of the projector is within 5
•
degrees upward/downward from the level, the
KEYSTONE
correction is not carried out automatically even if the
REALTIME KEYSTONE
is
ON
.
If you need to correct the keystone, you can correct the
•
distortion manually by adjusting the
KEYSTONE
.
▌
KEYSTONE
If you need to correct the angle of the projection even
when the
REALTIME KEYSTONE
is activated, you can
correct the keystone manually.
Image
Operation
ENTER
ENTER
NOTE:
You can correct the distortion ±10 ° from the plane.
•
For a better image quality, install the projector to minimize
•
distortion.
The result of the keystone correction will affect the aspect
•
ratio and the size of the image.
The image is distorted momentarily when the keystone is
•
corrected.
▌
SHIFT
SHIFT
H
V
0
0
Horizontal (H): Press [
] to move the image
horizontally.
Vertical (V):
Press [
] to move the image
vertically.
NOTE:
This function can be adjusted by pressing the
•
buttons directly.
▌
DOT CLOCK
If there are interference patterns on the projected image
(referred as moire or noise), minimize it by pressing
[
] to adjust the clock frequency. (For
RGB
(Still
image) input signal only)
NOTE:
DOT CLOCK
•
needs to be adjusted before adjusting the
CLOCK PHASE
.


