48
49
When Necessary
Installation
To achieve optimum performance of the appliance, read these installation
instructions carefully and install the appliance properly and safely.
After installation, be sure to confi rm normal operation based on Section 6
“Checking after installation”.
The removed fi xing bolts for transfer and the included spanner are necessary
when transferring, etc. Give them to the customer.
Give these installation instructions to the customer after installation has
fi nished.
If the installation is not carried out following these installation instructions,
Panasonic will not be liable for any accident or damage that may occur.
To servicing personnel
To customer
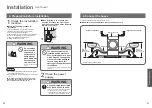
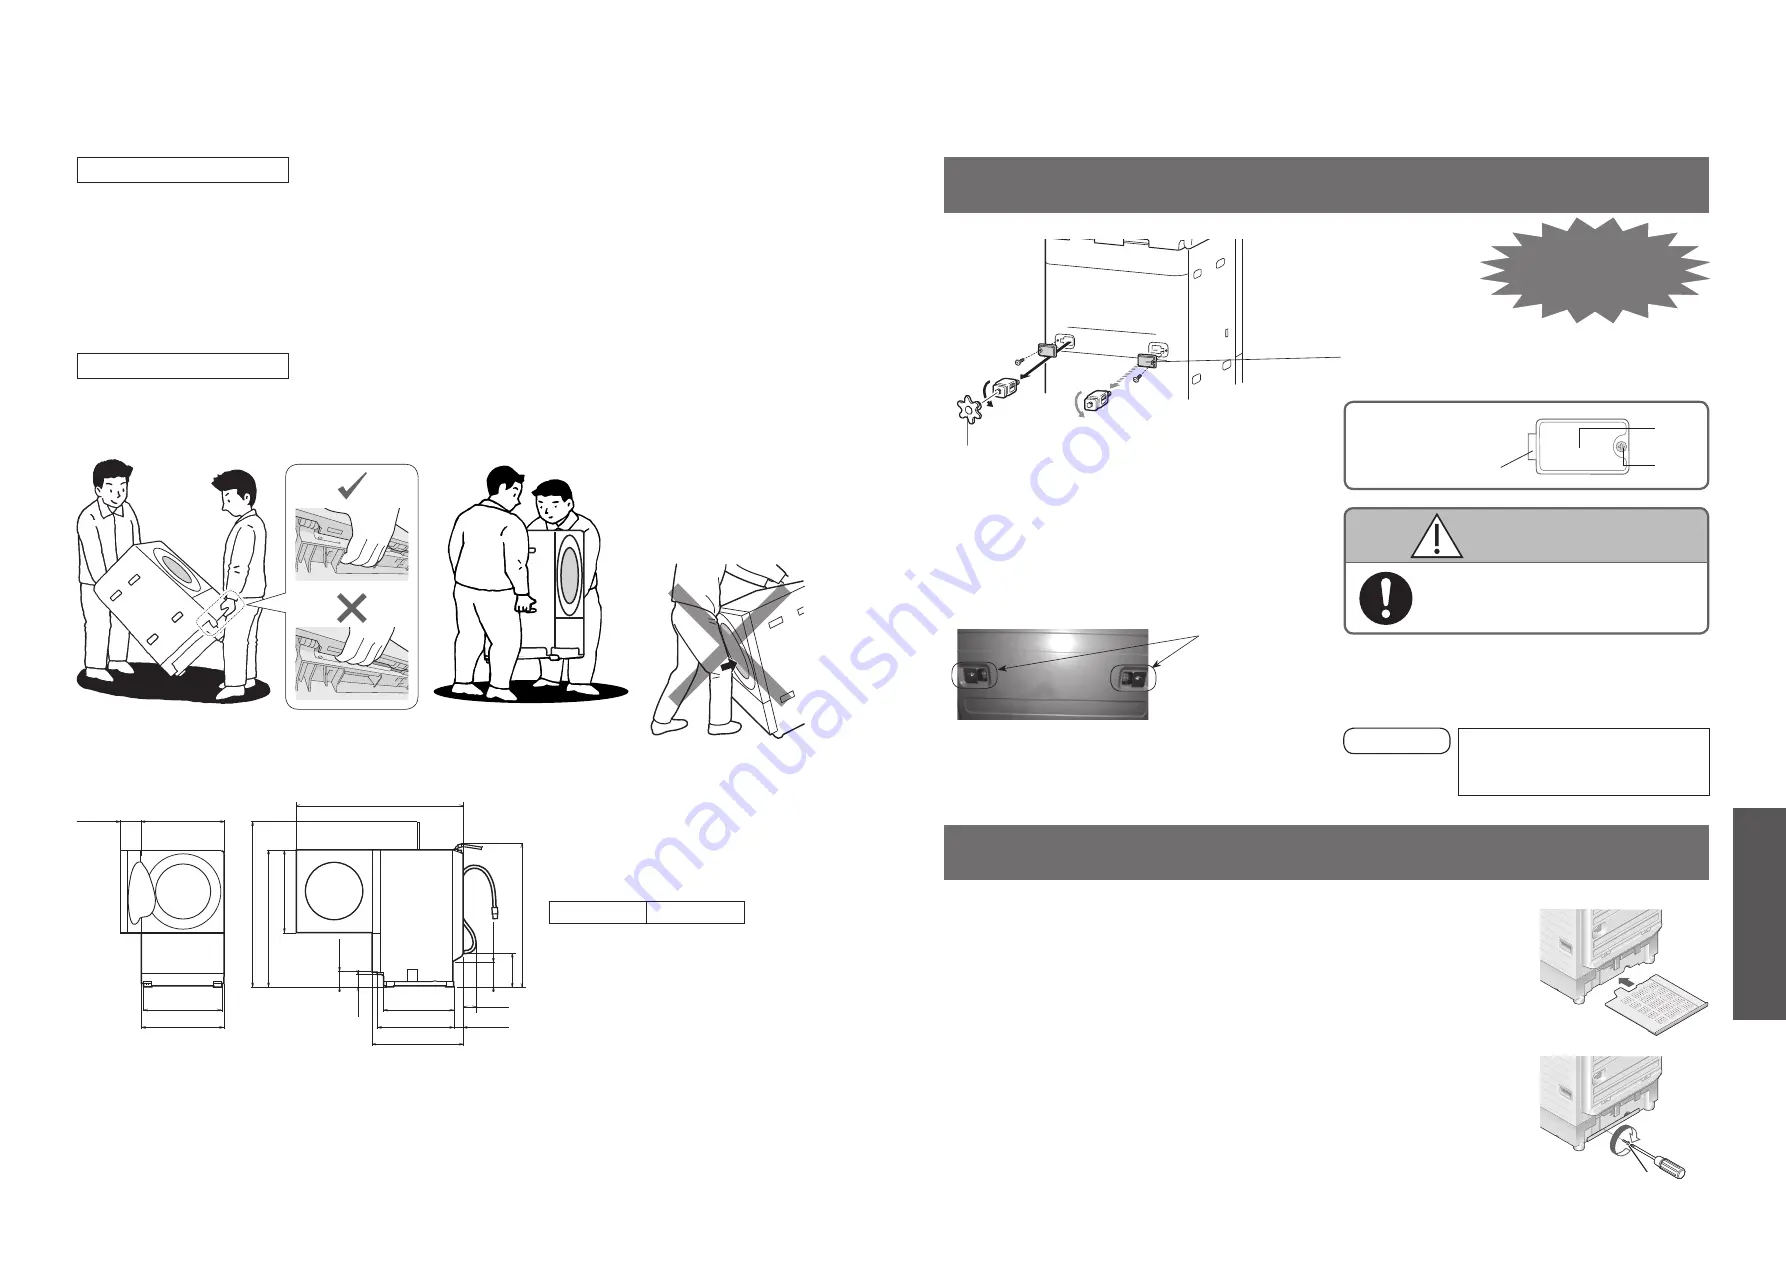
Do not push the centre
of the door with force
(with knee, etc.) when
tilting the appliance for
installation.
(The door will deform.)
Hold the proper part.
Please keep these installation instructions with “Operating Instructions” in a
safe place in case of reinstallation due to drain cleaning or relocation even
after the installation has fi nished.
Be sure to have 2 people carry the appliance.
* Be careful of the distance from the opened
door to the wall.
Product dimensions (unit: mm)
Weight
74 k
g
1050
149
600
579
45
599
584
558
665
68
1217
998
1200
599
11
0
83
189
245
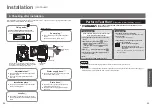
Remove the 2 fi xing bolts for transfer that have
fi xed inside the appliance. If the appliance is used
without removing the bolts, vibration may increase
or the appliance may move, causing danger.
Remove the fi xing
bolts for transfer using
the included spanner.
2
Attach the included
cover with the screw.
Attention
Insert the claw of the
cover to the hole and
fi x with the screw.
(2 locations)
Claw
Cover
Screw
1. Removing the fi xing bolts for transfer and attach the cover
When transporting the main unit, attach the bolts in the reverse
procedure.
Remaining water may spill from the inside the main unit. Carry
the appliance with the drain hose propped up against the main
unit.
The removed fi xing bolts for
transfer and the included spanner
are necessary when transferring,
etc. Give them to the customer.
CAUTION
Be sure to attach the cover.
( To avoid injury caused by the edge)
Fixing bolts for
transfer
(Main unit rear side)
1
To prevent
abnormal vibration!
2. Attaching the bottom cover
Insert the bottom cover along the
guides.
1
2
Fix with the screw.
Remove the bottom cover screw fi xed on the appliance, and use it.
Screw

