3.
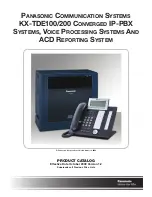
Set passwords for the SIP extensions.
a.
Click the cell in the
Connection
column for each SIP
extension you wish to register. The Command
Connection screen appears.
b.
Click
OUS
.
c.
Enter a password in the Password cell for each SIP
extension.
d.
Click
Apply
.
e.
Click the cell in the
Connection
column for each SIP
extension to which a password has been assigned.
The Command Connection screen appears.
f.
Click
INS
.
g.
Click
OK
.
Note
•
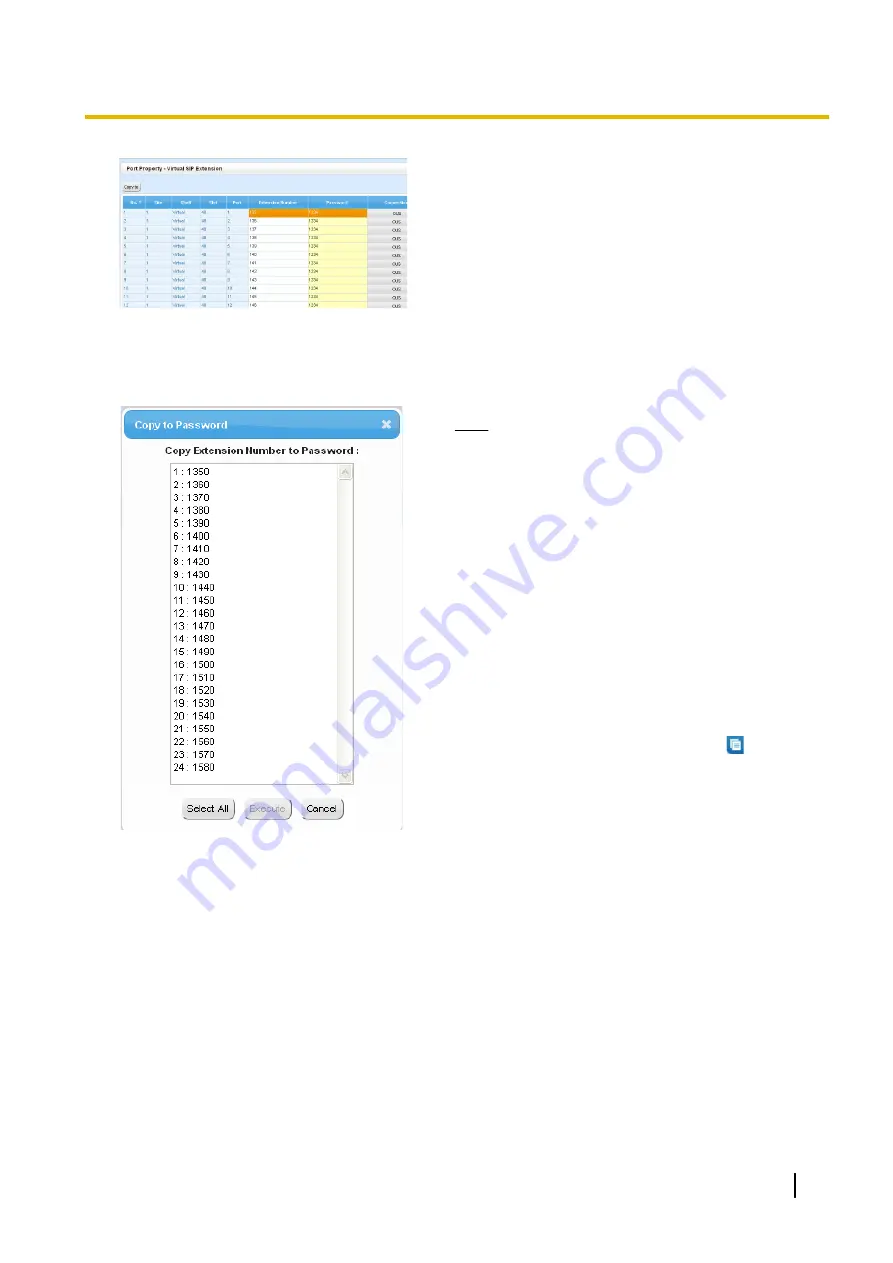
Alternatively, it is possible to set an extension
number as a password for each SIP extension
automatically.
•
In order to set the password automatically, do
the following in substitution for step
c
of the
procedure above.
a.
Click
Copy to
. A screen will appear with
information on assigned extension numbers
for SIP extensions.
b.
Click
Select All
.
c.
Click
Execute
to copy each Extension
Number to Password.
d.
Click
Yes
.
e.
Click
OK
to return to the Port Property
screen.
•
When copying extension numbers to
passwords, you can also use the
icon on the
bottom left of the Virtual SIP Extension Port
Property screen.
Installation Manual
221
5.8.1 Registering IP Telephones
Summary of Contents for KX-NS300
Page 92: ...4 Hook the main unit on the screw heads 92 Installation Manual 4 2 10 Wall Mounting...
Page 150: ...150 Installation Manual 4 13 Starting the KX NS300...
Page 248: ...248 Installation Manual 5 11 Automatic Configuration of Mailboxes...
Page 252: ...252 Installation Manual 6 1 Methods of Stacking Expansion Units...
Page 294: ...294 Installation Manual 8 5 Port Security...
Page 298: ...298 Installation Manual 9 2 System Prompt Languages...
Page 299: ......