- 24 -
Service adjustments (electronic controls)
Sub-Contrast adjustment
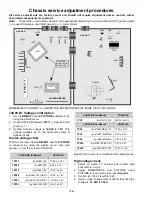
Service DAC Adjustment (BRIGH, CONT)
This adjustment is factory set. Do not adjust unless
repairs are made to associated circuit, the CRT Board
or when the CRT is replaced.
Preparation:
1.
Apply a color-bar pattern.
2.
Set the picture settings to normal and color to
minimum.
3.
Connect the oscilloscope to TP47G.
4.
Connect a jumper from TPD2 to cold ground (
).
Procedure:
1.
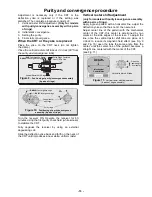
In the service mode, select DAC “BRIGH” for sub-
brightness to obtain 2.3±0.1V between 7.5IRE and
GND level at TP47G (see Fig. 25)
2.
In the service mode, select DAC “CONT” for sub-
contrast to obtain 3.0±0.1V between 7.5IRE and
100IRE level at TP47G
3.
Remove short jumper
4.
Set the picture settings to normal..
Sub-Brightness
Service DAC adjustment
(
BRIGH
)
Adjustment of this control is important for setting proper
operation of customer brightness and picture controls.
Do not adjust the SCREEN VR after the Sub-
Brightness is set.
Preparation:
1.
Set the picture settings to normal and color to
minimum (no color in picture).
2.
Switch COLOR TEMPERATURE to NORMAL.
Procedure:
1.
Apply a color-bar pattern.
2.
In
the
service
mode
for
making
electronic
adjustments, select the DAC adjustment “BRIGH”
and adjust data so that 7.5IRE part is the same
light output as the 3IRE part.
Tint/Color adjustment
Service DAC adjustment (TINT) (COLOR)
Preparation:
1.
Apply a rainbow color bar signal.
2.
Preset the following controls:
• Brightness . . . . . . . Min.
• Color . . . . . . . . . . . . Center.
• Tint . . . . . . . . . . . . . Center.
• Picture . . . . . . . . . . Max.
• Sharpness . . . . . . . Min.
3.
Connect a jumper from TPD2 to GND (
).
Procedure:
1.
Connect the oscilloscope to TP47B (A-Board).
2.
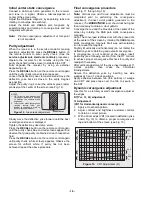
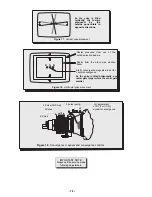
In the service mode, select “TINT DAC Sub-Tint
adjustment. Adjust until the waveform measured is
as the one shown in Fig. 26.
3.
Connect the oscilloscope to TP47G (TP35) and
cold GND.
4.
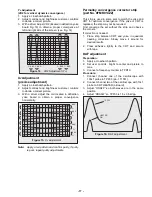
Select DAC Sub-Color adjustment “COLOR” and
adjust
for
peak
to
peak
amplitude
to
be
1.3Vp-p ±0.1V as shown in Fig. 27.
5.
Remove short jumper.
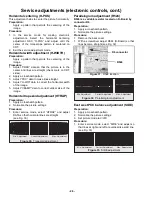
Figure 25. Waveform
2.3
±
0.1Vpp
3.0
±
0.1Vpp
GND
100IRE
7.5IRE
White
Yellow
Cyan
Green
Magenta
Red
Blue
Black
A to B = 1 unit
A
C
1 2 3
10
4 5 6 7 8 9
B
B to C = 2 units
Figure 26. TP47B waveform
TP47B (A-Board)
A
1 2 3 4 5 6
7 8 9 10
Figure 27. TP47G waveform
TP47G (A-Board)
1.3±0.1Vp-p
Summary of Contents for CT-32SC13-1G
Page 63: ... 50 A Board ...
Page 65: ... 52 ERJ6GEYJ183V NP2AH037AC ERENCES A Board ...
Page 66: ... 53 A Board ...
Page 69: ... 56 D Board ...
Page 70: ... 57 D Board ...
Page 71: ... 58 D Board ...
Page 74: ... 61 notes NOTES ...
Page 75: ... 62 G Board ...
Page 76: ... 63 G Board ...
Page 77: ... 64 G Board ...
Page 79: ... 66 L Board ...
Page 80: ... 67 L Board ...
Page 81: ... 68 A PCB ...
Page 82: ... 69 A PCB ...
Page 83: ... 70 D PCB ...
Page 84: ... 71 D PCB ...
Page 85: ... 72 G PCB ...
Page 86: ... 73 G PCB ...
Page 87: ... 74 L PCB ...
Page 88: ... 75 notes NOTES ...


