Operating Instructions
Setting the initial account
1.
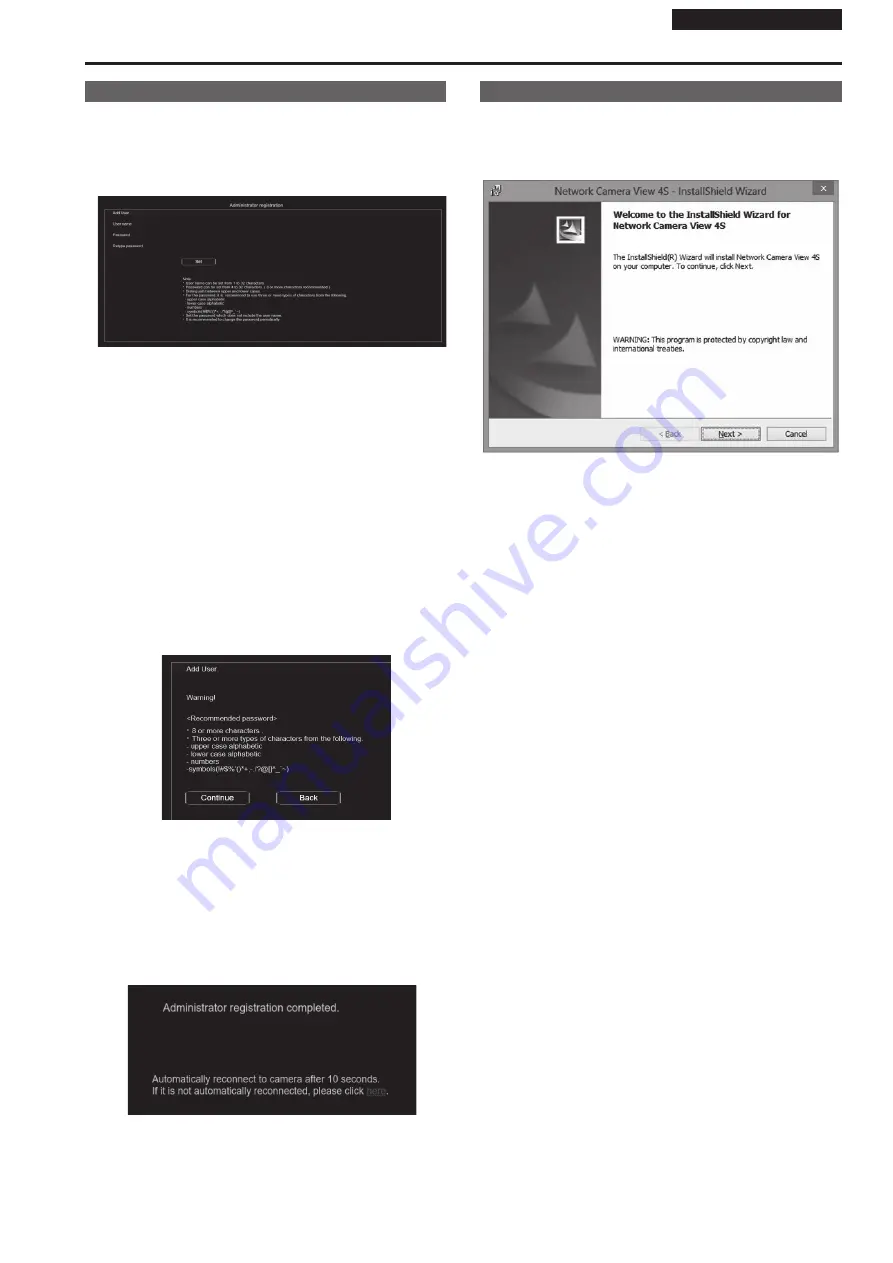
Set the initial account.
In the initial state, the initial account setting screen is displayed when
the web screen is displayed.
Set a user name and password. (Operating Instructions (PDF)
→ “Displaying the web screen” → “Displaying the web screen using a
personal computer”)
<NOTE>
• Do not set character strings that can be easily guessed by third
parties.
•
Change the password at regular intervals.
•
The password must use at least 3 of the following 4 character types
and be 8 characters or longer.
Alphabet upper cases
Alphabet lower cases
Numerals
Symbols ( ! # $ % ’ ( )
*
+ , - . / ? @ [ ] ^ _ `
~
)
• When a password is set that does not adhere to the above policy,
take responsibility for use of the device with due consideration for
the security risks in the installation environment, etc.
• A warning is displayed if the set password goes against the
recommended setting policy. When changing the password, click
the [Back] button and set the password again.
When continuing with the setting with full understanding of the
security risks, click [Continue] to complete the setting.
• If you forget the account information that was set, use the switches
for initialization of service switches to reset the user information
used for connecting to the network. (→ page 49)
2.
Completing registration of the initial account
After completing registration of the initial account, the following
registration completed screen is displayed.
The live screen [Live] is automatically displayed after about
10 seconds elapse after the completed screen is displayed.
If the live screen [Live] is not displayed after 10 seconds elapse,
manually move to the live screen [Live] by clicking the “please click
here” link.
This completes the process of registering the initial account.
<NOTE>
•
Network connection with AW-RP150 or AW-RP60 requires setup of an
initial account.
When an initial account is not set up, AW-RP150 or AW-RP60 can
detect but cannot control this unit.
Installing the plug-in viewer software
To view IP images from the unit on Windows Internet Explorer 11, the
"Network Camera View 4S" plug-in viewer software (ActiveX
®
) must be
installed.
The plug-in viewer software can be installed directly from the unit.
<NOTE>
•
[Automatic installation of viewer software] is set to [On] at the time of
purchase, allowing you to install directly from the unit. If a message
appears in the web browser's information bar, see page 69.
•
When you display the Live screen [Live] on the personal computer for
the first time, the installation screen for the plug-in viewer software
(ActiveX) appears. Follow the instructions on the screen to perform
installation. (only when using Windows Internet Explorer 11)
•
If the plug-in viewer software (ActiveX) installation screen continues
to appear when switching screens, even after it is installed, restart the
personal computer.
•
A license is required for the plug-in viewer software for each personal
computer on which it is installed. You can view the number of times the
plug-in viewer software was automatically installed in the Operating
Instructions (PDF) → “Web screen configurations” → “Maintenance
screen [Maintenance]” → “Product information screen [Product info.]”.
For details on licenses, consult your local dealer.
•
To uninstall the plug-in viewer software, select [Control Panel] -
[Programs] - [Uninstall a program] in Windows, and remove "Network
Camera View 4S".
58
59
Network settings (continued)


