52 (E)
ENGLISH
Web setting screen
p
Control button / Setup button
Press the Control button to switch to the Control screen
on which to control such operations as the panning,
tilting, zooming and focusing of the camera. (See
page 53)
Press the Setup button to switch to the Image Adjust
screen on which to establish the camera’s settings.
(See page 55)
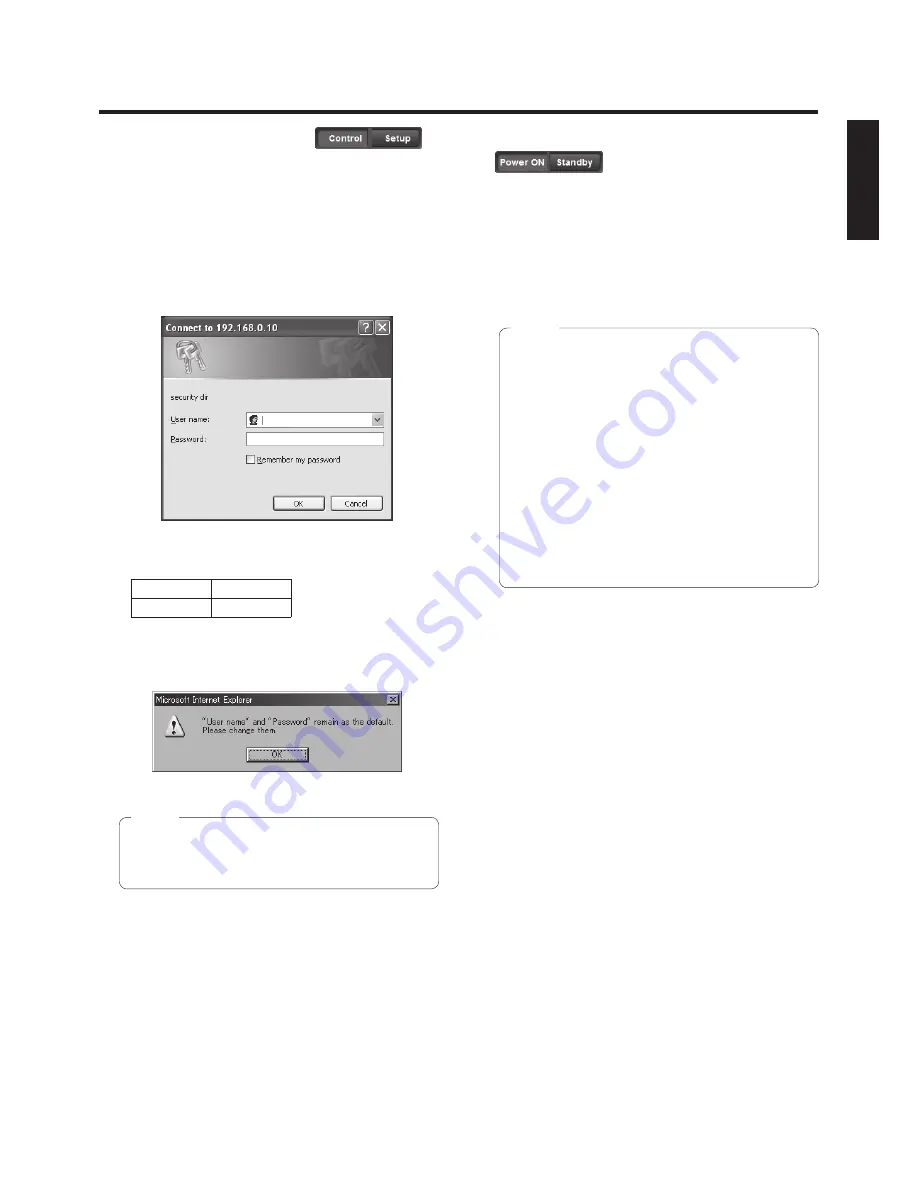
When the Setup button is pressed, the login screen
shown below is displayed.
When logging in for the first time, input the following
default values.
User name
admin
Password
12345
When the OK button is clicked after inputting the values,
the screen shown below is displayed.
Click the OK button.
w
p
On the User auth. screen (see page 65), register
the user name and password of your choice at the
earliest possible opportunity.
Note
p
Power ON button / Standby button
The unit’s power is turned on when the Power ON button
is pressed.
When the Standby button is pressed, the unit is set to the
standby mode.
While the standby mode is established, the control over
the camera’s operations exercised on the Control screen
and both the Image button and Maintenance button on
the Setup screen are disabled.
w
p
If Power ON or Standby is selected too quickly,
the status selected and the display shown may not
correspond.
In a case like this, press the F5 key to restore the
correct status display.
w
p
When operation is transferred to the standby
mode: The current pan‑tilt position is stored in
the memory (as a POWER ON preset), and the
panning/tilting moves so that the camera points in
the backward‑facing direction.
w
p
When operation is transferred to the POWER ON
mode: Panning/tilting moves to the position which
was stored in the memory (as a POWER ON
preset) when operation was transferred to the
standby mode.
Notes


