50
Recording data on P2 cards
1394 input recording
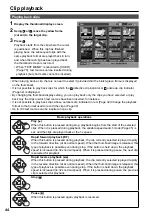
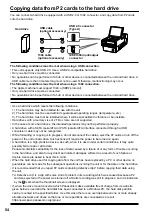
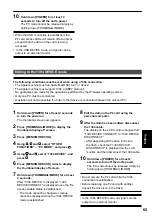
You can connect a digital video component equipped with a 1394 connector, and digitally record video
signals, audio signals or time codes, etc. on the unit.
1
Hold down [POWER] for at least 2 seconds
to turn the power on.
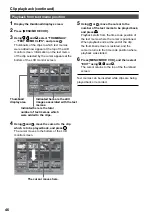
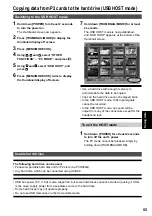
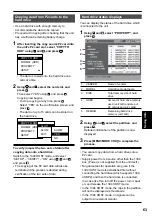
The thumbnail screen appears.
2
Press [THUMBNAIL/MODE].
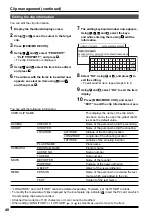
The thumbnail display off screen appears.
106 min
1
2
HD720P
60
1
C
H
2
C
H
3
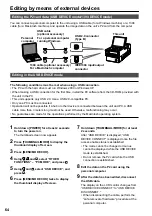
Press [MENU/MODE CHK].
4
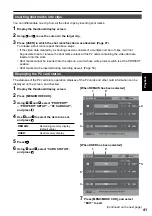
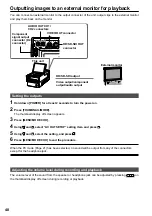
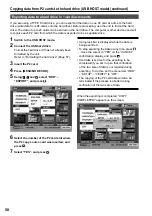
Using , and , select the “RECORDING
SETUP”– “SYS FORMAT” setting, press ,
and ensure that the 1394 video input image
format and the unit’s recording format are
the same.
For details, refer to setting menu “RECORDING
SETUP” screen. (Page 76)
AG-HPG10
5
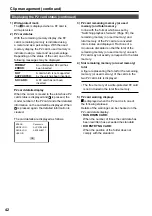
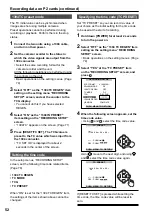
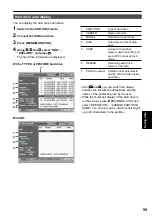
As in step 4, after selecting “RECORDING
SETUP” using and , set the time code,
user’s bit and so on.
For details, refer to setting menu “RECORDING
SETUP” screen. (Page 76)
6
Press the two [REC] buttons together.
Recording now starts.
• To stop the recording, press .
• While recording is underway, text memos or
shot marks assigned to [USER] (Page 78)
can be inserted.
• No signals are recorded if video signals
are not input to the IEEE1394 input/output
connector.
• 1394 input signals will not be recorded if the
system format has been set to 720P/30PN,
720P/24PN or 720P/25PN.
• When the PC mode (Page 21) has been
selected, the 1394 input signals cannot be
recorded.
• When the 1394 connector has been used to
connect the unit to a camera recorder with an
external device control function, the unit can be
made to start recording, pause recording and
stop recording using the settings established by
the camera recorder.
For further details, refer to the operating
instructions of the camera recorder.
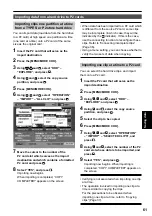
1394 cable
(optional accessory)
This Unit
Digital
component
IEEE1394 input/output
connector

