Chapter 5 Shooting
—
Special recording function
- 131 -
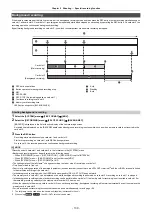
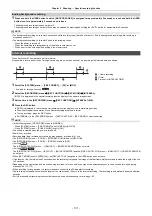
Ending background recording
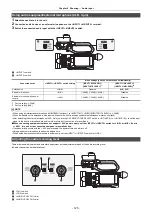
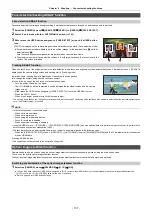
1
Press and hold the USER button to which [BACKGR PAUSE] is assigned for approximately 5 seconds or touch and hold the USER
button icon for approximately 5 seconds and release.
The background recording stops on card slot 2.
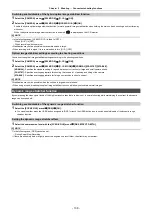
The background recording on card slot 2 can also be stopped by pressing and holding the <EXIT> button for approximately 5 seconds.
@
NOTE
0
The background recording on card slot 2 cannot end while recording is performed on card slot 1. End the background recording while recording is
stopped on card slot 1.
0
The background recording on card slot 2 ends in the following cases.
j
When the power is turned off
j
When the remaining recording capacity of the memory card has run out
j
When an error has occurred when writing to the memory card
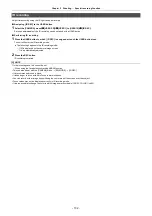
Interval recording
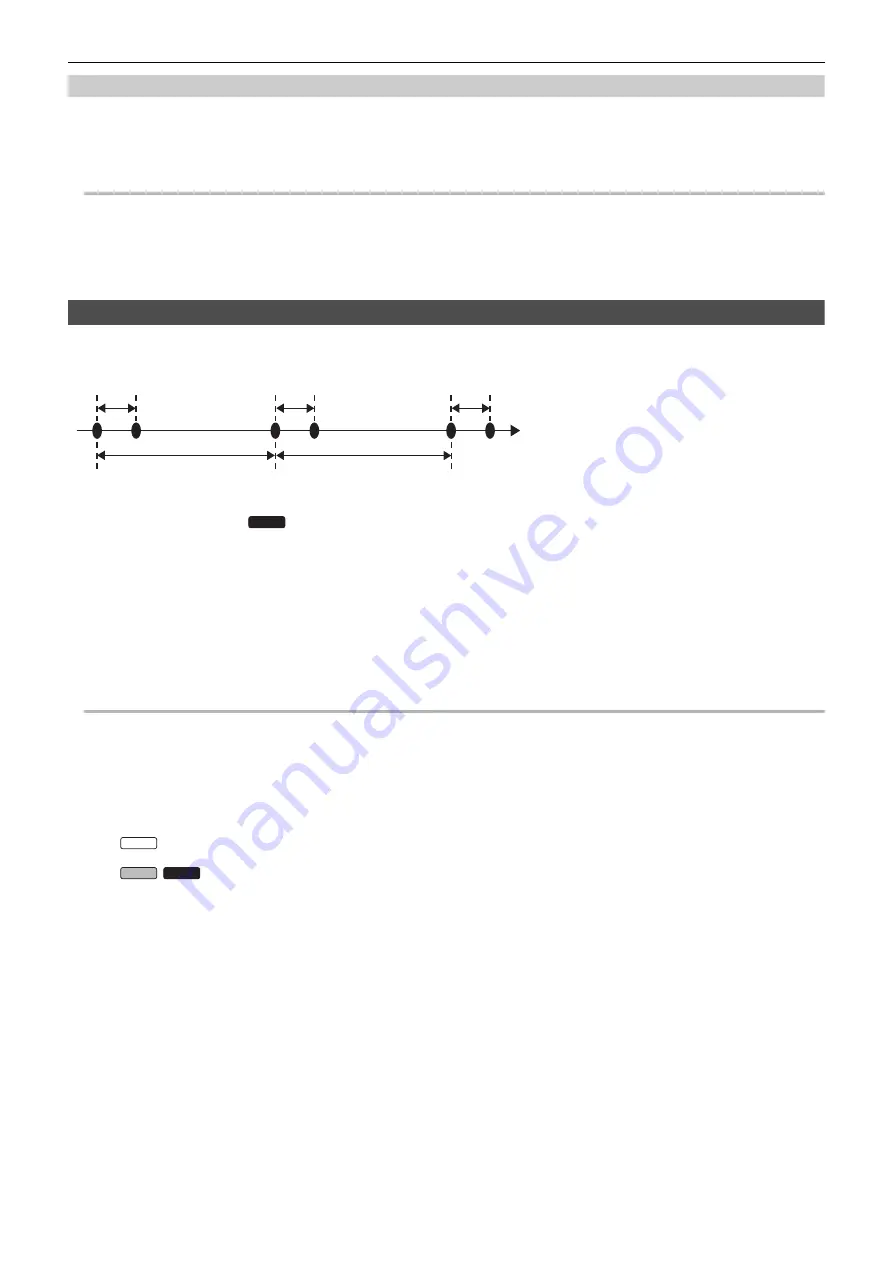
The unit will record 1 frame at each set time interval.
It is possible to record a short clip of a long slow-moving scene, such as a sunset, by recording with intervals between frames.
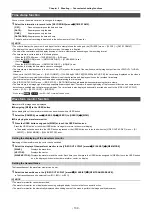
1
Select the [SYSTEM] menu → [FILE FORMAT] → [P2]
*
or [MOV].
* Available for setting when using
.
2
Select the [RECORDING] menu
→
[REC FUNCTION]
→
[REC MODE]
→
[INTERVAL].
[INTRVL] is displayed in the special recording function display of the camera image screen.
3
Set the time in the [RECORDING] menu
→
[REC FUNCTION]
→
[INTERVAL TIME].
4
Press the REC button.
≥
[I-REC] is displayed in red in the special recording function display of the camera image screen.
≥
The unit will repeat the operation of one frame recording at set time interval.
≥
To stop recording, press the REC button.
≥
Set [NORMAL] in the [RECORDING] menu
→
[REC FUNCTION]
→
[REC MODE] to clear the setting.
@
NOTE
0
In the following cases, [REC MODE] is fixed to [NORMAL].
j
When [SYSTEM] menu
→
[FILE FORMAT] is set to [MP4] or [AVCHD]
j
When [SYSTEM] menu
→
[SUPER SLOW] is set to [ON]
0
The setting is cleared when the power is turned off.
0
Audio is not recorded.
0
Recorded data (data recorded until recording was stopped) is included in 1 clip.
0
The [RECORDING] menu
→
[TC/UB]
→
[FREE/REC RUN] is fixed to [REC RUN].
0
The [RECORDING] menu
→
[TC/UB]
→
[DF/NDF] is fixed to [NDF].
0
(For the
)
The [VIDEO OUT/LCD/VF] menu
→
[HDMI OUT]
→
[HDMI REC REMOTE] does not work.
0
(For the
/
)
The [VIDEO OUT/LCD/VF] menu
→
[SDI OUT]
→
[SDI REC REMOTE] and the [VIDEO OUT/LCD/VF] menu
→
[HDMI OUT]
→
[HDMI REC REMOTE]
do not work.
0
When [REC MODE] is set to [INTERVAL], the [DEL LAST CLIP] assigned to the USER button does not work.
0
If the length of the clip is less than 3 seconds when the recording is stopped, the image of the final frame will be recorded to make the length of the clip
to 3 seconds.
0
Depending on the light source and the scene being recorded, color hue and focus may not be automatically set. In case such as this, try adjusting
manually. (
0
When recording for long periods, it is recommended to connect to the AC adaptor for recording.
0
The recording is stopped once when the length of the clip exceeds 10 hours in the interval recording. The recording is automatically resumed after few
seconds.
0
For information about recording functions that cannot be used simultaneously, refer to page 196.
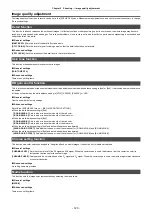
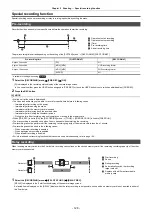
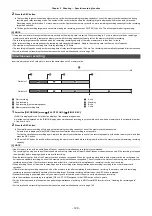
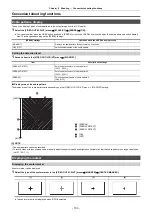
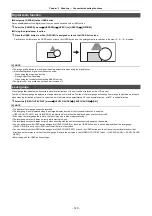
A
1 frame recording
B
(Time)
C
Time set in [INTERVAL TIME]
CX10
CX7
CX8
CX10
Summary of Contents for AG-CX7
Page 8: ...Chapter 1 Overview Before using the unit read this chapter ...
Page 188: ...Chapter 10 Notes Maintenance of the unit or frequently asked questions are described ...
Page 199: ...Chapter 11 Specification This chapter describes the specifications of this product ...
Page 208: ... Panasonic Corporation 2020 Panasonic Corporation Web site http www panasonic com ...

