


70
Chapter 5 : Email, text, multimedia, and instant messaging
3
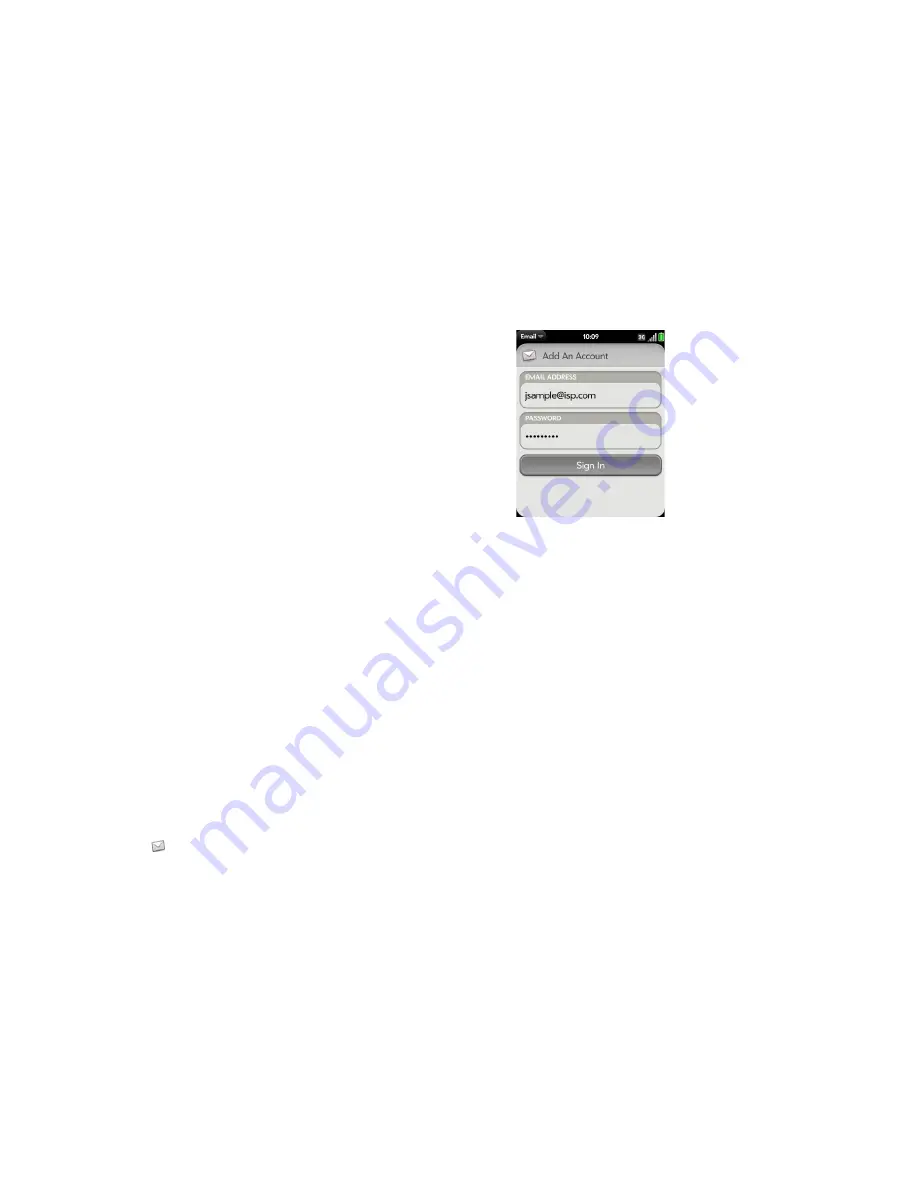
Any other time you open Email, open the
application menu
, tap
Preferences & Accounts
, and tap
Add An Account
. Enter your email
address and password.
4
Open the
application menu
and tap
Manual Setup
.
5
Tap the
Mail Type
field and tap
Exchange (EAS)
.
6
Enter info for the incoming and outgoing mail server as needed, based
on the server information you got from your email provider or system
administrator (see BEFORE YOU BEGIN at the beginning of this
procedure). You can enter either the server name or IP address in the
Incoming Mail Server
field.
7
Tap
Sign In
.
Set up email when automatic setup fails
Follow these steps if automatic setup (see
Set up email
) does not work for
your email account.
BEFORE YOU BEGIN
Get this info from your email provider or system
administrator:
•
Account type (POP or IMAP)
•
Incoming and outgoing mail server names
•
Incoming mail server username and password
•
Incoming and outgoing server port numbers
•
Any SSL requirements for incoming and/or outgoing mail
•
Any authentication (ESMTP) requirements for outgoing mail
•
Root folder (IMAP accounts only)
1
If you have already started account setup and the “Unable To Sign In”
message appears, tap
OK
, tap
Manual Setup
, and skip to step 7.
Otherwise, start at step 2.
2
Open
.
3
The first time you open Email, do one of the following:
•
If this is the first email account you are setting up, the email address
you used for your Palm profile is entered by default. Use that
address, or enter an address for one of your other email accounts.
Enter your password for the account.
•
If you already set up an account that takes advantage of the Synergy
feature and want to set up another one, tap
Add An Account
. Enter
your email address and password.
4
Any other time you open Email, open the
application menu
, tap
Preferences & Accounts
, and tap
Add An Account
. Enter your email
address and password.
5
Open the
application menu
and tap
Manual Setup
.
6
Tap the
Mail Type
field and tap your account type.
7
Enter info for the incoming and outgoing mail server as needed, based
on the server information you got from your system administrator (see
BEFORE YOU BEGIN at the beginning of this procedure).
8
Tap
Sign In
.
Summary of Contents for P121VZW
Page 1: ...User Guide ...
Page 44: ...44 Chapter 2 Basics ...
Page 50: ...50 Chapter 3 Data transfer ...
Page 66: ...66 Chapter 4 Phone ...
Page 88: ...88 Chapter 5 Email text multimedia and instant messaging ...
Page 114: ...114 Chapter 6 Contacts Calendar and other personal information ...
Page 154: ...154 Chapter 9 Documents ...
Page 168: ...168 Chapter 10 Preferences ...
Page 192: ...192 Terms ...
Page 198: ...198 Specifications ...


