


12
User manual
UM0972260 A 07
1.4 WISR firmware update
The WISR firmware needs to be updated when the
installed version of the PhotonView app detects when
the version of the connected WISR does not match
the version of the app.
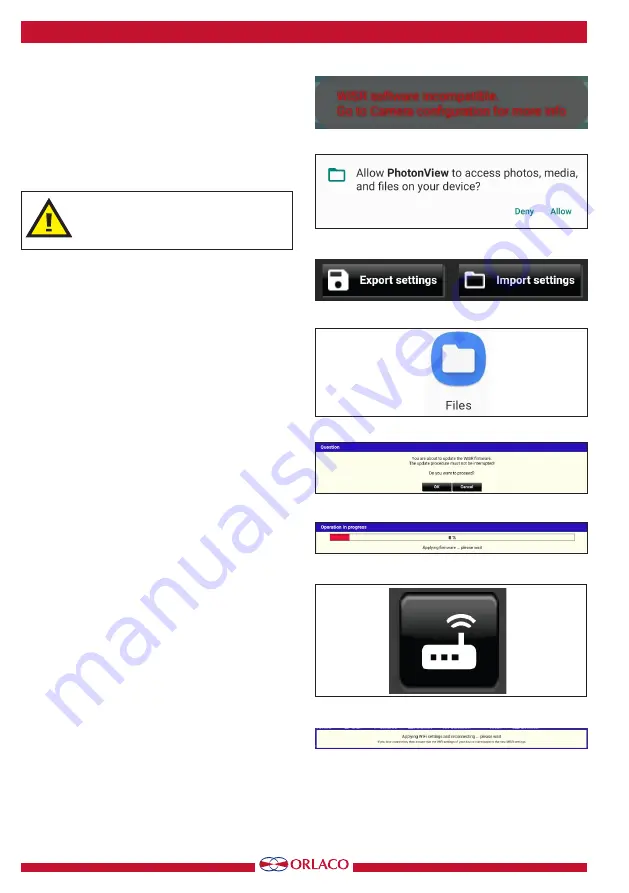
PhotonView displays a message like Figure 39 on
the top-center of the screen.
WARNING! Never turn the power of
the WISR OFF when performing a
FLASH operation!
Updating the WISR is a multi-step process, first
perform the firmware update:
1. Open the main menu and go to the ‘WISR
configuration (Web Portal)’, if the message as
in Figure 40 appears, tap ‘Allow’.
2. In the browser on the ‘WISR Web portal, log-in
as Administrator; see paragraph 1.3. page 8.
3. When logged-in, the current Firmware version
is shown on the Status tab.
4. Select the Firmware tab.
5. After flashing firmware, the configuration set-
tings are set to default values. The settings can
be saved before flashing (Export) and restored
after flashing (Import) by using the Export/
Import buttons, see Figure 41.
6. Select the Firmware tab and tap the Open
button, tap on the blue ‘Files’ file browser
button, see Figure 42.
7. Select the firmware (.wisr file) from the root map
of the tablet. Depending on the tablet, start with
‘Galaxy Tab S3’ or ‘ET51’ and then ->
Photonview -> Firmware -> WISR.
8. Tap the ‘Apply’ button to ‘flash’ the new firm
ware into the WISR, on the ‘proceed’ question
screen (Figure 43) tap on ‘Ok’, the progress bar
from Figure 44 will be shown.
9. When the update is done, the name of the WISR
will be ‘WISR-UNCONFIGURED’ with the
password ‘orlacowireless’.
10. In the PhotonView app, select the WISR
connections screen (Figure 45) and connect with
the updated WISR.
The settings of the WISR can be exported to or imported
from the tablet. Exported settings are stored in the Download folder on
the tablet. Note that when settings are imported, they must be applied
with the Apply button on the bottom of the screen. See Figure 46.
Figure 39
Figure 40
Figure 42
Figure 41
Figure 43
Figure 44
Figure 46
Figure 45


