36
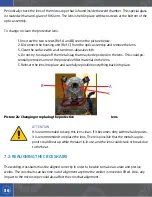
Periodically check the lens of the microscope that is found inside the weld chamber. This special glass
is treated with an anti-glare of 1064 nm. The lens is held in place with two screws at the bottom of the
optic assembly.
To change or clean the protective lens:
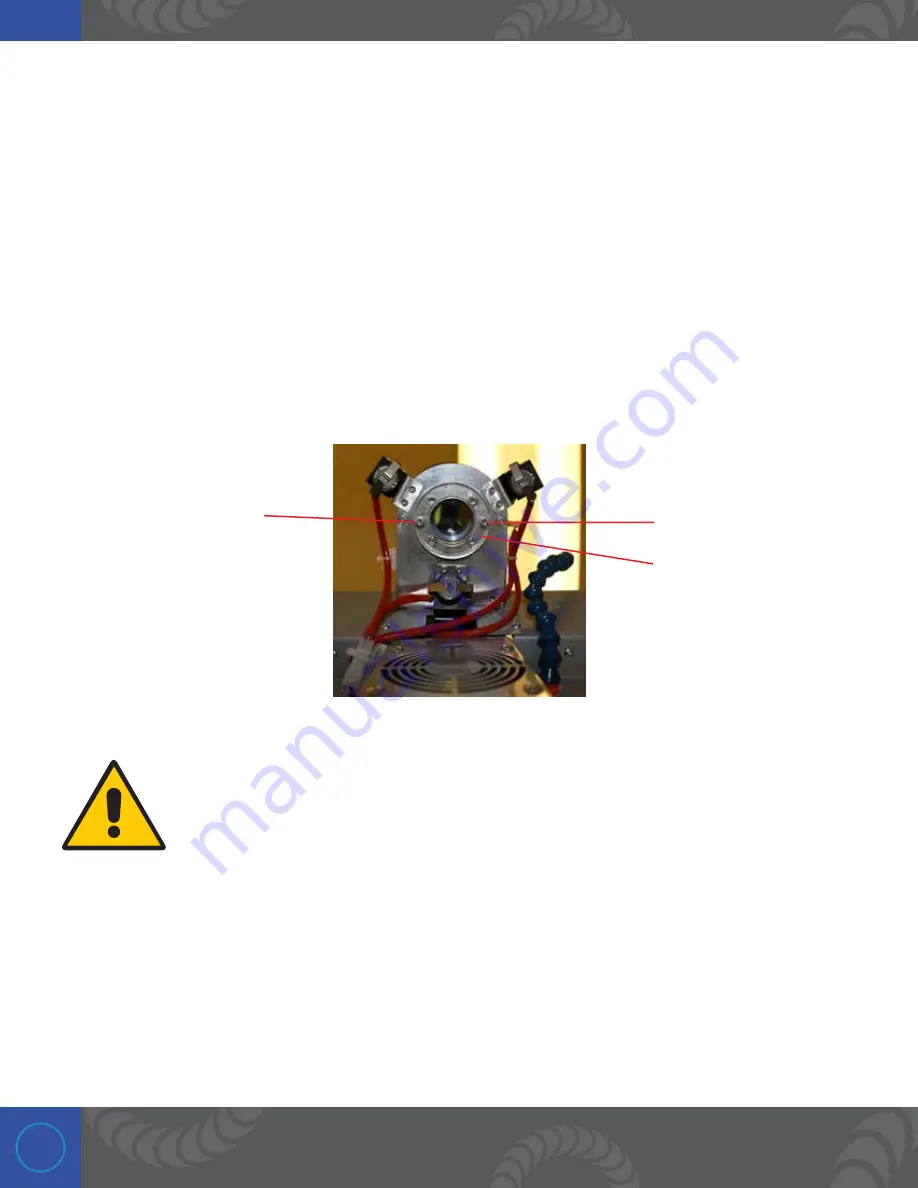
1. Unscrew the two screws (Ref. A and B) seen in the picture below.
2. Disconnect the housing unit (Ref. C) from the optic assembly and remove the lens.
3. Clean the surface with a soft and non-abrasive cloth.
4. Do not try to scrape off the metal slag that may be deposited on the lens. This could po-
tentially remove some of the protective filter material on the lens.
5. Reinsert the lens into place and carefully reposition everything back into place.
Picture 24: Changing or replacing the protective
lens
ATTENTION
It is recommended to keep this lens clean. If it becomes dirty with metal deposits,
it is recommended to replace the lens. There is possible that the metal slag de-
posits could heat up while the laser is in use, and the lens could crack or break due
to the heat.
7.2: REALIGNING THE CROSSHAIRS
The welding crosshairs must be aligned correctly in order to be able to make accurate and precise
welds. The crosshairs can become out of alignment anytime the welder is moved or lifted. Also, any
impact to the microscope could also affect the crosshair alignment.
B
C
A
Summary of Contents for Combo 200
Page 1: ...Orion Laser Welder User Manual Orion Combo 200 ...
Page 4: ...4 ...
Page 7: ...7 ...
Page 52: ...52 ...

