Install the Motherboard
5.
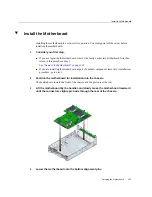
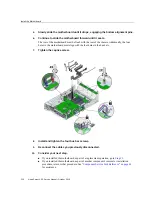
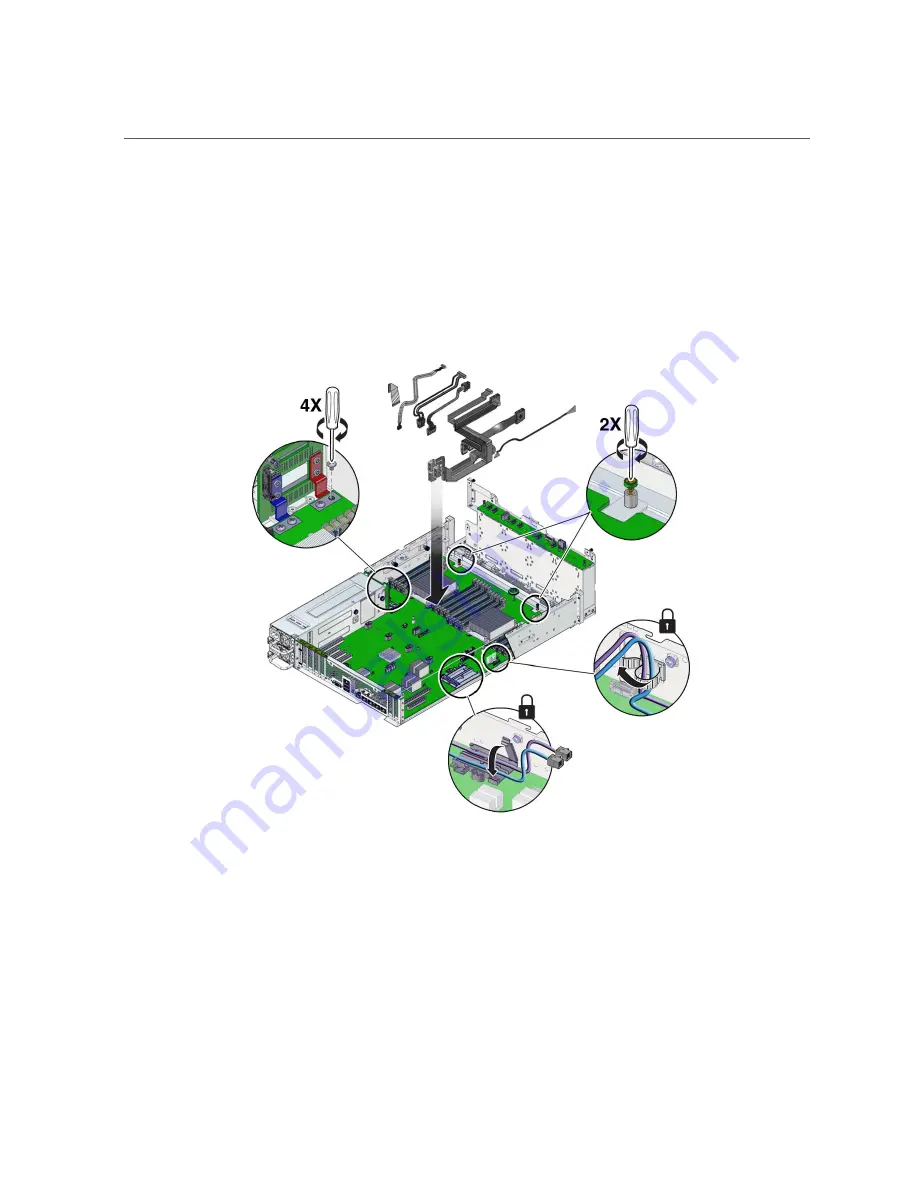
Slowly slide the motherboard until it drops, engaging the bottom alignment pins.
6.
Continue to slide the motherboard forward until it seats.
The rear of the motherboard must be flush with the rear of the chassis. Additionally, the four
holes in the motherboard must align with the four holes in the bus bars.
7.
Tighten the captive screw.
8.
Install and tighten the four bus bar screws.
9.
Reconnect the cables you previously disconnected.
10.
Consider your next step.
■
If you installed the motherboard as part of a replacement operation, go to
■
If you installed the motherboard as part of another component's removal or installation
procedure, return to that procedure. See
“Component Service Task Reference” on page 65
for assistance.
234
Netra Server X5-2 Service Manual • October 2016
Summary of Contents for netra X5-2
Page 1: ...Netra Server X5 2 Service Manual Part No E53601 03 October 2016 ...
Page 2: ......
Page 12: ...12 Netra Server X5 2 Service Manual October 2016 ...
Page 20: ...20 Netra Server X5 2 Service Manual October 2016 ...
Page 59: ...Using the Server Fault Remind Button Detecting and Managing Faults 59 ...
Page 60: ...60 Netra Server X5 2 Service Manual October 2016 ...
Page 128: ...128 Netra Server X5 2 Service Manual October 2016 ...
Page 144: ...144 Netra Server X5 2 Service Manual October 2016 ...
Page 148: ...148 Netra Server X5 2 Service Manual October 2016 ...
Page 154: ...154 Netra Server X5 2 Service Manual October 2016 ...
Page 180: ...180 Netra Server X5 2 Service Manual October 2016 ...
Page 210: ...210 Netra Server X5 2 Service Manual October 2016 ...
Page 226: ...226 Netra Server X5 2 Service Manual October 2016 ...
Page 266: ...266 Netra Server X5 2 Service Manual October 2016 ...
Page 274: ...274 Netra Server X5 2 Service Manual October 2016 ...

