


Network Setup
The PT-SUPERJOY-G1 will dynamically obtain an IP address upon connection to your LAN. If your network is
not able to supply DHCP addresses you must assign a static IP address to the controller.
To set a static IP address, follow the steps below.
1.
Obtain the IP address scheme of your network.
2.
Connect your joystick to power and to your network.
3.
Press the [SETUP] button, and move down to option 4. Network Connection.
4.
Move the joystick left or right to “Static”, and press the [ENTER] key to set the static IP address.
5.
Enter an available IP address similar to the IP address scheme of your network using the
alpha-numeric keypad.
6.
Enter the Gateway and Subnet Mask of your network.
7.
When all the fields are filled, press the [ENTER] key to restart the joystick with the assigned static IP
address.
For more information on methods to obtain your network information such as the IP address, Default
Gateway, and Subnet Mask refer to the following PTZOptics
Note that If any aspect of your network scheme only requires 1 or 2 digits (e.g. 192.168.
1
.150), you can
move the joystick right to advance to the next field.
Serial Control Setup & Options
To control cameras using serial communications, first review the above section marked “
” to select the appropriate option for your setup.
Once you have selected a serial communications method, connect the appropriate cable to the joysticks
selected control port, and then to the camera’s matching control input (RS-485 or RS-232).
When controlling multiple cameras, you have two (2) methods of connection. The two (2) methods consist of
“Daisy Chaining” and a “Home-Run” setup.
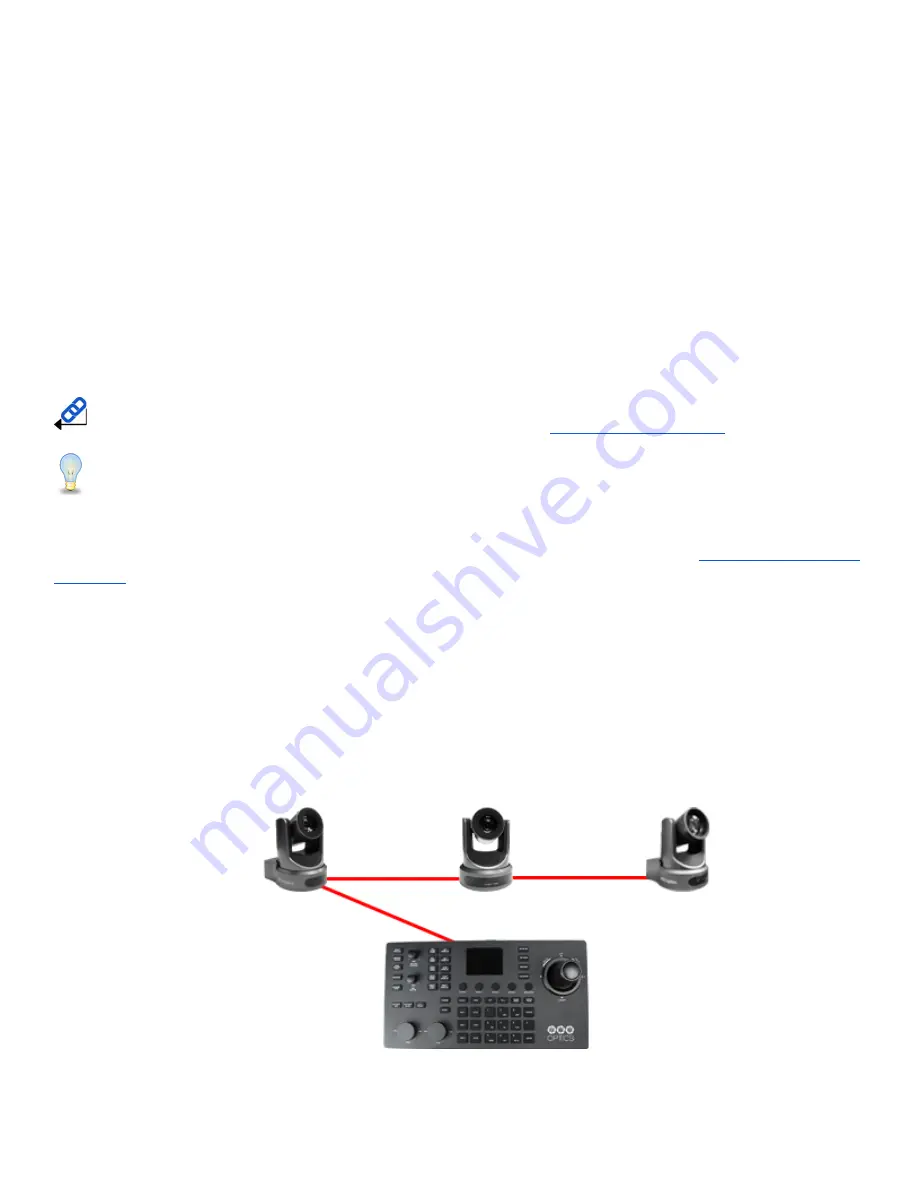
Daisy-Chain
To utilize a Daisy-Chaining setup, you will first connect the joystick to camera 1, then connect camera 2 to
camera 2, etc. Daisy-Chaining can be used with both RS-232 & RS-485. Please use the figures below for
reference.
Daisy-Chain Connection Guide
12
Rev 1.2 2/21


