25
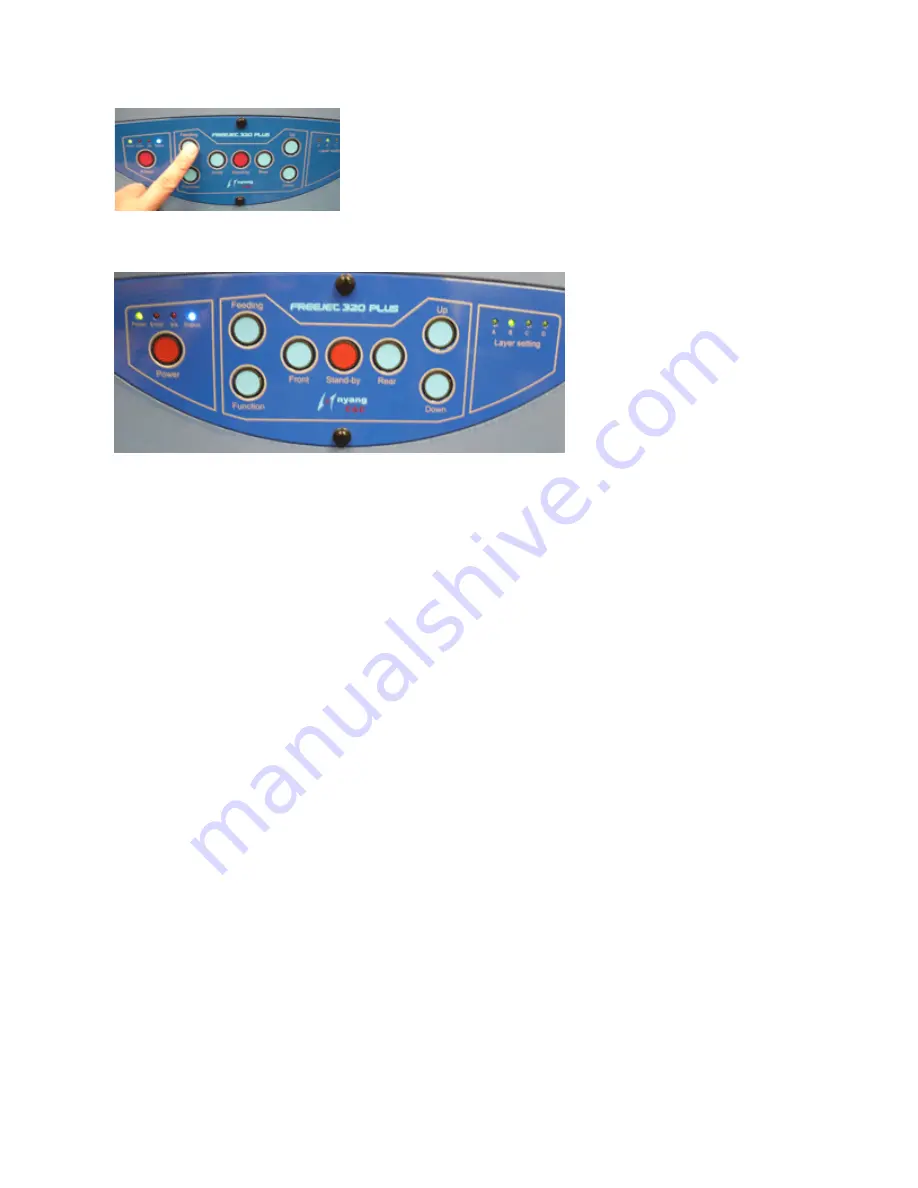
5. Press “feed” once to finish the reset process and initialize the printer.
6. The ink chips are initialized now and the printer will do an automatic head cleaning
every time and it will display a solid green ready light once it’s finished. This will take a
couple minutes.
CHAPTER VII. NOZZLE CHECK PROCEDURE
Overview:
To perform a Nozzle Check the Computer attached to the FreeJet320TX must be on and
connected to the printer and must be listed as “Ready” and on-line in the Windows Printer
folder (located in the Control Panel “Printers & Faxes” folder), the FreeJet320TX Main
Power switch must be ON, the Standard ShirtBoard pallet must be registered on the
printer Platform WITH THE PROPER HEIGHT ADJUSTMENT SET, and the Epson
Engine must be ON. If all these pre-requisites are met, then you perform a Nozzle Check
procedure from the Epson Stylus Photo R2400 printer driver. Generally, we recommend
printing the Nozzle Check directly on the ShirtBoard as both the 4 white ink channels and
the B (Black), C (Cyan), M (Magenta), Y (Yellow) channels test print patterns will be
visible on the stainless steel ShirtBoard.
A. Turn the FreeJet320TX “Main Power Switch” (Located on the Back of the Base
near the Power Cord) ON. The Printer Box may move to the Back Stan-By
position, there will be some Print Head Carriage noises without Print Head
movement and the “STATUS” Light on the FreeJet320TX Control Panel
(right side of base) will rapidly FLASH BLUE and then turn SOLID PURPLE
after a couple of seconds. If the light does not turn SOLID PURPLE and
keeps FLASING BLUE, turn the Main Power switch OFF, then slowly move
the Print Box towards the front of the Base a couple of inches and then turn
on the Main Power switch. The STATUS Light should turn SOLID PURPLE
after a couple of seconds.
B. Start the Epson Print Engine
Push & Hold the “Red POWER Button” (located on the FreeJet320TX
Control Panel) for 4 rapid red flashes of the STATUS Light and release the
button when the ‘STATUS’ Light turns STEADY BLUE. The Power Light


