43
GX53
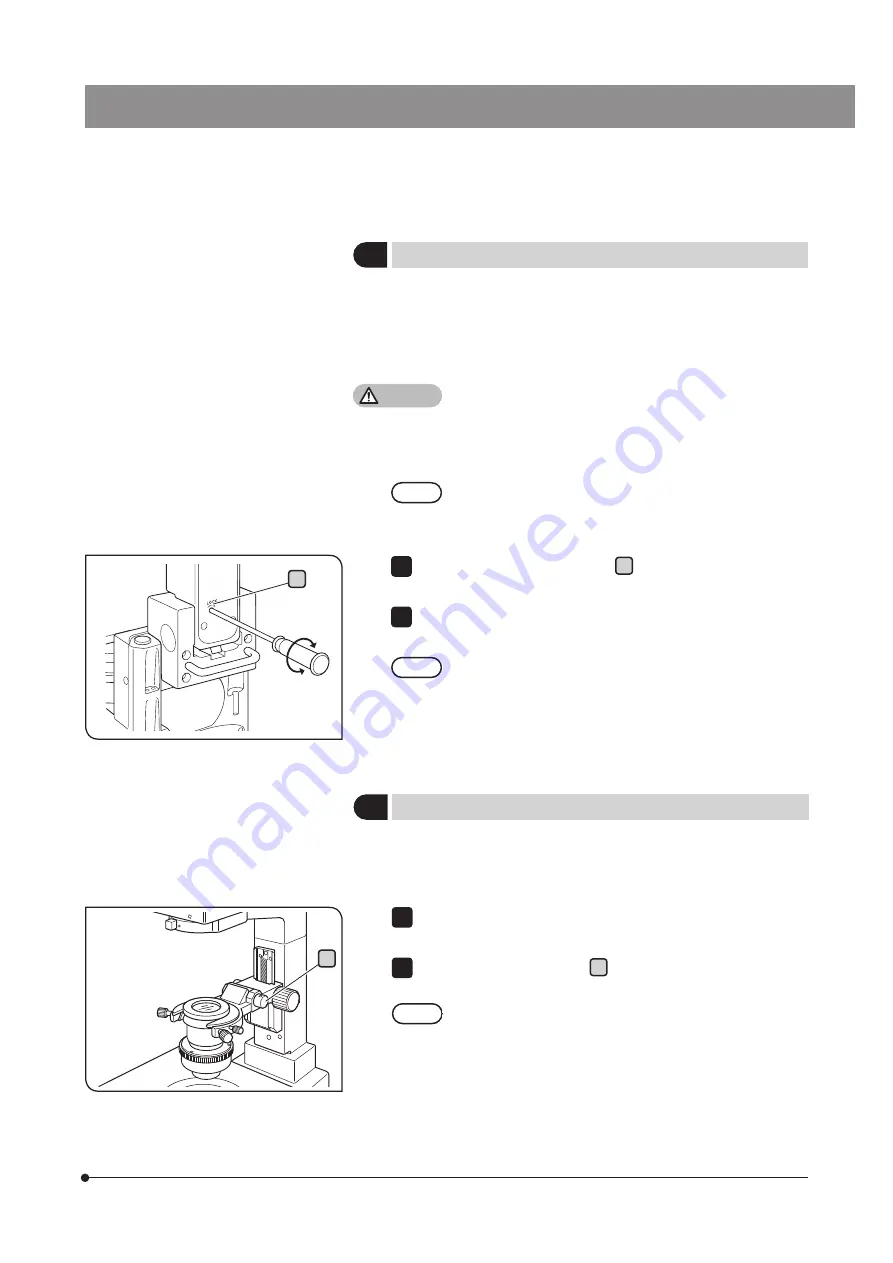
When replacing the samples or attaching the objectives from the stage
top surface, flip up the condenser holder to create the larger working
space for easy operation.
Place your hand at the bottom of the condenser holder and push it
upward.
Rotate the adjustment screw a using the coin to adjust the flip-up
tension.
·
Adjust the tension so that the flipped-up condenser holder
will not drop.
·
Return the flipped-up condenser holder to its original
position gently and slowly. If the condenser holder is not
returned to the correct position, the optimum illumination
performance cannot be obtained.
1
2
NOTE
3
Flipping up the condenser holder
2
Tilting of the illumination column
When replacing large samples, it is recommended to tilt the illumination
column to make a larger working space.
Even if the illumination column is tilted, the sample surface is illuminated,
which is convenient for checking samples roughly or positioning the
samples when placing them.
·
When tilting the illumination column or returning it to
the original position, be careful not to allow your fingers
caught in the hinge.
·
When moving or carrying the microscope, be sure to
tighten the tilting clamping screw completely in advance.
The tilting clamping screw should normally be tightened
during use. If you use the microscope while the screw is
loosened, make sure that the illumination column does
not accidentally fall during use.
Rotate the tilting clamping screw a (approx. 11 turns) in the arrow
direction using the Allen screwdriver to loosen it.
Hold the illuminator attachment’s upper front side and slowly tilt the
illumination column backward.
If you are interrupted by vibration, be sure to support the
illumination column with your hand and tilt it slowly with care.
CAUTION
NOTE
1
2
TIP
a
a


