


7-28
Section 7 Fax operation (Other functions)
(7) Changing the Management Password
* To cancel the procedure part way through, press the STOP key.
The message display will revert to the initial mode.
* If Restricted access is turned ON, it is first necessary to enter the
registered management password and then press the ENTER
FUNCTION key. (Refer to “(5) Entering Your Access Code”, page 7-28.)
1. Press the FUNCTION key.
2. Press the (
) cursor key until the following message appears in
the message display.
3. Press the ENTER FUNCTION key.
4. Use the (
) cursor key until the following message appears in the
message display.
5. Use the ENTER FUNCTION key.
6. Use the keypad to enter the currently registered 4-digit
management password.
* Factory default setting: 6482
7. Press the ENTER FUNCTION key.
8. Use the keypad to enter the desired 4-digit (0000 - 9999)
management password.
9. Press the ENTER FUNCTION key.
* If “CANNOT ENTER” appears in the message display, the
number entered for the new management password is already
registered as an access code and the display will return to step 8.
Register a different number for the management password.
10. Press the STOP key. The message display will revert to the initial
mode.
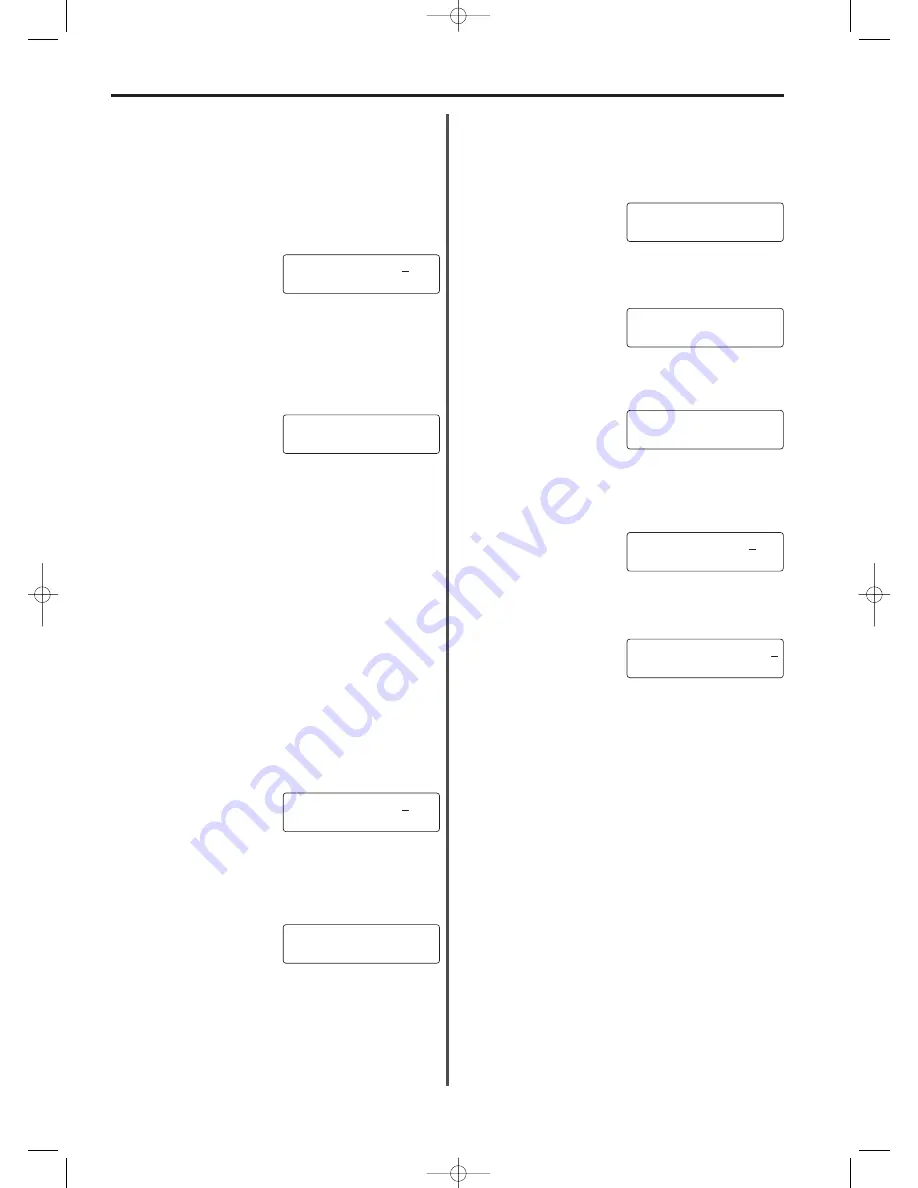
09.10.'99 12:00
SET DOCUMENT
FUNCTION
REG. USER SETTING
REG. USER SETTING
SUPERVISOR PASSWORD
YOUR PASSWORD
:****
NEW PASSWORD
:3333
(6) Printing Out a Department List
Printing out this list enables the confirmation of the department codes
and corresponding department names currently registered in this
facsimile.
* If there are no department codes registered, a Department list will
not be printed out.
* Restricted access must be turned ON and the registered
management password entered before you can print out this list.
(Refer to “(5) Entering Your Access Code”, page 7-28.)
* To cancel the procedure part way through, press the STOP key.
The message display will revert to the initial mode.
1. Enter the currently registered management password.
2. Press the ENTER FUNCTION key.
3. Press the PRINT REPORTS key.
4. Press the (
) cursor key until the following message appears in
the message display.
5. Press the ENTER FUNCTION key. A Department list will be
printed out and the message display will revert to the initial mode.
(5) Entering Your Access Code
* It is necessary to register your access code in advance. (Refer to
“(2) Registering Department Codes”, page 7-26, and “(7) Changing
the Management Password”, page 7-28.)
* To cancel the procedure part way through, press the STOP key.
The message display will revert to the initial mode.
1. Use the keypad to enter your access code or the registered
management password.
2. Press the ENTER FUNCTION key.
* If the entered access code or management password matches
the registered one, the message display will change to the basic
initial mode display.
* If the entered access code or management password does not
match the registered one, the message display will revert to the
initial mode for Restricted access. Enter a correct access code or
the management password.
3. Perform the desired transmission or reception procedure.
ACCESS CODE :****
09.10.'99 12:00
SET DOCUMENT
ACCESS CODE :****
PRINT REPORT
ACCESS CODE LIST
07/Other/2/15-28(En)/E.q 13-07-2000 15:27 Pagina 28
Summary of Contents for OFX8800
Page 9: ...Section 1 Important Please read first 1 1 01 PL En E q 13 07 2000 15 37 Pagina 1...
Page 13: ...Section 2 Fax Operation Basic 2 1 02 Basic 1 1 12 En E q 13 07 2000 15 36 Pagina 1...
Page 39: ...Section 3 Making Copies 3 1 03 copy En E q 13 07 2000 15 33 Pagina 1...
Page 47: ...Section 4 Fax Operation Various Functions 4 1 04 Various En E q 13 07 2000 15 32 Pagina 1...
Page 60: ...Section 6 Troubleshooting 6 1 06 Trouble En E q 13 07 2000 15 29 Pagina 1...
Page 71: ...Section 7 Fax operation Other functions 7 1 07 Other 1 1 14 En E q 13 07 2000 15 28 Pagina 1...
Page 99: ...Section 8 Management Report List Print Out 8 1 08 Report En E q 13 07 2000 15 26 Pagina 1...
Page 104: ...Section 9 Other Settings and Registration 9 1 09 Registration En E q 13 07 2000 15 25 Pagina 1...
Page 115: ...Section 10 Options 10 1 10 Options 1 1 20 En E q 13 07 2000 15 24 Pagina 1...
Page 141: ...Section 11 Reference 11 1 11 Reference En E q 13 07 2000 15 22 Pagina 1...


