background image

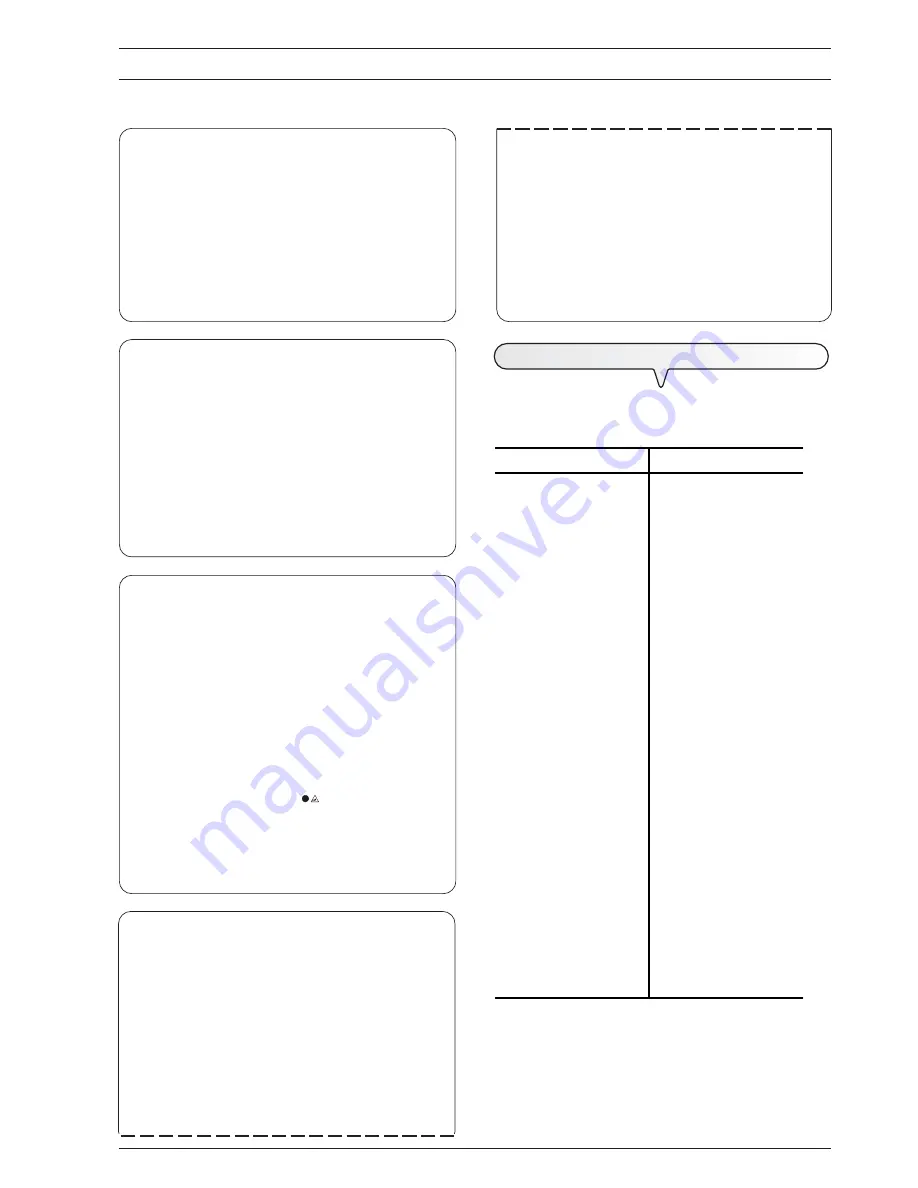
19

T

ROUBLESHOOTING


GUIDE

W

HAT


HAPPENS


IF


THERE


IS


A


POWER


FAILURE

If there is a power failure, the fax machine keeps the 

follow-

ing data in the memory

the numbers set for one-touch

and speed dialling 

and

 the reports

, while the documents

present in the memory will be lost.
The date and time will also be lost so they will have to be
reset by carrying out the procedure described in the "

To set

the date and time

" section of the "

How to get started

quickly

" chapter.

W

HAT


HAPPENS


IF


THE


PAPER


OR


INK


HAS

RUN


OUT

If, during reception,


the 

paper runs out 

or 

gets jammed

,

the ink runs out

the print head compartment cover

is open

the paper support is closed or the operator

console is raised

, the machine stops printing and the

display shows the relevant message and the document you
are receiving is 

temporarily recorded in the memory

.

Once the problem has been solved, the fax machine
resumes printing.

I

F


THE


TRANSMISSION


IS


UNSUCCESSFUL

Sometimes, due to line problems such as excessively heavy
telephone traffic or any other kind of interference, the docu-
ment sent is received badly by the correspondent, who will
ask you to send it to him again.
In these cases, it is advisable to send the document again at a

slower speed

. The fax machine transmits regularly at a speed

of 

9600

 bps (

b

its 

p

er 

s

econd). To reduce the speed, follow the

procedure described in "

To reduce the transmission

speed

", chapter "

More sophisticated operations

".

If 

transmission is not completed

 due to errors on the line

or fax machine, the error LED "

" lights up and a short

beep is emitted; in this case, the fax machine automatically
prints 

the transmission report

 (see "

To print reports

and lists

", chapter "

Transmission and reception opera-

tions

"), on which an 

error code

 indicates the cause of the

error (you will find a list of all the error codes later).

W

HAT


HAPPENS


WHEN


A


DOCUMENT


IS

PLACED


IN


EITHER


DOCUMENT


FEEDER


WHILE

THE


FAX


MACHINE


IS


PRINTING

If you place a document on any of the trays of the document
feeder while the fax machine is making a copy, printing a
report or printing a document being received, the fax ma-
chine behaves as follows:

if it is making a copy

, the fax machine displays some

messages to prompt you to abort the copying process and
return to its initial stand-by mode;

if it is printing a report

, the fax machine displays some

messages to prompt you to abort the printing process and
return to its initial stand-by mode;

if it is receiving a document

:

-

it stops printing and starts to save the document. The
display shows the message "RX IN MEMORY".

Having saved the document, the display shows the mes-
sage "DOC. IN MEMORY".
At this point, the fax machine will prompt you to remove the
document from the document feeder. The fax machine will
then print the saved document.

F

OR


MINOR


PROBLEMS

The list below may be used as a guide to the solution of minor prob-
lems.

PROBLEM

SOLUTION

The fax machine gives no

sign of life.

Check that it is connected to

the power socket.

The document is not fed in

correctly.

Check that the document
respects the
recommendations listed in
"

What documents may be

used

", chapter

"

Transmission and

reception operations

".

The fax machine will not

send a document.

Check that the document is
not jammed.

The line is busy: wait until it

is free and then try sending

the document again.

The fax machine will not

receive a document
automatically.

It is set for manual
reception: set it up for
automatic reception.

The fax machine will not

copy or receive documents.

Check that no documents or
sheets of paper are

jammed.

You are using an unsuitable

kind of paper: check the
characteristics of the paper
listed in the "

Technical

data

".

The fax machine prints blank

sheets.

Place the document in the
correct position with the
side to be copied facing
upwards.

NOTe

Incorrect transmission or reception by the fax machine may also
depend on factors other than those listed above, which will be sig-
nalled in the form of

 error codes 

on the "

Transmission report

" and

"

Activity report

", see "

To print reports and lists

", chapter "

Trans-

mission and reception operations

".

Summary of Contents for Fax-Lab S95

Page 1: ...INSTRUCTIONS Ink Jet Fax Fax Lab 95 Fax Lab S95...

Page 2: ...supply incorrect installation erroneous or improper use or any use that differs from what is indicated in the User Manual supplied with the machine replacement of components or original parts using ot...

Page 3: ...AND TIME VIII ALL THAT IS MISSING NOW IS YOUR NAME AND FAX NUMBER VIII SETTING UP THE FAX MACHINE X TRANSMISSION XII WHAT DOCUMENTS MAY BE USED XII TO SEND A DOCUMENT XII TO HEAR THE DIALLING TONE WHE...

Page 4: ......

Page 5: ...OCATION The fax machine and its accessories are wrapped in plastic so do not let children play with the packaging material RISK OF FIRE If you are to leave the fax machine unused for a long period of...

Page 6: ...memory is empty With the handset lifted gives access to the special func tions made available by the network manager and com monly known as REGISTER RECALL R function Scroll forwards and backwards thr...

Page 7: ...d to dial a telephone or fax number without lifting the telephone handset After two numeric keys 01 50 have been pressed automati cally dials once set the tel ephone or fax number associ ated with the...

Page 8: ...ror messages reso lution and contrast values PLAIN PAPER FEED COMPARTMENT ASF Adjustable to the following paper sizes A4 Maximum capacity 40 sheets 80gr m2 AUTOMATIC FEEDER FOR DOCUMENTS TO BE SENT AN...

Page 9: ...dition to the fax machine and this manual you will find the follow ing elements in the package The paper support extension The cable for connecting the fax machine to the telephone line The power cabl...

Page 10: ...in which it is to be used as described in the procedure below In the second case you can move on to set the date and time directly TO SET THE LANGUAGE AND THE COUNTRY OF DESTINATION The display shows...

Page 11: ...essing the keys 3 To confirm the setting press the key The display shows a country of destination for example ITALIA 4 To select the desired country press the keys The display shows for example U K If...

Page 12: ...hows DATE AND TIME From this point follow the procedure previously described in To set the date and time ALL THAT IS MISSING NOW IS YOUR NAME AND FAX NUMBER Once set the name max 16 characters and num...

Page 13: ...nformation at the top of the document to be sent name fax number date and time and number of pages may be received by your correspondent s fax machine outside the text area immediately below the top e...

Page 14: ...dy present The fax machine has a memory that enables it to receive up to 19 pages even if you do not add any paper Insert the print head IMPORTANT The print head provided with the machine al lows you...

Page 15: ...ntinues to be unsatisfactory repeat the procedure another time At this point if the printing quality still does not meet your expectations clean the electrical contacts and the nozzles as indicated in...

Page 16: ...e the mark printed on the fax machine s casing 2 Make sure that the document has been fed at least three centime tres into the feeder as this indicates that it is correctly inserted If this is not the...

Page 17: ...ception operations AUTOMATIC RECEPTION For all occasions in which you are out but want to receive docu ments anyway This is the mode originally set on your fax machine TO HEAR THE DIALLING TONE WHEN S...

Page 18: ...secondshavepassedandyou have not lifted the receiver Your fax is set to receive automaticaly It will wait to re ceive a document for about 30 seconds then it will return to its initial stand by mode T...

Page 19: ...correspondent is free you can start talking The display shows the length of the call in minutes and seconds in the top right hand corner TO TELEPHONE WITH SPEED DIALLING Do not place the document in...

Page 20: ...hoose the type of contrast on the basis of the following criteria NORMAL if the document is neither very light nor very dark LIGHT if the document is very dark DARK if the document is very light 3 To...

Page 21: ...r of copies you want to make 12 To choose the desired resolution setting TEXT or PHOTO press the key 13 If you want to make more than one copy max 9 enter the desired number by pressing the keys 14 If...

Page 22: ......

Page 23: ...PTION SETTINGS 12 OTHER USEFUL TRANSMISSION SETTINGS 15 RECEIVING A DOCUMENT IN POLLING MODE 17 TROUBLESHOOTING GUIDE 19 WHAT HAPPENS IF THERE IS A POWER FAILURE 19 WHAT HAPPENS IF THE PAPER OR INK HA...

Page 24: ......

Page 25: ...dialling mode tone or pulse is compatible with the public telephone exchange that manages the line to which you have connected the fax machine If in doubt about the choice to be made ask your public t...

Page 26: ...up for pulse dialling decadic and you want to change it to tone dialling multifrequency Press the key before dialling the fax or telephone number to change the dialing mode temporarily At the end of...

Page 27: ...paper support extension in the slot until it clicks into position or 2 Insert the document in the automatic document feeder ADF fig 1 with the side to be sent facing downwards or Place the document in...

Page 28: ...dent s number may be made up of max 64 digits 3 To start sending the document press the key If the document is sent correctly once this operation has been completed the display will show the message T...

Page 29: ...even at a preset time Delayed transmission to several correspond ents max 10 Broadcast transmission See To send a docu ment from the memory TO SEND A DOCUMENT FROM THE MEMORY 1 Insert the document in...

Page 30: ...of recognizing whether the incoming call is a fax call or a telephone call TO CHOOSE THE RECEPTION MODE 1 Press the key until the display shows RECEPTION MODE 2 Press the key The display shows AUTOMA...

Page 31: ...o do this press the keys 7 If there are any incorrect numbers move the cursor on the incorrect number To do this press the keys 8 Then overwrite the number with the correct one To do this press the ke...

Page 32: ...his press the keys 7 To confirm the setting press the key 8 To return the fax machine to its initial stand by mode press the key TO SEND A DOCUMENT WITH ONE TOUCH DIALLING 1 Insert the document in the...

Page 33: ...calls press the keys 6 To start sending press the key TO PRINT REPORTS AND LISTS REPORTS By printing out reports the fax machine enables you to check the result of all the transactions carried out tra...

Page 34: ...pter Troubleshooting guide TO ENABLE DISABLE THE AUTOMATIC PRINTING OF THE TRANSMISSION AND FAILED TRANSMISSION REPORT 1 Press the key until the display shows FAX SET UP 2 Press the key The display sh...

Page 35: ...NUMBERS 1 Press the key until the display shows INSTALLATION 2 Press the key The display shows TEL LINE SET UP 3 Press the key until the display shows PRINT INSTALL 4 Press the key The display shows P...

Page 36: ...ress the key NOTE If you choose the SURPLUS AUTO setting the fax machine will print the surplus text on another sheet providing the surplus exceeds 12 mm If you choose the SURPLUS ON setting the fax m...

Page 37: ...er engineering service centre The fax machine is already set up to display the caller ID You may however set it up not to display it as follows 1 Press the key until the display shows INSTALLATION 2 P...

Page 38: ...ess the key until the display shows DISTINC RING OFF 5 Press the keys until the display shows CHANGE PATTERN 6 To confirm your choice press the key The display shows AUTODETECT RING 7 Call the fax mac...

Page 39: ...e fax machine to its initial stand by mode nOTE If you are connected to a private line follow the same procedure until the display shows PUBL LINE PSTN press the keys to dis play PRIV LINE PBX and the...

Page 40: ...y shows TX SPEED 9 6 5 To view the other available value TX SPEED 4 8 press the keys 4 Press the key until the display shows RETRANS DOC OFF 5 To view the other available option RETRANS DOC ON press t...

Page 41: ...quest it to send a document specially prepared to him even when the user at the other end of the line is out the transaction is paid for by the person who requested transmission that is the user who r...

Page 42: ...tting The fax ma chine returns to its initial stand by mode CHANGE PARAM To change the time at which the transmission request is to be made or the number of the correspondent from whom you want to rec...

Page 43: ...ce a document on any of the trays of the document feeder while the fax machine is making a copy printing a report or printing a document being received the fax ma chine behaves as follows if it is mak...

Page 44: ...found Resume transmission of the pages indicated in the report 07 DOCUMENT TOO LONG The document to be sent is too long The time taken to send it exceeds the allowed limits Split up the document to be...

Page 45: ...ect it COVER OPEN You forgot to close the print head compartment cover close it DOC IN MEMORY The document received was saved because an error occurred dur ing the reception phase preventing it from b...

Page 46: ...has made a talk request lift the handset to start the conversation LINE ON HOLD PRESS HOLD You have put a telephone call on hold by pressing the key press the key again to resume the conversation with...

Page 47: ...NO Set the value 1 At this point the fax machine automatically cleans the print head and tests the nozzles printing out the result of the diagnostic test Examine the diagnostic test result with refere...

Page 48: ...cleans the print head and tests the noz zles printing out the result of the diagnostic test Examine the diagnostic test result and consult Insert the print head chapter How to get started quickly NOTE...

Page 49: ...To check whether the optical reader is clean make a copy of a blank sheet If any vertical lines appear on the copy and the optical reader looks perfectly clean contact qualified technical staff TO CLE...

Page 50: ...and edge of the fax machine see fig 3 of procedure To clean the optical reader 4 Release the paper feed roller by pressing the lever see fig 4 of procedure To clean the optical reader 5 Remove the rol...

Page 51: ...ing from 15o C to 45o C transport from 0o C to 45o C short and long term storage Relative humidity 15 85 operating short and long term storage 5 95 transport CHARACTERISTICS OF OPTICAL READER Scanning...

Page 52: ...ADF IV manual IV L Linecharacteristics private line 1 public line 1 to connect it to a private line PBX 1 to connect it to a public line 1 Line signals 16 Lists blacklistnumbers 11 listofinstallationp...

Page 53: ...ge 8 to send a document with speed dialling 8 toset 8 to telephone with speed dialling XV StationID fax number VIII name VIII name and fax number position IX 15 T Technicaldata characteristicsofoptica...

Page 54: ......

Page 55: ...Monochrome print head part number Single block print head P N B0336F...

Page 56: ...255976B...

Reviews: