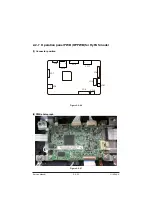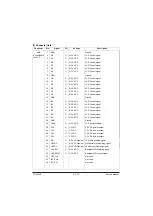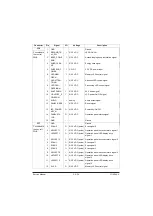
2-2-43
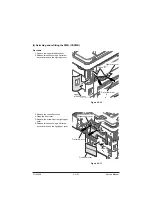
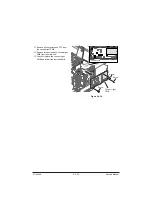
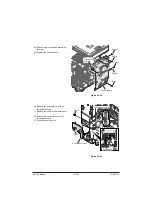
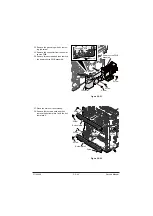
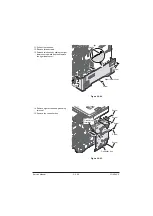
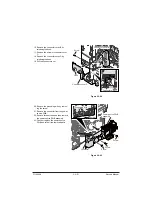
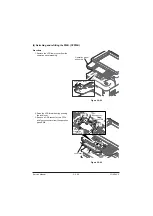
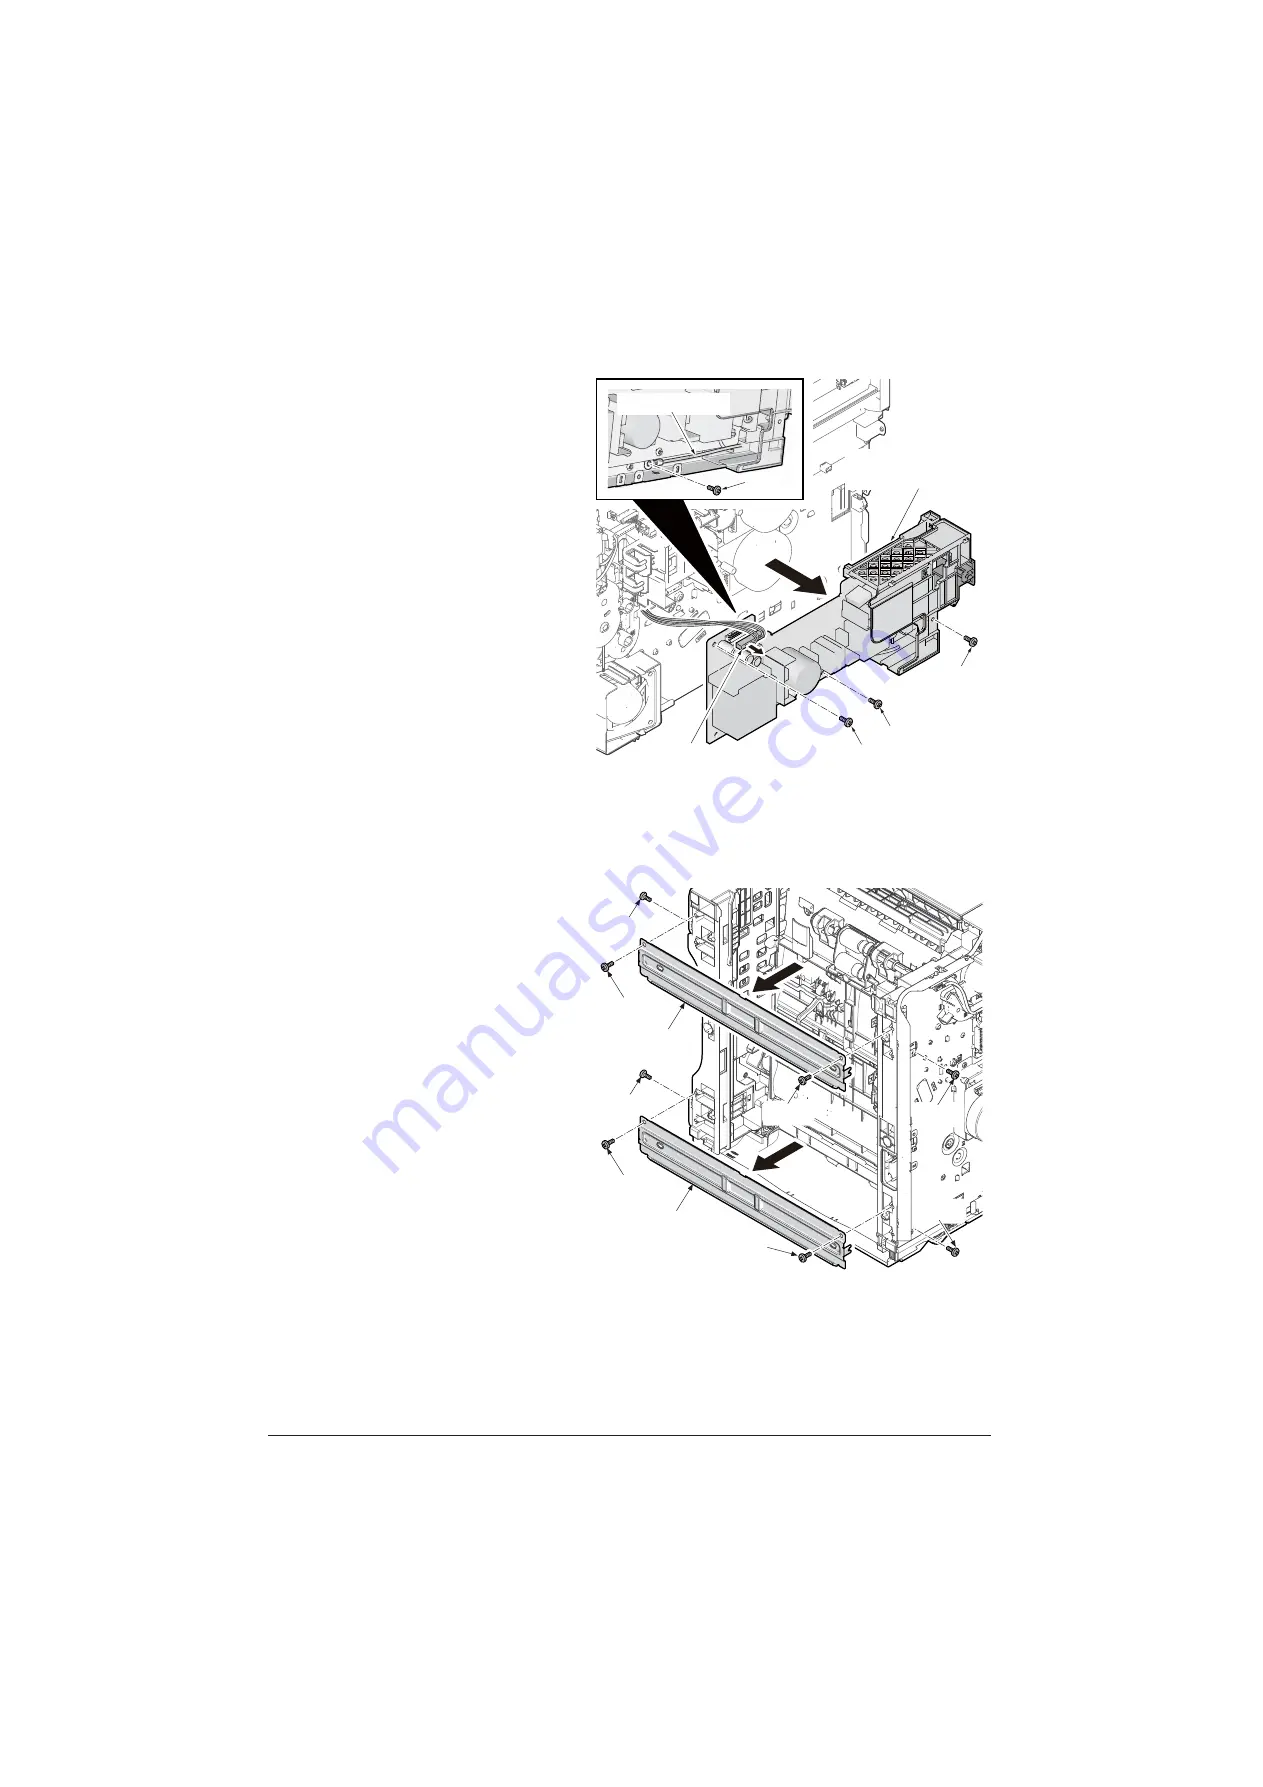
34. Remove the grounding wire by remov-
ing the screw.
35. Remove the connector from the power
source PWB.
36. Remove three screws and then remove
the power source PWB assembly.
Figure 2-2-51
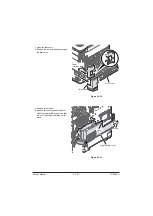
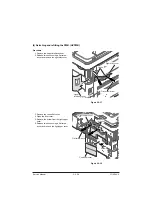
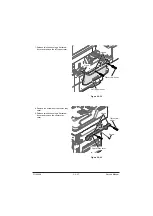
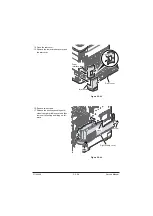
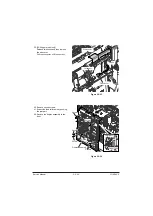
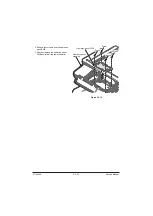
37. Stand the main unit front side up.
38. Remove four screws each and then
remove the bottom plate 1 and the bot-
tom plate 2.
Figure 2-2-52
Power source PWB
assembly
Screw
Screw
Screw
Screw
Grounding wire
Connector
Screw
Screw
Screw
Screw
Screw
Botom plate 2
Screw
Screw
Screw
Bottom plate 1
Service Manual
Y116
540-5
Summary of Contents for d-Copia 4003MF
Page 11: ...This page is intentionally left blank...
Page 52: ...1 2 24 This page is intentionally left blank Service Manual Y116540 5...
Page 384: ...1 5 100 This page is intentionally left blank Service Manual Y116540 5...
Page 484: ...Installation Guide PF 320 Paper Feeder Installation Guide...
Page 486: ...For Legal Folio OficioII 1 1 1 1 2 2 2 2...
Page 487: ...UPDATINGSTATUS DATE UPDATEDPAGES PAGES CODE 03 2015 1ST EDITION 487 Y116540 5...

