


- 25 -
Miscellaneous
Appendix B
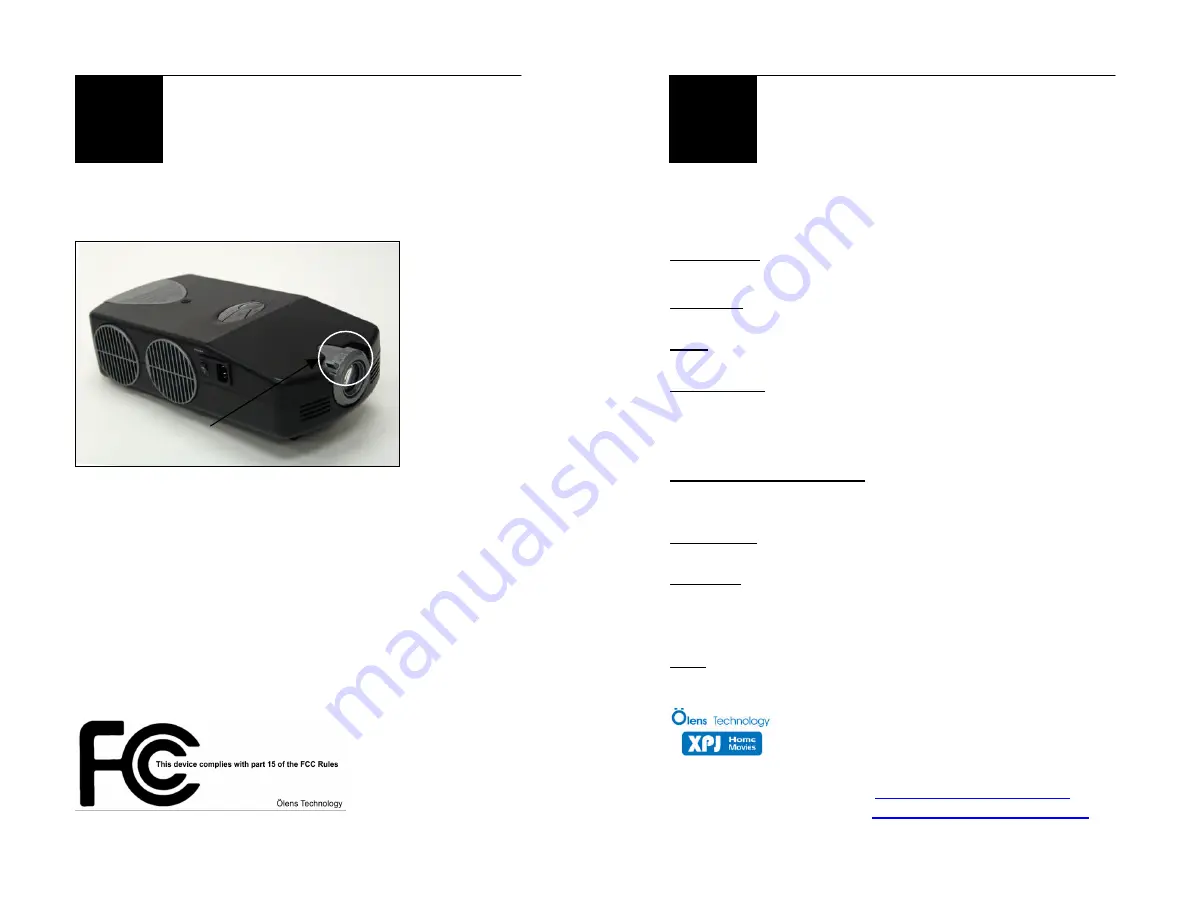
Figure 3:
Focusing The Lens
m
Turn to focus image
- 26 -
Miscellaneous
Glossary
Brightness: the amount of light displayed
Contrast: the intensity of the light displayed
Hue: the amount of color displayed
Input mode: Settings that are changed to be compatible
with the type of cords connected to the projector (A/V,
S-Video, or VGA)
Projective Screen Sizes: the size of the image that will
be displayed on the wall or screen
Saturation: the intensity of the hue displayed
Standby: a projector mode in which the fans are
running and the LED light is on, but the projector is not
displaying images
Trip: to cause to fail; obstruct
Ölens Technology, P.O. Box 386, Pismo Beach, CA 93448
(805) 489-3636 (USA)
www.olenstechnology.com
email for service & parts:
m


