- 23 -
Miscellaneous
Quick Start Guide
1.
Remove projector, power cord, and remote
control from package.
2.
Install batteries in remote control and connect
power cord to AC mains.
3.
Connect a S-Video, RCA, or PC Video cable to
projector.
4.
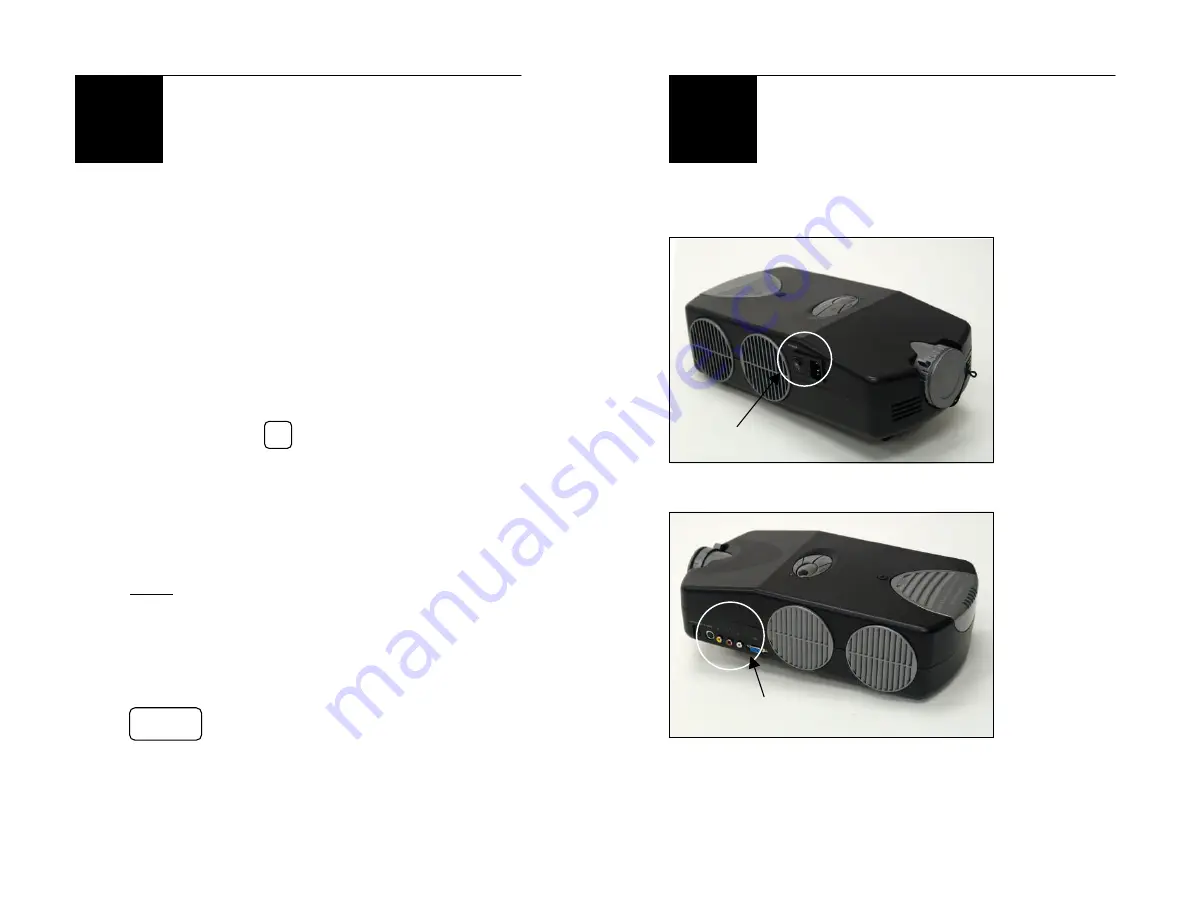
Remove the lens cover and turn on main power
by pressing the
mark on the toggle switch
next to the power cord. The red LED on top of
the projector will light up.
5.
Press the standby button on the projector or the
ON/OFF button on the remote control to turn on
the projector lamp.
Note: The lamp turns on approximately two
seconds after pressing the button.
6.
Turn on video source (DVD, digital/video
camera, computer, game console, etc.).
7.
If there is no display on the projector, press
three times until “Input Source” is
displayed, and select the correct input source.
8.
Focus image by rotating the lens.
9.
Power down as normal when you are finished.
m
|
MENU
- 24 -
Miscellaneous
Appendix A
Figure 1:
Switching On The Unit
Figure 2:
Connecting Devices
m
Push to turn on
Turn to focus image
Connect to proper jack


