-
6
-
4. QUICK SETUP
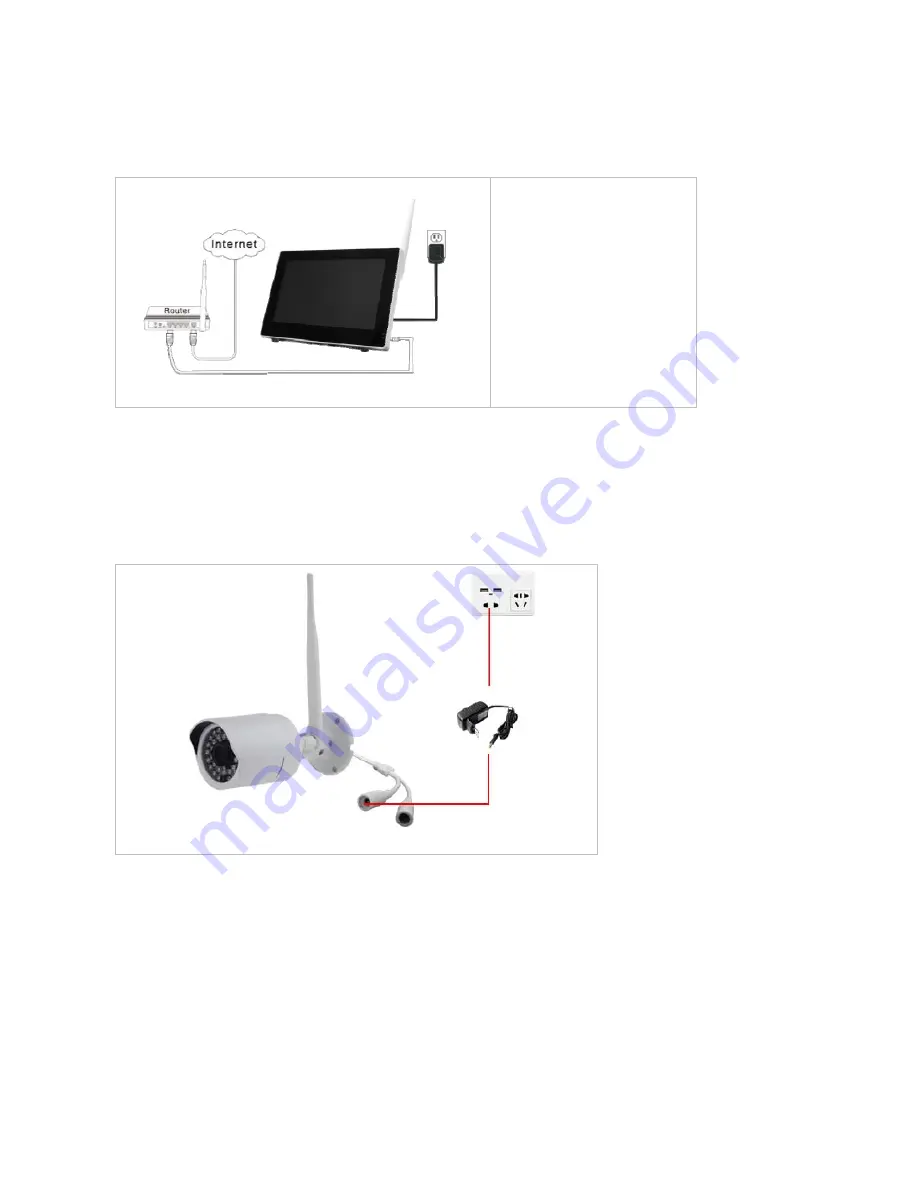
4.1 Connect the NVR
Note:
a) Before using the equipment, please confirm the Router is open DHCP service (Generally, the
Router is open DHCP service automatically) .
b) Camera must be installed within the valid transmission distance to ensure the LCD NVR can
receive the stable and clear image from the cameras.
4.2 Connect the Camera
a) Install the antenna to cameras
b) Connect all cameras to AC/DC adapter, plug the AD/DC adapter into wall AC outlet.
Signal LED in front of the camera indicates signal condition.
1) BLUE steady ON – Signal is high
2) BLUE flashing - Signal is medium
3) RED steady ON - Signal is low
Note:
All LEDs will be turned OFF after 1 minute.
a)
Install
the
antenna
to
LCD
NVR
b)
Connect
LCD
NVR
with
Router
by
RJ45
cable
c)
Plug
in
the
power
adapter
of
LCD
NVR


