136
Chapter 16 Maintaining the Machine
Add the toner
[97]
5.
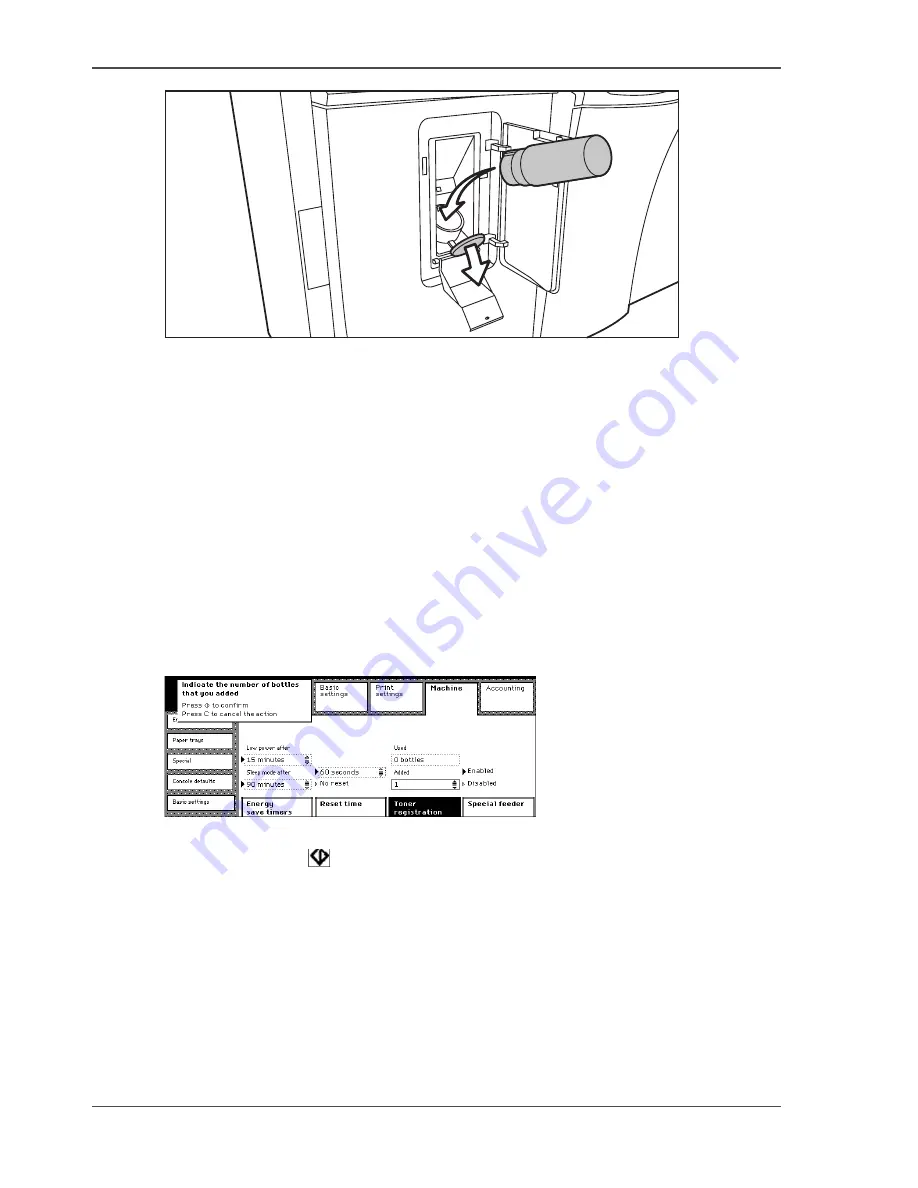
Remove the bottle when the bottle is empty.
6.
Place the lid on the empty bottle.
Close the toner reservoir
1.
Close the cover of the toner reservoir.
2.
Close the front door.
Registering the added toner
1.
Enter the Key Operator System.
2.
Press the 'Machine' key.
3.
Select the 'Basic settings' tab.
4.
Press the 'Toner registration' key.
Use the scroll wheel to indicate that you have added 1 bottle of toner.
[98]
[98] Indicate that you added one bottle
5.
Press the start key
to confirm.
Check
1.
Exit the key operator system.
2.
Check to see that the low-toner symbol is no longer displayed.
1
2
Summary of Contents for VarioPrint 2062 NC
Page 1: ...Oc VarioPrint 2062 75 NC Oc User manual Configuration and Maintenance Manual...
Page 9: ...9 Chapter 1 Introduction...
Page 15: ...15 Chapter 2 Getting to know the Oc VarioPrint 2062 75 NC...
Page 21: ...21 Chapter 3 Getting to know the Digital Copier...
Page 27: ...27 Chapter 4 The Key Operator System...
Page 31: ...31 Chapter 5 Getting Started...
Page 36: ...36 Chapter 5 Getting Started Enter the IP address information of the Network Printer...
Page 37: ...37 Chapter 6 The End user Display Screen...
Page 44: ...44 Chapter 6 The End user Display Screen Enter the telephone number of the key operator...
Page 45: ...45 Chapter 7 The Access Security...
Page 65: ...65 Chapter 8 User Access to the Machine Components...
Page 70: ...70 Chapter 8 User Access to the Machine Components Control the access to the special feeder...
Page 71: ...71 Chapter 9 The Page and Paper Settings...
Page 78: ...78 Chapter 9 The Page and Paper Settings Change the default margin shift...
Page 79: ...79 Chapter 10 The Interrupt Mode...
Page 81: ...81 Chapter 11 The Print and Scan Modes of the Network Printer...
Page 93: ...93 Chapter 12 System Information...
Page 100: ...100 Chapter 12 System Information Print the accounts database file...
Page 101: ...101 Chapter 13 The Energy Save Timers...
Page 110: ...110 Chapter 13 The Energy Save Timers Disabling the Automatic Switch Off...
Page 111: ...111 Chapter 14 The Accounting System...
Page 126: ...126 Chapter 14 The Accounting System Delete the user accounts...
Page 127: ...127 Chapter 15 Finishing Jobs...
Page 133: ...133 Chapter 16 Maintaining the Machine...
Page 147: ...147 Chapter 17 Clearing Jams...
Page 150: ...150 Chapter 17 Clearing Jams Clear the staple jams...
Page 151: ...151 Chapter 18 Troubleshooting on the Network Printer...
Page 158: ...158 Chapter 18 Troubleshooting on the Network Printer Restoring the Network Settings...
Page 159: ...159 Appendix A Specifications...
Page 168: ...168 Appendix A Specifications Media...
Page 169: ...169 Appendix B Addresses...


