5
Setting up the PCL driver
5-34
CS175
6
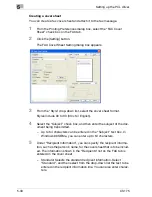
Check the information, and then click the [OK] button.
7
From the “Resolution” drop-down list, select the desired setting.
8
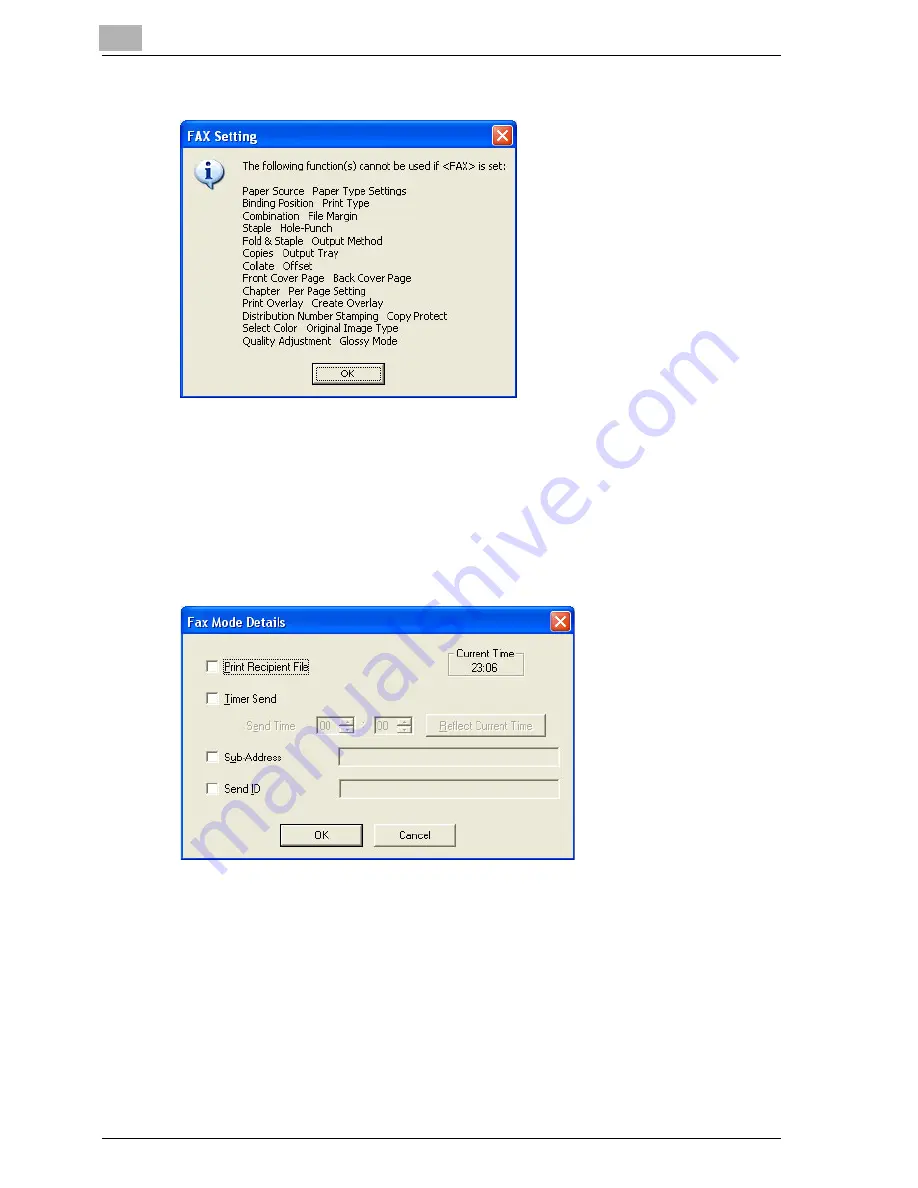
Click the Details button.
The [Fax Mode Details] dialog box appears.
9
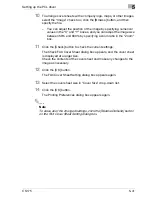
To print a file after a fax is sent, select the “Print Recipient File” check
box.
10
To set the time when the fax is to be sent, select the “Timer Send”
check box, and then specify the time that you want the fax to be sent
in the “Send Time” boxes.
–
By clicking the [Reflect Current Time] button, the current time set
on the computer is displayed in the “Send Time” boxes.
–
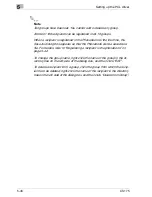
When using “Timer Send”, check that the time set on the computer
is synchronized with the time on this machine. If the transmission
time is earlier than the current time of this machine, the fax is sent
the next day.
Summary of Contents for CS175 Phase 3
Page 1: ...Oc CS175 User s Guide Controller...
Page 22: ...Welcome x 20 CS175...
Page 32: ...1 Overview 1 10 CS175...
Page 110: ...4 Various printing methods 4 20 CS175 PCL driver PostScript driver...
Page 114: ...4 Various printing methods 4 24 CS175...
Page 202: ...7 Setting up the PPD driver Windows 7 8 CS175...
Page 216: ...8 Setting up the PPD driver Mac OS 9 2 8 14 30C 1...
Page 273: ...Various settings 10 CS175 10 37 The login page appears after logging out...
Page 306: ...10 Various settings 10 70 CS175 System tab ROM Version Displays the ROM version...
Page 360: ...10 Various settings 10 124 CS175...
Page 366: ...11 Troubleshooting 11 6 CS175...
Page 369: ...Appendix 12 CS175 12 3 12 2 Configuration page...
Page 370: ...12 Appendix 12 4 CS175 12 3 Font list PCL font list...
Page 371: ...Appendix 12 CS175 12 5 PS font list...
Page 372: ...12 Appendix 12 6 CS175 Demo page...
Page 382: ...12 Appendix 12 16 CS175...
Page 393: ...1 11 PS font list 12 5 Demo page 12 6 12 4 Glossary 12 7 12 5 Index 12 12...
Page 394: ...1 12...
Page 395: ...1 Oc CS175 User s Guide Appendix A Miscellaneous...


