


Chapter 6 Ethernet Configuration
SMART7 Installation and Operation User Manual v6
93
5. Select
Internet Protocol Version 4 (TCP/IPv4)
and then click the
Properties
button.
The Internet Protocol Version 4 (TCP/IPv4) Properties window appears.
6. Click the
Use the Following IP Address
radio button, then enter the IP address, Subnet mask and Default
gateway for the Ethernet port on the computer.
Ensure the Ethernet settings used for the computer are compatible with the Ethernet settings
on the OEM7 receiver.
For example, the following settings are compatible with the OEM7 receiver settings used in
Static IP Address Configuration—Receiver
IP address = 192.168.74.11
Subnet mask = 255.255.255.0
Gateway = 192.168.74.1
7. Click the
OK
button.
The Local Area Connection Properties window appears.
8. Click the
Close
button.
The Local Area Connection Status window appears.
9. Click the
Close
button.
10. Proceed to
6.2.3 Confirming Ethernet Setup
1. Connect the computer to the OEM7 receiver using an Ethernet cross-over cable.
See
Figure 27: Cross-Over Ethernet Cable Configuration—OEM7 Receiver
2. Connect to the receiver using NovAtel Connect or any third party terminal program that supports TCP/IP con-
nections. Use the static IP address and port number assigned to the OEM7 receiver in
NovAtel Connect version 2.0 or greater is required for OEM7 receivers. Download the latest
NovAtel Connect software and documentation from
www.novatel.com/novatel-connect
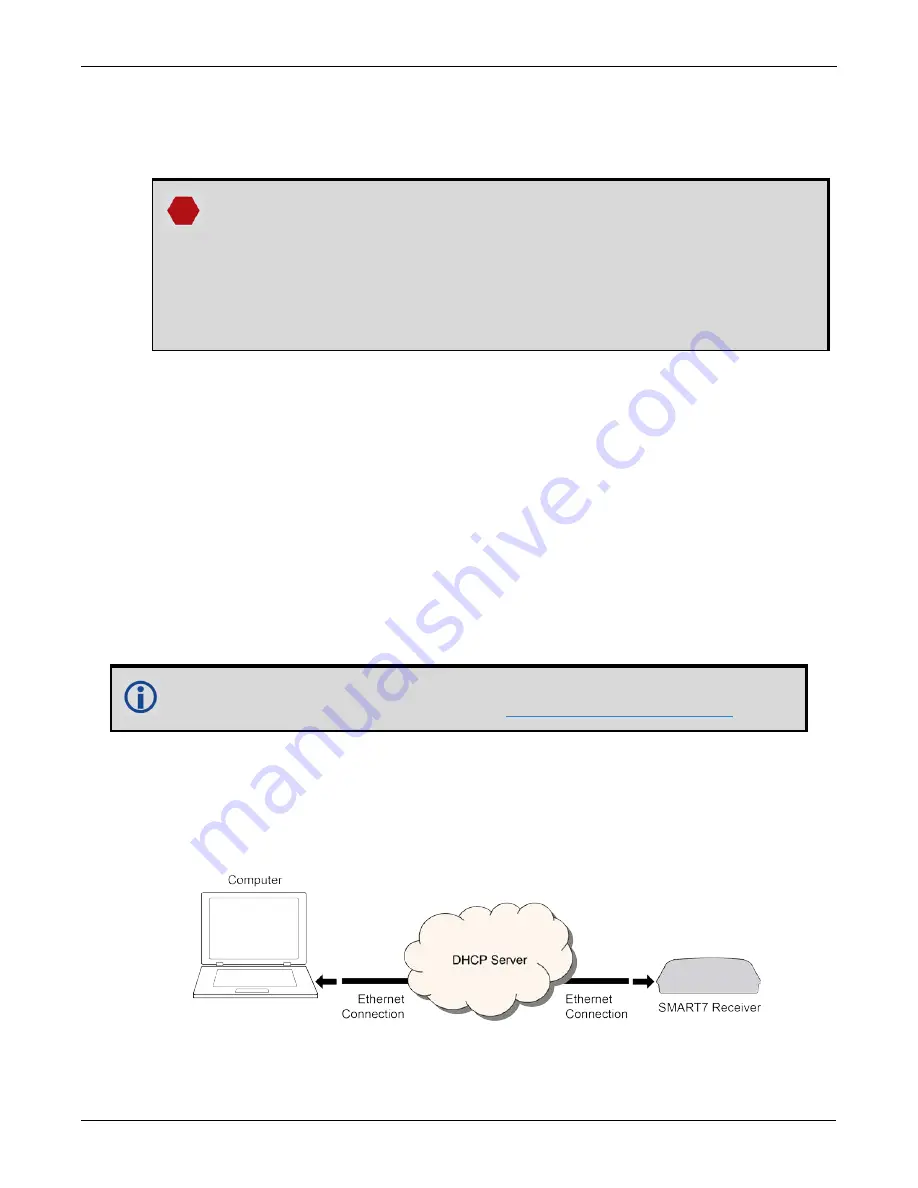
6.3 Dynamic IP Address Configuration
Figure 28: Dynamic IP Address Configuration through a DHCP Server—OEM7 Receiver
below shows the con-
nections when an OEM7 receiver uses a dynamic IP address configuration.
Figure 28: Dynamic IP Address Configuration through a DHCP Server—OEM7 Receiver
To set up a dynamic IP address configuration, follow these steps:


