- 12 -
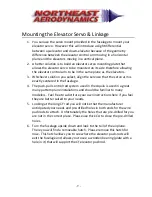
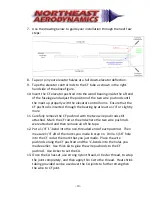
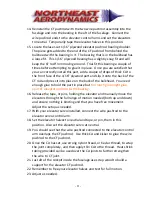
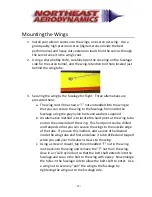
Mounting
the
Wings
1.
Install
your
aileron
servos
into
the
wings,
one
servo
per
wing.
Use
a
good
quality
high
precision
servo
(digital
servos
provide
the
best
performance)
and
heavy
duty
extension
leads
from
the
servos
through
the
servo
tunnel
to
the
wing’s
root.
2.
Using
a
sharp
hobby
knife,
carefully
open
the
covering
on
the
fuselage
side
for
the
servo
tunnel,
and
the
wing
‐
retention
bolt
hole
located
just
behind
the
wing
tube.
3.
Securing
the
wing
to
the
fuselage
for
flight.
Three
alternatives
are
presented
here:
a.
The
wing
root
rib
has
had
a
“T”
nut
embedded
into
the
wing
so
that
you
can
secure
the
wing
to
the
fuselage
from
inside
the
fuselage
using
the
gray
nylon
bolts
and
washers
supplied.
b.
An
alternative
method
is
to
locate
the
hard
point
at
the
wing
tube
end
on
the
underside
of
the
wing.
This
hard
point
can
be
drilled
and
tapped
so
that
you
can
secure
the
wings
to
the
outside
edge
of
the
tube.
If
you
use
this
method,
add
a
piece
of
hardwood
inside
the
wing
tube
end
first
and
allow
it
to
be
drilled
and
tapped
when
you
add
your
hold
‐
down
screws
to
the
wing.
c.
Using
a
screw
or
dowel,
tap
the
embedded
“T”
nut
in
the
wing
root
back
into
the
wing
and
remove
the
“T”
nut
from
the
wing.
Glue
in
a
1/4
‐
20
nylon
bolt
so
that
the
bolt
shaft
extends
into
the
fuselage
and
secure
the
bolt
to
the
wing
with
epoxy.
Now
enlarge
the
holes
in
the
fuselage
side
to
allow
the
bolt
shaft
to
enter.
Use
a
wing
nut
to
securely
“pull”
the
wing
to
the
fuselage
by
tightening
the
wing
nut
to
the
fuselage
side.
Summary of Contents for 2M Aquila F3A
Page 25: ... 25 Additional Pictures ...

