- 9 -
Mounting
the
Elevator
Servo
&
Linkage
1.
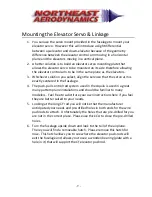
You
can
use
the
servo
mount
provided
in
the
fuselage
to
mount
your
elevator
servo.
However
this
will
introduce
a
slight
differential
between
up
‐
elevator
and
down
‐
elevator
because
of
the
geometry
difference
between
the
elevator
control
arm
moving
in
a
horizontal
plane
and
the
elevators
moving
in
a
vertical
plane.
2.
A
better
solution
is
to
build
an
elevator
servo
mounting
plate
that
allows
the
elevator
servo
to
be
mounted
on
its
side
therefore
allowing
the
elevator
control
arm
to
be
in
the
same
plane
as
the
elevators.
3.
Whichever
solution
you
select,
align
the
servo
so
that
the
servo
arm
is
exactly
centered
in
the
fuselage.
4.
The
push
‐
pull
control
rod
system
used
in
the
Aquila
is
used
in
a
great
many
pattern
plane
installations
and
should
be
familiar
to
many
modelers.
Feel
free
to
substitute
your
own
instructions
here
if
you
feel
they
are
better
suited
to
your
needs.
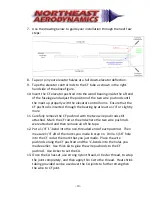
5.
Looking
at
the
long
CF
rod
you
will
notice
that
the
manufacturer
anticipated
your
needs
and
pre
‐
drilled
holes
in
both
ends
for
the
wire
pushrods
to
attach.
Unfortunately
the
holes
that
are
pre
‐
drilled
for
you
are
not
in
the
correct
place.
Please
use
thick
CA
to
close
the
pre
‐
drilled
holes.
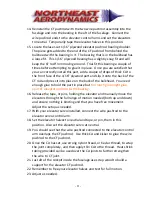
6.
Turn
the
fuselage
upside
down
and
look
to
the
tail
of
the
airplane.
There
you
will
find
a
removable
hatch.
Please
remove
this
hatch
for
now.
This
hatch
allows
you
to
see
where
the
elevator
push
‐
rods
will
exit
the
fuselage
and
allows
you
to
see
a
wooden
bearing
(plate
with
a
hole
in
it)
that
will
support
the
CF
elevator
pushrod.
Summary of Contents for 2M Aquila F3A
Page 25: ... 25 Additional Pictures ...

