CHAPTER FIVE - CONECTIVITY
71
5. Power your PL3000 up; the WLAN supplicant is changed.
If you selected the ‘ThirdPartyConfig’ profile, the WZC opens its utility window
on screen when your PL3000 is up and running again. A ‘Wireless Information’
page is usually in view immediately, and it starts showing the SSIDs of the access
points being within range. However, before moving on to the section ‘Configuring
WLAN Interface of Native WZC’ on page 72, you may need to check on the radio
settings of your selected profile, see the section ‘Radio Settings Relating to SCU
Profile’ below.
Hint:
When the WZC supplicant (Active Profile: ThirdPartyConfig in the
SCU) is in use there are both the WZC supplicant’s icon and the SCU icon
visible on the taskbar. You can hide the SCU icon using the ‘Tray Icon’
switch on the Global page in the SCU, if need be.
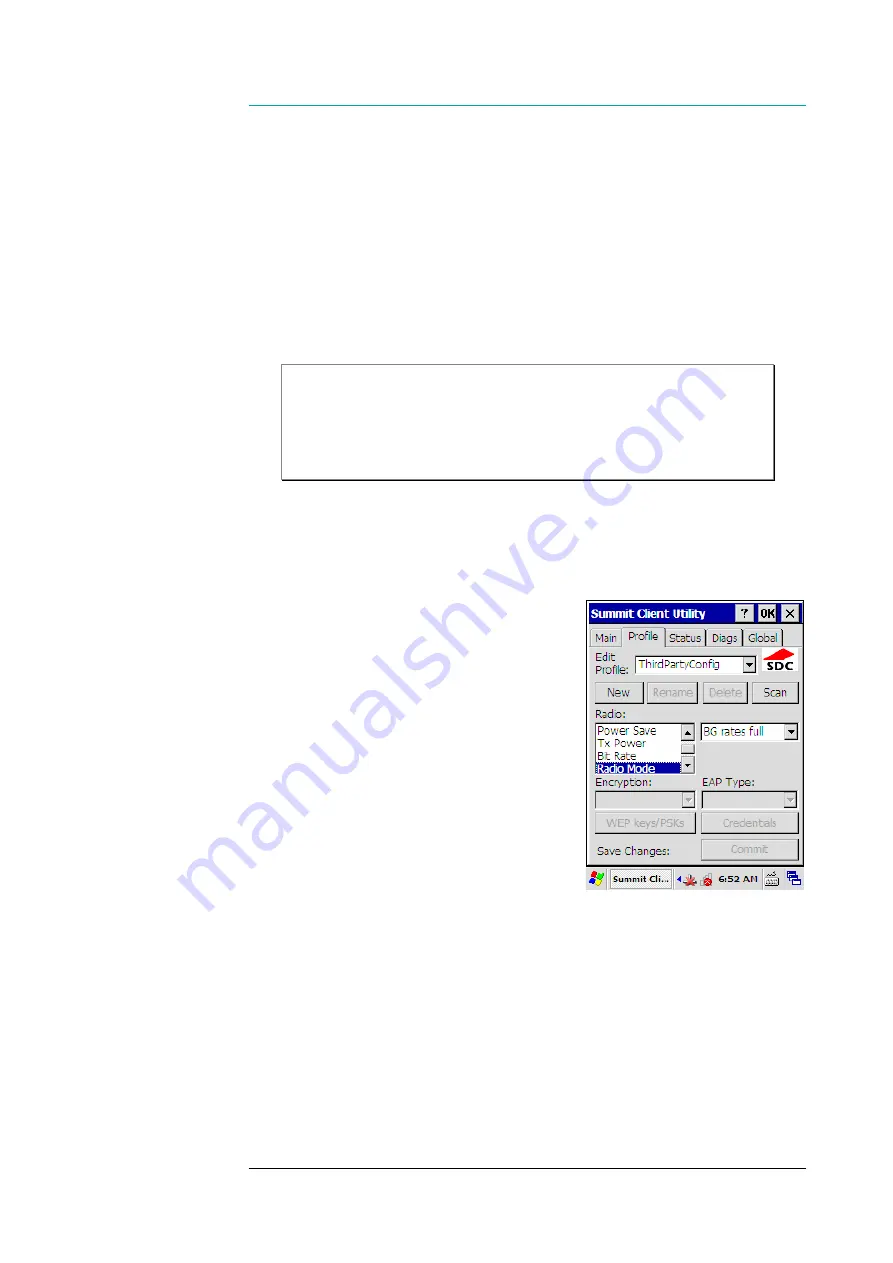
Radio Settings Relating to SCU Profile
In the case of the ‘ThirdPartyConfig’, it
would be well to go through the radio settings
that the SCU makes available for each profile
before continuing the configuration of the rest
of the WLAN in the WZC. With the ‘Default’
profile the line of actions is different. Usually,
it is not reasonable to tweak the radio settings
of the ‘Default’ profile but the final one that
you specify when you are attaching your
PL3000 to your WLAN under the SDC
Supplicant.
Before you begin, open the SCU utility
(see the section ‘Before Starting to Configure
WLAN’ on page 62) and select the Profile
page. The radio settings on the Profile page
follow the same logic as the global settings on
the Global property page. Selecting the radio property on the left-hand side makes
the value(s) of the property available in the (value) field on the right-hand side of
the property list. When you select some property the value field shows its current
value. If you want to change the value of the property, a tap on the value field
opens the list of the values available for selection. Changing the value in the field
without tapping the ‘Commit’ button does not get the change to come into use. A
tap on the ‘Commit’ button also saves your configuration settings permanently.


