background image

GB 14

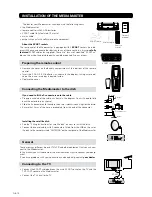
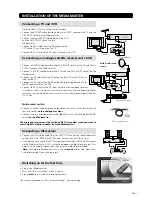
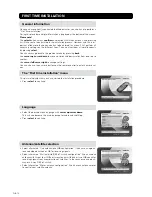
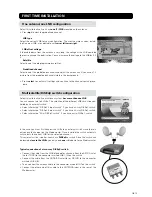
FIRST TIME INSTALLATION

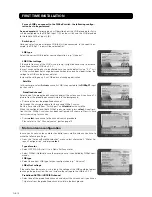
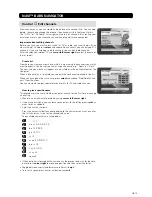
LNB type

• Select the correct LNB type for your configuration, e.g. “Universal”.

Type of motor

• Select SATSCAN (Astra) if it is a Nokia SatScan motor.

• Select DiSEqC (Hotbird) in case the motor you use is controlled by DiSEqC com-

mands.

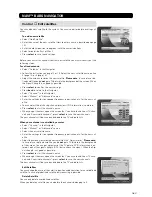
Motor antenna configuration

In case you have an antenna motor to control your satellite antenna you have to
make the following settings.

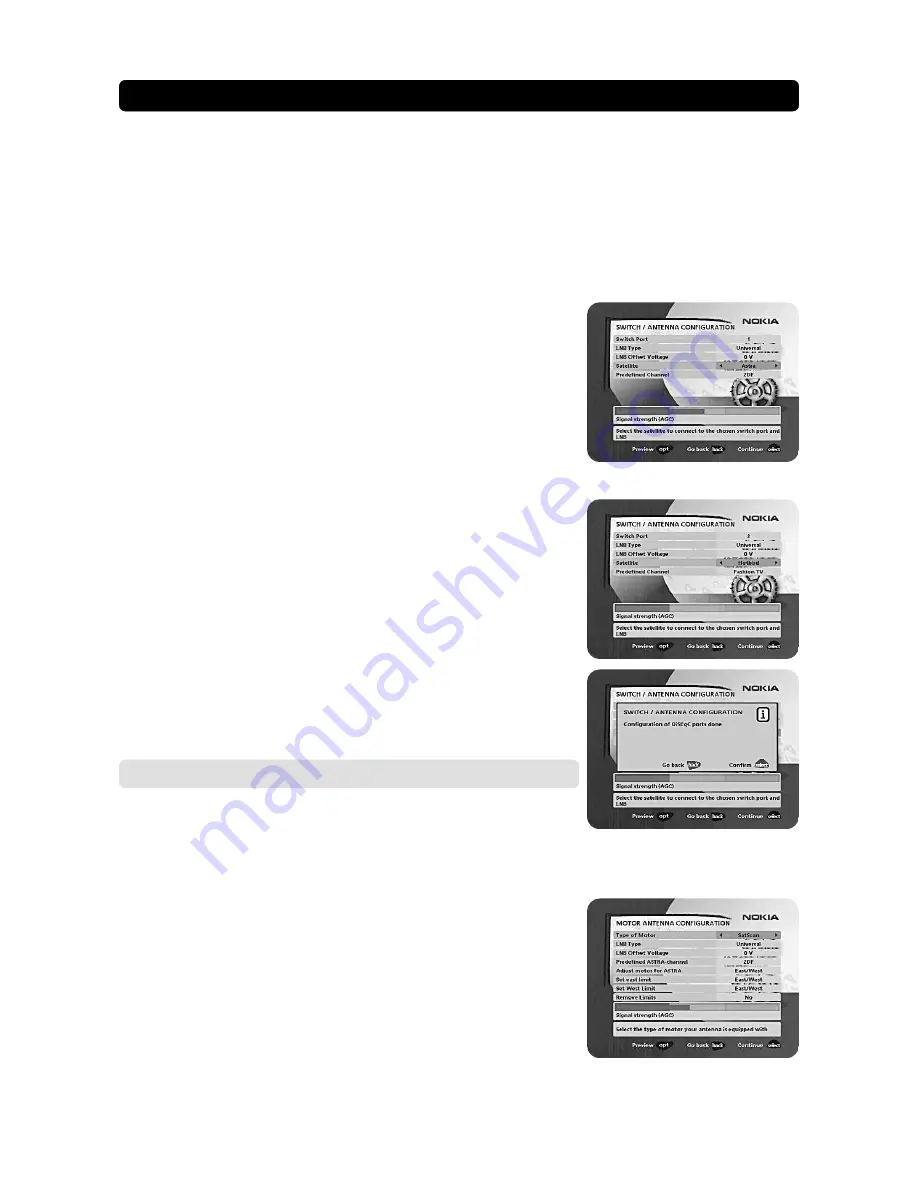
• From the “Antenna/Satellite selection” menu select alternative 3 “Motor An-

tenna Configuration” and press 

select

.

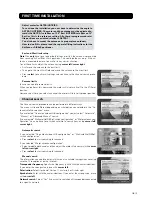
Satellite

In this example, select 

Astra

 because its LNB is connected to the 

DiSEqC 1

 input

on the switch.

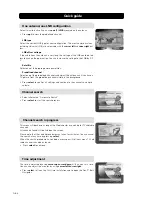
Predefined channel

Select one of the predefined channels and adjust the antenna until you have a TV
picture from the predefined channel visible in the background.

• Press opt to view the predefined channel.

Go through the same procedure for the second DiSEqC switch.
But this time select 

2

 from “Switch port” and 

Hotbird

 as the satellite.

When the configuration of both DiSEqC ports are ready, press 

select

. A confirma-

tion that the  DiSEqC-switches has been configured will show up. Now it´s time
to start searching for channels.

• Press 

select 

to continue to the channel search procedure.

Please refer to the “Channel search” part on page 15.

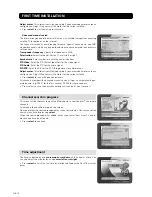
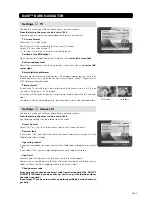
Switch port

Here you select the input for each LNB that will be connected. In this specific ex-
ample, the DiSEqC 1 input will be selected first.

LNB type

Select the correct LNB type for your configuration, e.g. “Universal”.

LNB Offset voltage

If the cable from any of the LNB’s is very long, it might be necessary to increase
the voltage to these LNB’s by 0.5 V.
In most cases nothing has to be altered here. Leave the default value “0 V” as it
is. If the switch does not change between horizontal and vertical polarisation, the
voltage to a LNB can be increased later.

Increase the voltage only if an LNB does not change polarisation.

For each LNB you connect to the DiSEqC switch, the following configu-
ration has to be performed.

As an example

 the following part will describe how the LNB intended for Astra

will be configured to the DiSEqC input 1 (A) on the switch and the LNB intended
for Hotbird to DiSEqC input 2 (B).

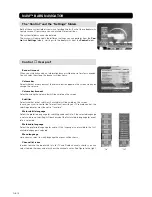
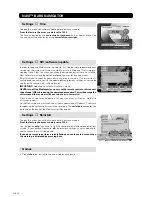
LNB offset voltage

If the cable from the antenna is very long, the voltage at the LNB could be too low
to change the polarisation. You can increase the voltage to the LNB by 0.5 V.

Predefined ASTRA-/HOTBIRD-channel

• Select one of the predefined channels and adjust the antenna until you have a

TV picture from the predefined channel visible in the background.

Summary of Contents for MEDIAMASTER 9460 S

Page 1: ...Owner s Manual MEDIAMASTER 9460 S ...

Page 2: ......

Page 3: ...ll also become the main language for audio and subtitling Press select to continue Antenna satellite selection This Quick guide describes connection to the most common satellite dish in stallations with one Universal LNB Select alternative One antenna one LNB configuration Press select to continue If you have two or more LNBs connected to your satellite dish see page 13 Satellite dish The satellit...

Page 4: ...nel search Select alternative Automatic Search Press select to start the search process One antenna one LNB configuration Select this alternative if you have one 1 LNB mounted on the antenna Press opt to view the predefined channel LNB type Select the correct LNB type for your configuration The most common values including Universal LNB are selectable with the cursor left and cursor right but tons...

Page 5: ...t switch 11 Connecting a HiFi system 11 Switching on for the first time 11 First time installation 12 General information 12 The First time installation menu 12 Language 12 Antenna satellite selection 12 One antenna one LNB configuration 13 Multisatellite DiSEqC switch configuration 13 Motor antenna configuration 14 15 Channel search 15 16 Channel search progress 16 Time adjustment 16 Navi Bars Na...

Page 6: ...GB 6 ...

Page 7: ... Mediamaster for sufficient ventilation Do not cover the Mediamaster s ventilation openings with items such as newspapers table cloths curtains etc Do not place the Mediamaster on top of a unit that emits heat Do not place naked flame sources such as lighted candles on the Mediamaster Use a soft cloth and a mild solution of washing up liquid to clean the cas ing Do not expose the Mediamaster to dr...

Page 8: ...avigator opt Show service options in viewing mode txt Press to enter teletext if available This section describes how to operate the Mediamaster using the buttons on the remote control The standby button has double functions One function is carried out if you press the button gently once and the other function is carried out if you hold down the button for a few seconds Some of the functions can a...

Page 9: ...onnector S PDIF digital out put for connection to a HiFi system Mains lead 110 240 V AC ANTENNA Satellite dish input F connec tor Rear panel SERIAL PORT for connection to a PC to put the Mediamaster in and out of standby mode to change channels Front panel FRONT AND REAR PANEL LED 1 LED 2 Function ON Standby Locked to channel Remote control feedback SW download Error LED indicator 1 Green Red Cont...

Page 10: ...sh See the Fitting instructions for satellite dish on how to install the dish Connect the coaxial cable with F connectors fitted from the LNB on the satel lite dish to the socket marked ANTENNA on the rear panel of the Mediamaster Connecting the Mediamaster to the dish If you need to fit the F connectors onto the cable Prepare each end of the cable as shown in the diagram You will need to fold bac...

Page 11: ...s you need a Nokia smart switch at A B in the diagram or a Universal Twin LNB With Nokia smart switch Analogue receiver Mediamaster SCART RF Nokia smart switch Connect a coaxial cable between output A on the smart switch accessory to the LNB socket on the analogue receiver Connect a coaxial cable between output B on the smart switch to the ANTENNA socket on the Mediamaster The analogue receiver mu...

Page 12: ...o back to the previous menu by pressing back Use cursor up cursor down to move upwards and downwards from one line to another Use cursor left cursor right to change settings You can also use the numeric buttons on the remote control to enter numeric val ues FIRST TIME INSTALLATION The First time installation menu This picture indicates that you have started the installation procedure Press select ...

Page 13: ...can connect up to 4 LNBs The selection of the different LNBs must be con trolled by an external switch Select alternative DiSEqC 2 input switch if you have a 2 way DiSEqC switch Select alternative DiSEqC 4 input switch if you have a 4 way DiSEqC switch Select alternative Mini DiSEqC switch if you have a mini DiSEqC switch In this case you must first connect the LNBs to an external switch since the...

Page 14: ...nue to the channel search procedure Please refer to the Channel search part on page 15 Switch port Here you select the input for each LNB that will be connected In this specific ex ample the DiSEqC 1 input will be selected first LNB type Select the correct LNB type for your configuration e g Universal LNB Offset voltage If the cable from any of the LNB s is very long it might be necessary to incre...

Page 15: ...Then go to the west limit field and move the antenna to the west limit Press select to confirm all settings and continue to the channel search proce dure Remove limits In case you need to remove limits When you perform this command the motor will also turn itself to the 0 Zero position However next time you select a channel the motor will turn to its proper position Manual search The information y...

Page 16: ...some special channels i e non DVB standard channels which can only be found when you have entered the necessary settings here Transponder frequency Specify the frequency in MHz Polarisation Select Horizontal Vertical Circular left or right Symbol rate Enter symbol rate with the numeric buttons PID Video Enter the PID Packet Identifier for the video signal PID Audio Enter the PID for the audio sign...

Page 17: ...ssing cursor up cursor down To confirm the selec tion press select Below the folder bar some information about the bookmark in focus is presented in the information box When a TV or radio channel bookmark is in focus this box can contain three different symbols after the channel name channel you have not previously visited channel is scrambled according to the service infor mation channel is locke...

Page 18: ... available no subtitling will be shown but the first available language for event info is selected Main audio language Select the preferred language for audio If this language is not available the first available language is selected Menu language Here you may select in which language the menus will be shown Channel list icons In order to make the bookmark lists for TV and Radio channels shorter y...

Page 19: ...art of the Navigator When a favourite list is selected you see only those channels defined in the list When you have given the list a name press select and choose Add Delete Chan nels from the menu You can create up to eight separate favourite lists for TV and radio channels How to give a specific name This procedure is the same whether you enter a name for the first time or change an existing Mov...

Page 20: ...nnels From here you can arrange the order of the channels within your favourite list With cursor right mark the channel you want to move to a new position within the list Move the channel to the desired position with cursor up cursor down and press cursor left Press select to confirm the new position Add Delete channels From this menu you add and remove the channels in your Favourite list You use ...

Page 21: ...elect to start the channel search When you get the message on the screen that you have found X new TV chan nels and X new radio channels press select to save the new channels The new channels will be saved and added to the TV and radio lists When your antenna is controlled by a motor Select Channel in the Navigator Select Manual or Advanced search Select the new satellite name Enter the settings f...

Page 22: ...ram the Mediamaster to start and stop at a predefined time The timer function is very useful when you want to record a programme and you are unable to start stop the recording event yourself or when you just want to be reminded of the start of a programme you do not want to miss Note The timer function only works if the receiver is in standby Timer setup First select Channel List with cursor left ...

Page 23: ...have to contact an Authorised Nokia Service Centre to get help Settings TV To open this menu you will be asked to enter your access code From the factory the access code is set to 1234 From here you can adjust the audio video settings for your receiver TV screen format Select your TV screen format The 4 3 format is the standard format for most TV screens Select 16 9 for a wide screen TV Press opt ...

Page 24: ...the Mediamaster up to date it will be possible to download new versions of the system software via satellite or with a Windows software pro vided by Nokia From this menu you can only download new software via satellite New software may include new or improved features for existing menus Enter this menu to check if a new software version is available If a new version is available and you continue w...

Page 25: ... include Current time Channel list Channel number and name Name of the current and next programme The start and stop time of the current programme A bar indicating the elapsed time of the current programme The start and stop time of the next programme Programme information will only be available if it is included in the transmis sion Otherwise a No information available message will be shown Infor...

Page 26: ...d right sides of the picture Letterbox will give a complete picture but leave black areas at the top and bottom Press opt or back to return to TV radio mode TV release 0 With the 0 button you can toggle between analogue terrestrial TV video analogue and digital satellite TV signals Teletext Pressing txt will open a teletext page if teletext is transmitted Select teletext pages with the numeric but...

Page 27: ...lished by the International Standards Organisation to provide the basis for a picture coding and compression system Network A number of digital channels transmitted from one source Grouped under separate headings in the channel list GLOSSARY OF TERMS PCM Pulse Code Modulation Non compressed digital audio format PCR Program Clock Reference PID Packet Identifier Polarisation Polarisation allows seve...

Page 28: ... failure What to do Check that the mains cable is plugged into the power socket Press the standby button to bring the Mediamaster out of standby mode Adjust the dish Check the signal level indi cator in one of the channel search submenus Check the cable connections LNB and other equipment connected between the LNB and the receiver or adjust the dish Replace the LNB Increase the LNB voltage with 0 ...

Page 29: ...a set ready not connected 7 RTS Ready to send 8 CTS Clear to send 9 RI Ring indicator not connected Front panel 2 LEDs Buttons standby progr number up and down Other data The model code variant and serial number are located on a label on the underside of the housing Supply voltage 110 240V AC 47 63Hz Power consumption max 20 W at 500mA LNB load Power consumption in standby 5 W Operating temperatur...

Page 30: ...larisation Symbol rate PID Video PID Audio PID PCR Adjust motor Transponder freq Polarisation Symbol rate Network search PID Video PID Audio PID PCR Adjust motor Navi Bars Navigator Language preferences First time installation menu Channel Search in Progress CNN CNN Radio MTV ARD Time Adjustment 19 35 Picture First time installation Antenna satellite selection One antenna One LNB config Multisatel...

Page 31: ...66 76985 14 0218 Navi Nokia and Nokia Connecting People are registered trademarks of Nokia Corporation www nokia com ...

Reviews: