GB 12
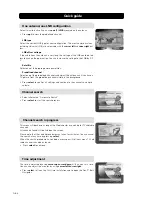
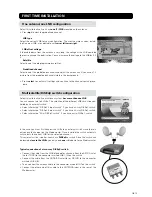
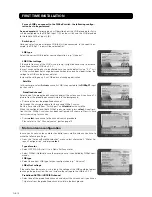
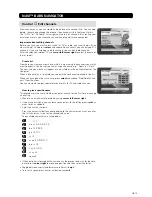
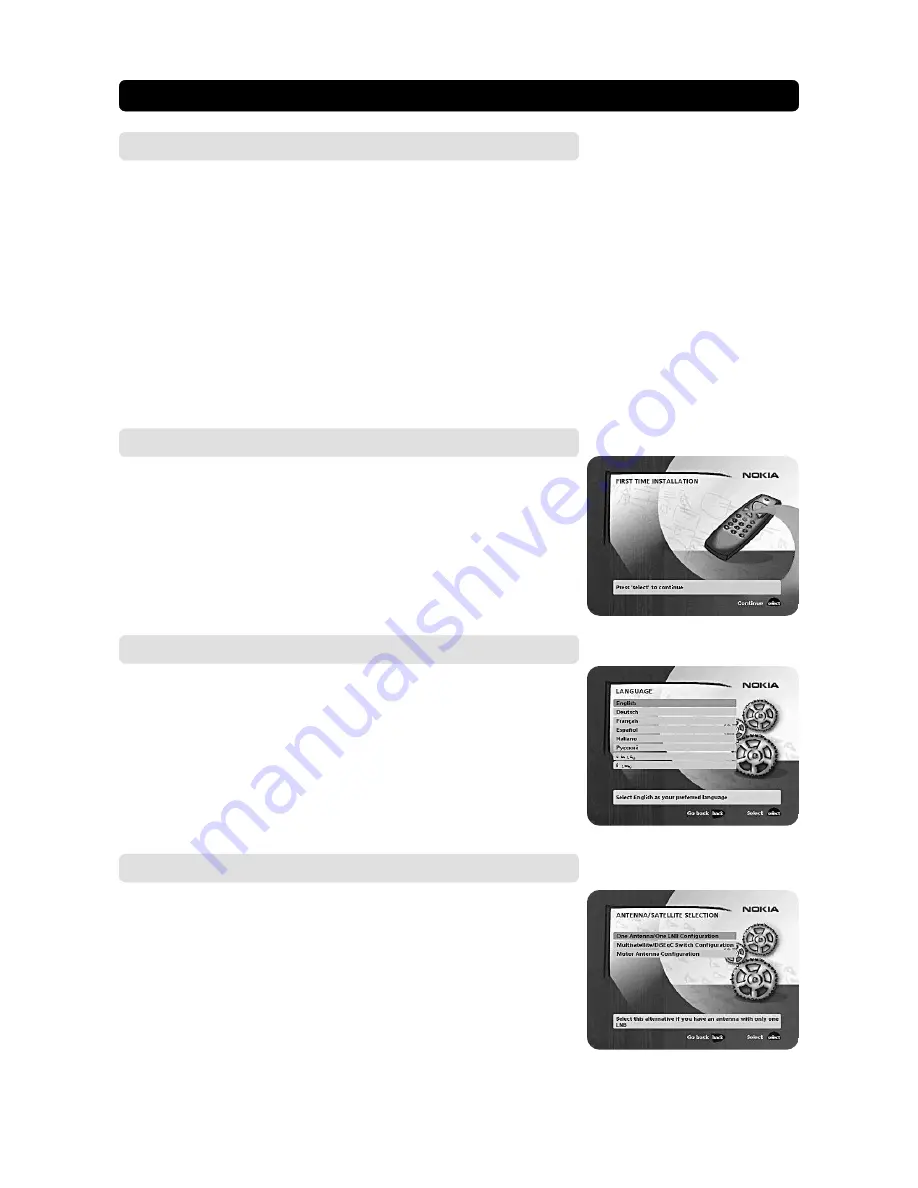
Language
• Select the desired menu language with
cursor up
/
cursor down
.
This will also become the main language for audio and subtitling.
• Press
select
to continue.
General information
Once you have correctly connected the Mediamaster, you also have to perform a
“First time installation.”
During this procedure, helpful information is displayed at the bottom of the menus.
Please note!
The
select
button always
confirms
a selection within these menus, and pressing
it will take you to the next step in the installation process. However, and this is im-
portant, often more than one value has to be entered in a menu. First, perform all
necessary settings on the different lines. Then, confirm them all simultaneously
by pressing
select
.
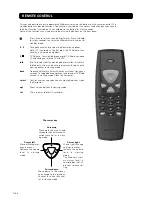
You can always go back to the previous menu by pressing
back
.
Use
cursor up
/
cursor down
to move upwards and downwards from one line to
another.
Use
cursor left
/
cursor right
to change settings.
You can also use the numeric buttons on the remote control to enter numeric val-
ues.
FIRST TIME INSTALLATION
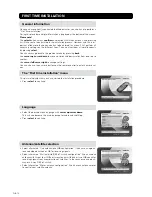
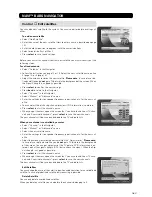
The “First time installation” menu
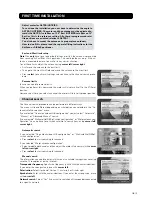
This picture indicates that you have started the installation procedure.
• Press
select
to continue.
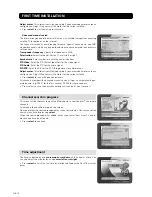
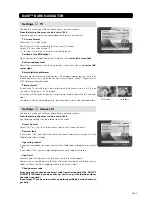
Antenna/satellite selection
• Select alternative “One antenna/one LNB configuration” if you have a single an-
tenna equipped with one LNB for receiving signals.
• Select alternative “Multisatellite/DiSEqC switch configuration” if you have one
antenna with two or four LNBs or two antennas with one or two LNBs each for
receiving signals from a combination of satellites. In these cases you need a 2-
way or a 4-way DiSEqC switch.
• Select alternative “Motor antenna configuration” if you have an antenna motor
to control your satellite antenna.


