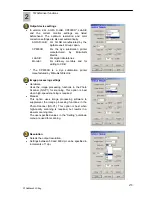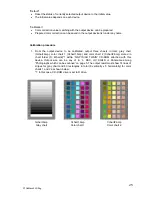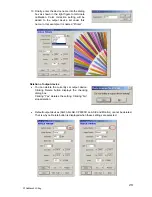
7. Like color chart 1, adjusting the frames
so that they are placed within the
respective color boxes as shown in the
right figure below, click “OK”.
8.
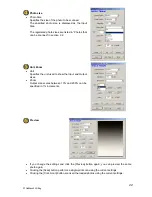
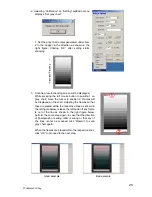
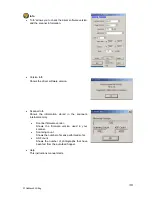
Perform saturation setting. Changing
saturation makes colors vary. Increasing the
area of lighter part lightens colors focusing on
darker ones. Increasing the area of darker
part lightens colors focusing on lighter ones. If
no special change is required, set saturation
to the default value (0, 0).
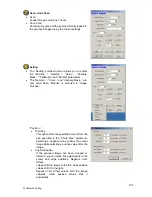
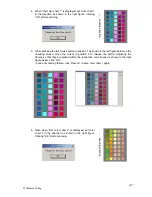
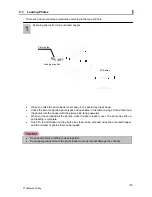
9. “Set a photograph for sample display” will be displayed.
Set it to the hopper to click “OK”.
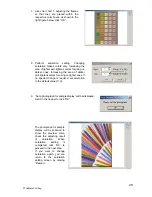
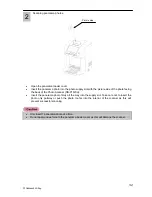
The photograph for sample
display will be scanned to
show the preview. Here,
check the adjusting result
of saturation. When
saturation setting is
completed, click “OK” to
proceed to the next step.
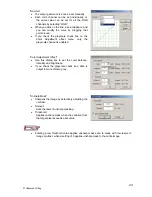
If you want to change
saturation again, you can
return to the saturation
setting screen by clicking
“Rescan”.
28
P1SeManu220-Eng

