12
W
A L L
M
O U N T E D
P
R O G R A M M A B L E
I R K
E Y P A D
S
Y S T E M
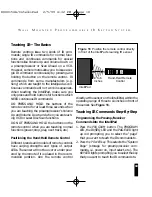
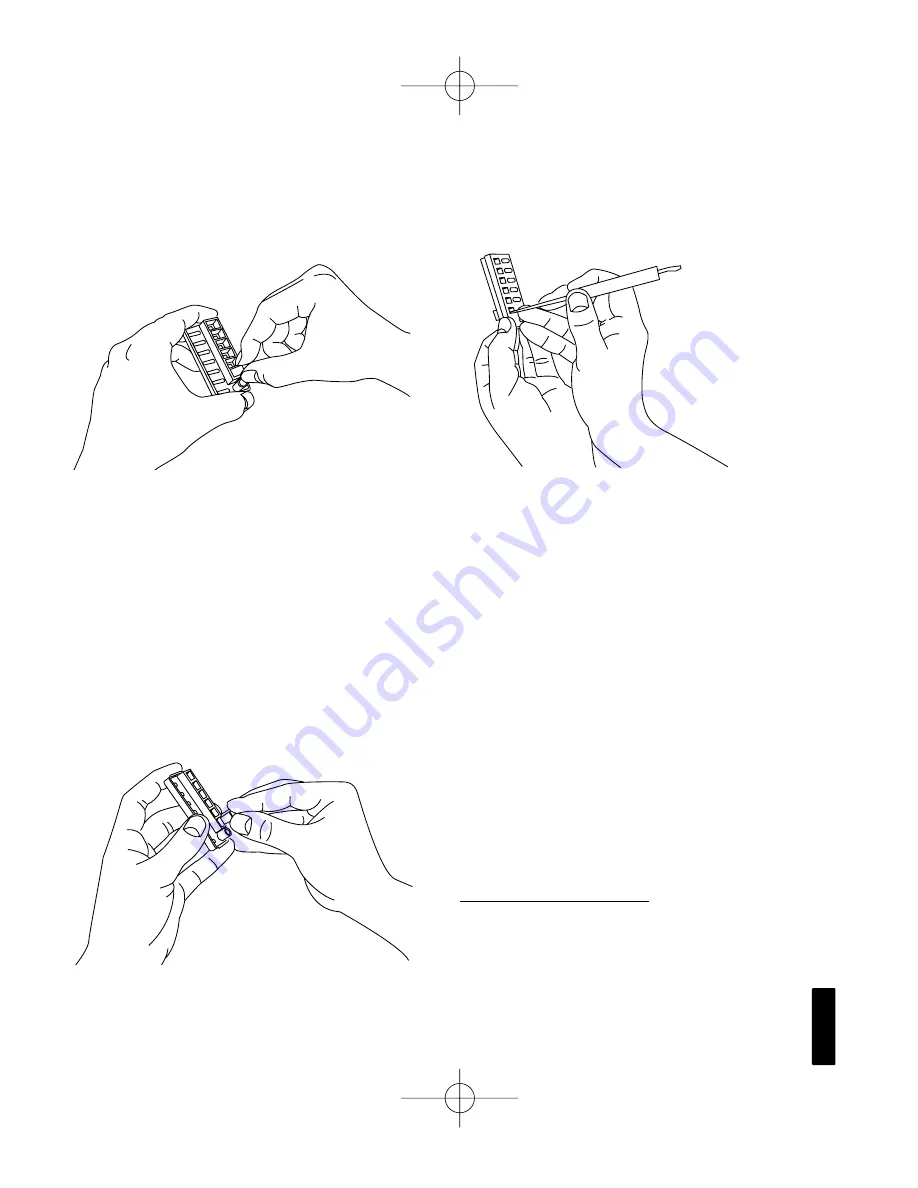
5. While holding the Decora insert with the label
holders upside down, drop each of the labels
into the correct label holder. See
Figure 8
.
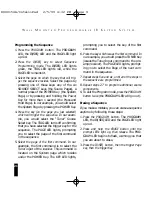
6. The label plugs are wedge shaped. Insert the
narrow end of the plug into the label holder
and press down until the label plug is flush
with the rear of the label holder. This locks the
label into place. See
Figure 9
.
7. Once all of the labels are locked in place, take
a look at the labels. If they are in the correct
order, right side up and otherwise satisfactory,
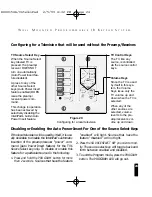
you may proceed. However, if you need to
correct one of the labels, use a small screw-
driver to gently push the label and label plug
back out of the cavity. See
Figure 10
.
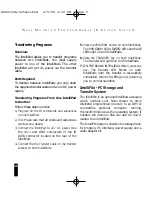
8. Install the correctly labeled Decora insert by
holding the control so that it is facing you. Fit
the insert around the keys of the IntelliPad.
Align the pegs on the back of the insert with
the corresponding holes on the steel bracket
of the IntelliPad. Fix the insert into place by
carefully pressing on the front of the insert.
The pegs friction fit into the holes and hold
the inserts in place.
Configuring The IntelliPad Jumpers
Different jumper settings change operation in
the following ways:
Status Feedback Jumper
Use the ENABLE setting if you are giving the
IntelliPad Status Feedback via the Status input on
the IntelliPad or via a Niles IR main system unit.
Figure 8
Dropping in the labels
Figure 9
Pushing in the
label plugs
Figure 10
Removing a label
DS00154A/IntelliPad 2/5/99 4:32 PM Page 12


