R
ESET
button is clicked, the plug-in state will be set to these settings, not the factory
defaults.
The factory default settings can be recalled at any time by deleting the preferences
file, then restarting the application. If there is no preferences file available, the
plug-in will automatically use the factory defaults settings.
Summary
To save the current state as the default state:
• Click on the
S
ET
D
EFAULTS
button.
To invoke the default state as the current state:
• Click on the
R
ESET
button.
To restore the factory defaults as the default state:
• Remove the preferences file from the system folder and restart the application.
The User-Named Method
You may desire to have several different scanner settings readily available. To
accomplish this, you can load and save these settings into user-named settings files.
These files are named by following the standard Macintosh file system conventions.
Clicking on the
S
AVE
S
ETTINGS
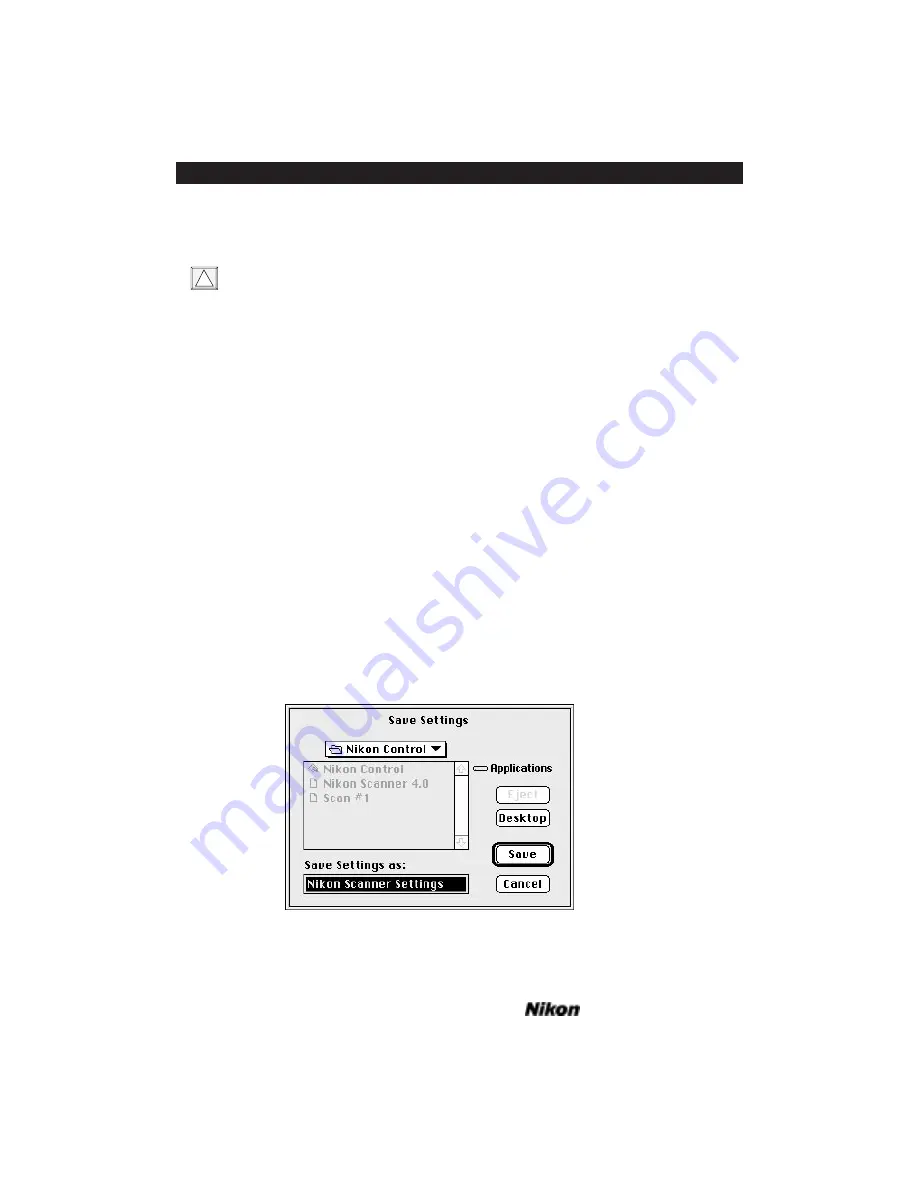
button brings up the operating system’s
S
AVE
S
ETTINGS
dialog, as shown in Figure 8.6. Once the settings file is named, the current
state will be saved. It can be restored at any time through the
L
OAD
S
ETTINGS
button.
Figure 8.6 The
S
AVE
S
ETTINGS
dialog.
!
Page 76
Software Reference for Scanners
Setting and Restoring the Nikon Plug-in State – Macintosh
Chapter 8
Summary of Contents for Scanners
Page 1: ...Software Reference for Scanners ...
Page 14: ...Page XIV Software Reference for Scanners Table of Contents ...
Page 36: ...Page 22 Software Reference for Scanners Software Installation IBM PC or Compatible Chapter 3 ...
Page 126: ...Page 112 Software Reference for Scanners Cropping and Sizing Images Chapter 11 ...
Page 132: ...Page 118 Software Reference for Scanners Film Type and Orientation Chapter 12 ...
Page 146: ...Page 132 Software Reference for Scanners Focusing with Coolscan Chapter 14 ...
Page 170: ...Page 156 Software Reference for Scanners The Gamma Curve Editor Dialog Chapter 16 ...
Page 194: ...Page 180 Software Reference for Scanners Troubleshooting Windows ...


